
DIY Picture Frame Ornaments With Vintage Postcards
Learn how to make DIY picture frame ornaments filled with real vintage postcards that are perfect for your Christmas tree. Thrifted frames, old postcards, and an afternoon are all you need.
Hello friend, today I have a sweet, little Christmas craft for you. This project is so easy you can do it on the fly (or between the soup and the potatoes as we Dutch would say it). We are making picture frame ornaments and you only need some small frames from the thrift store and a stack of vintage postcards.
And if you don’t have any postcards I have a free printable for you.
My project started with these:
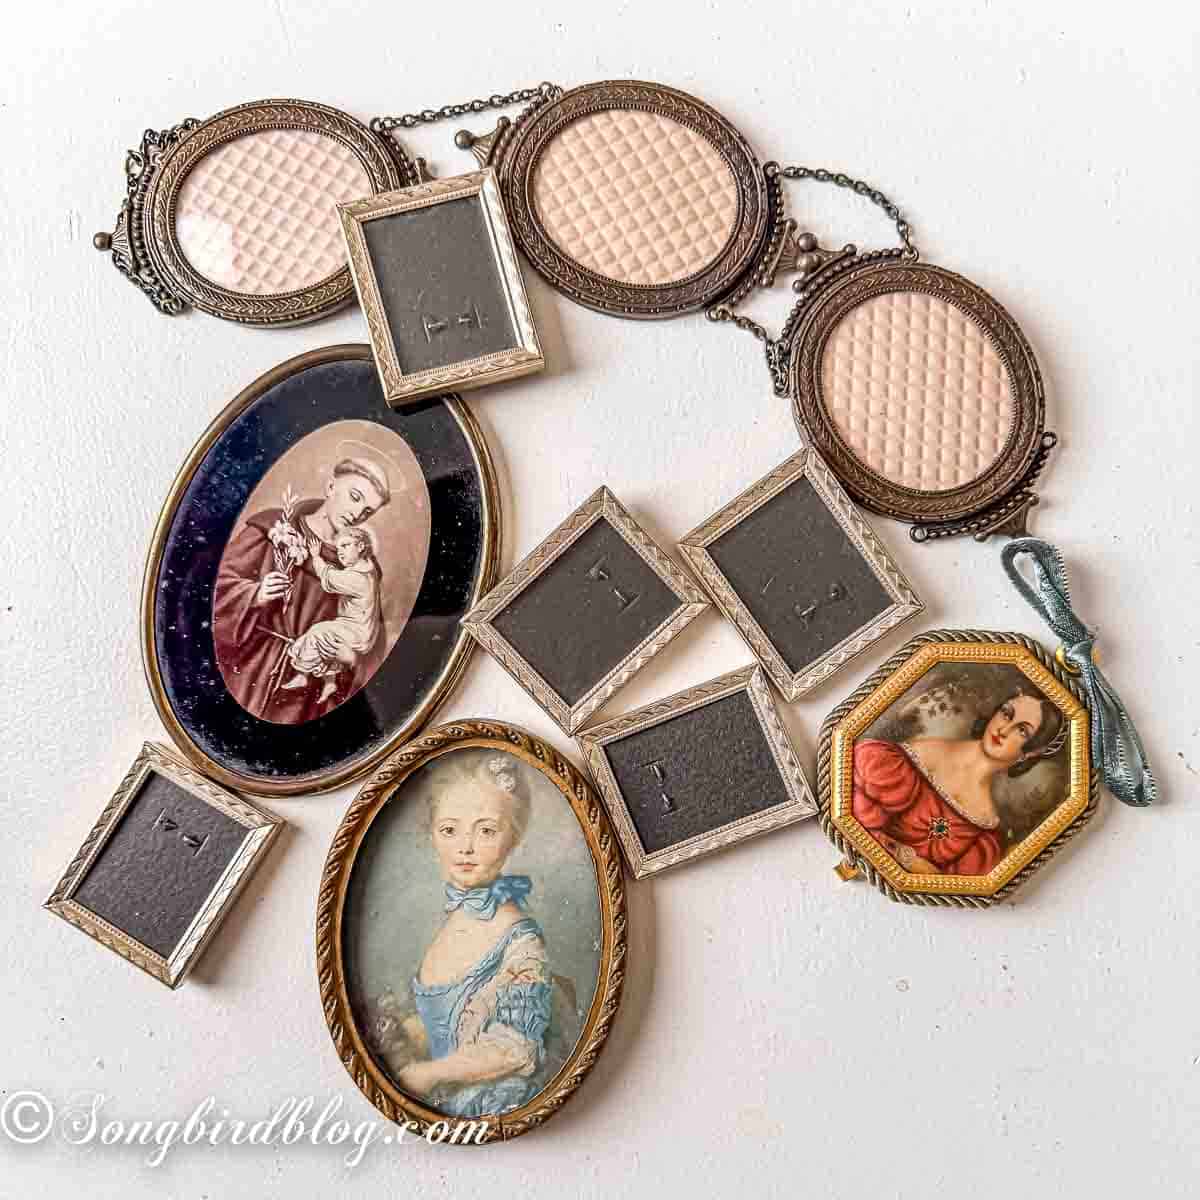
A collection of old mini frames that I have collected over a long time of thrift store shopping and flea market hunting. These were all simple, old frames. A bit worn, a little rough around the edges, and nothing special really. But cute, and cheap, so home with me they came.
I also had these:
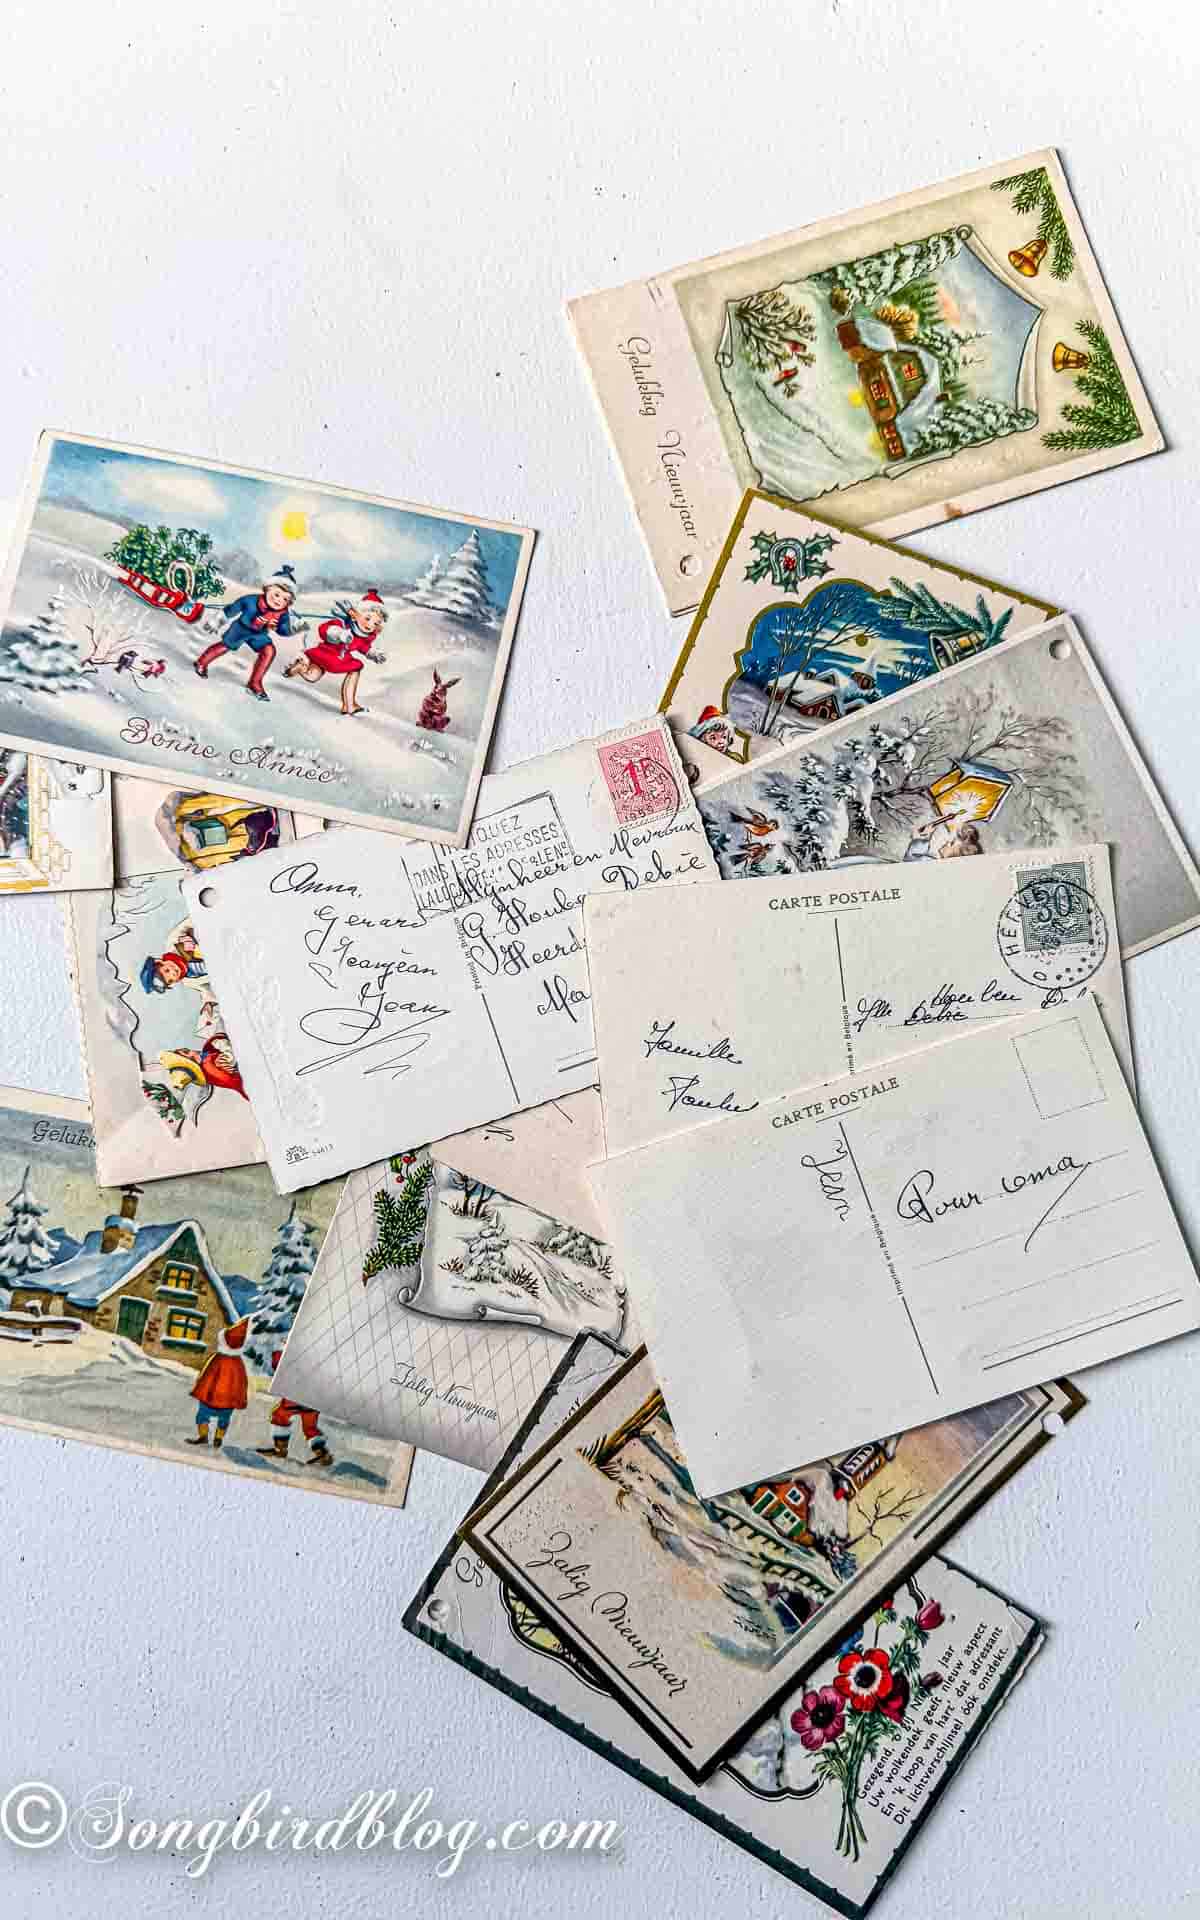
A whole stack of really old postcards. Some I rescued from the paper recycling when we were clearing out the drawers at my parents house, others I bought for a song and a dance at the flea market. The oldest ones are from the forties, the youngest from the sixties. All were handwritten at the back and they had that nice patina that only the genuinely old can have.
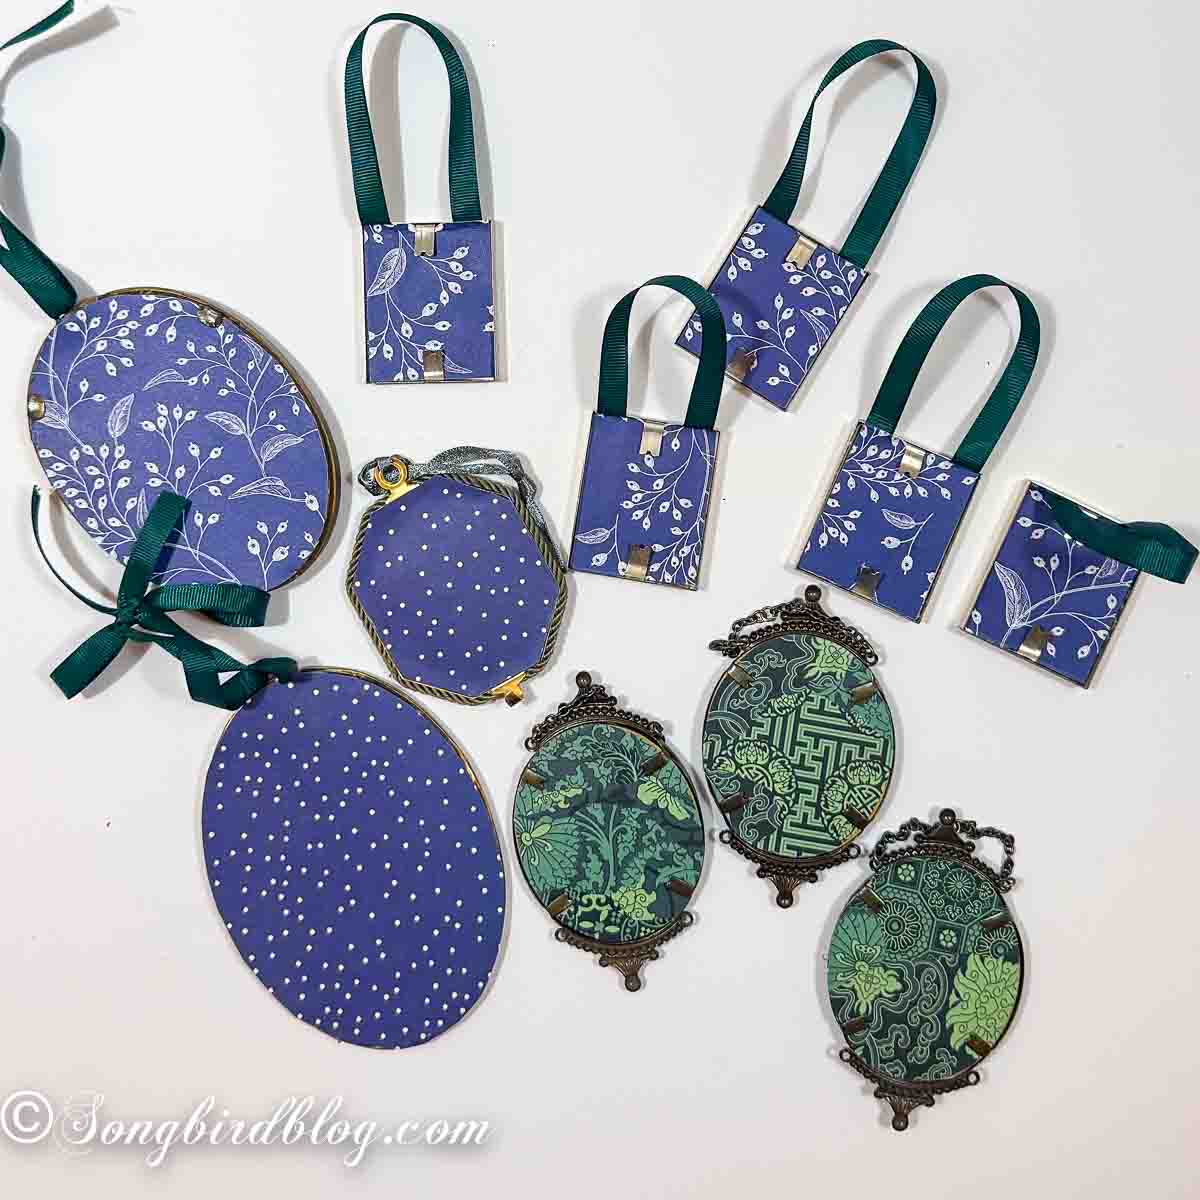
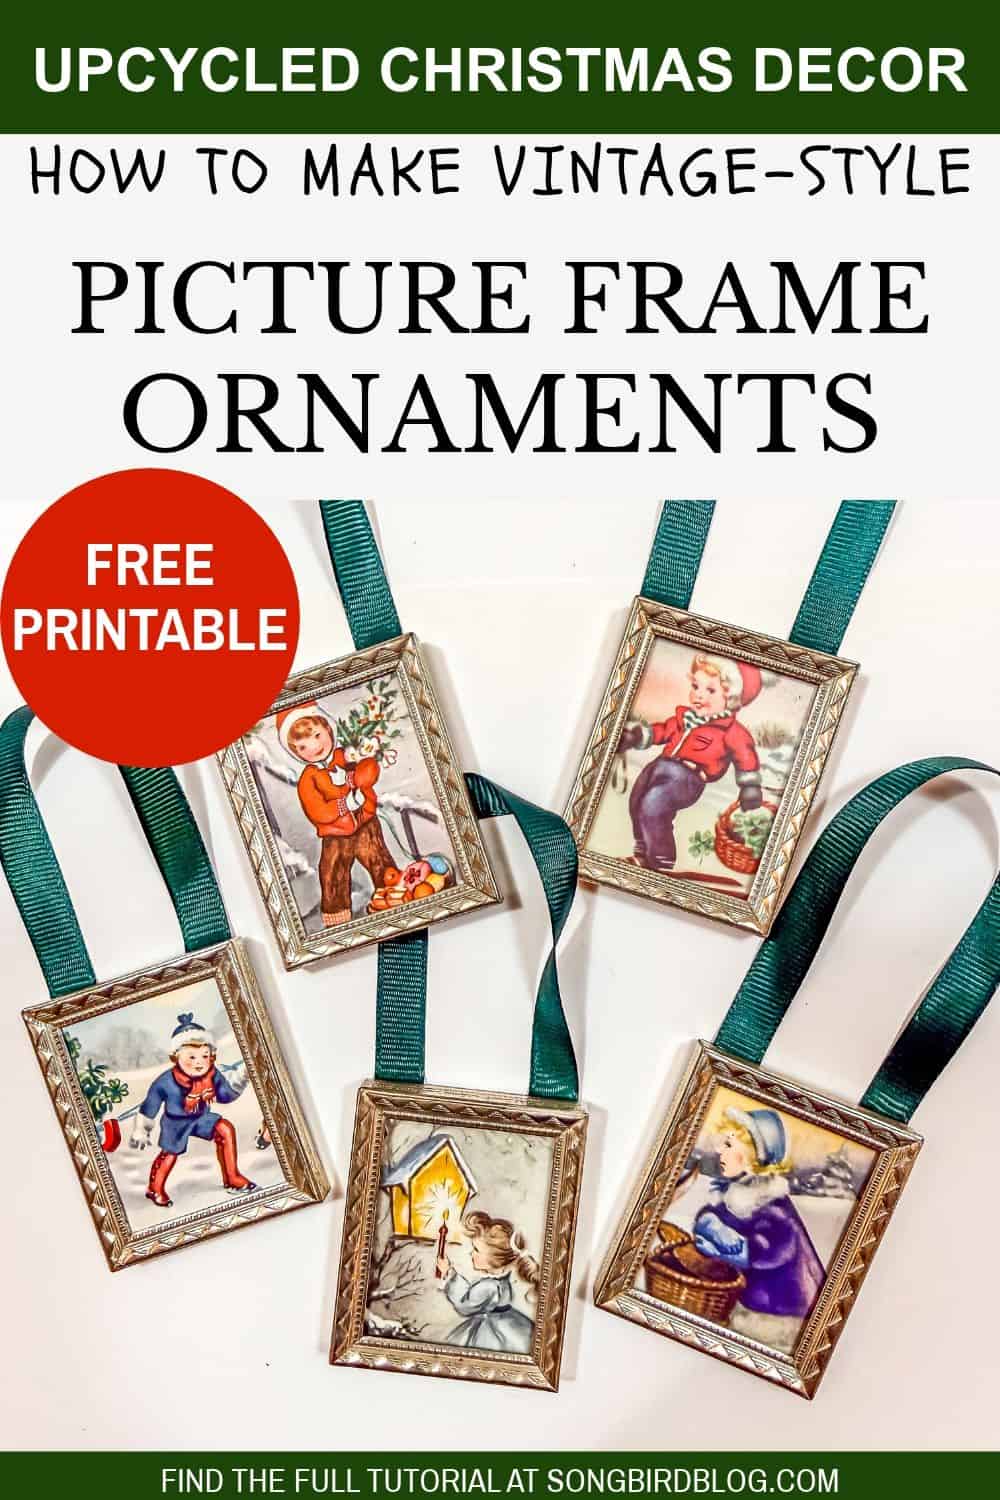
A couple of hours of craft time later, I had these:
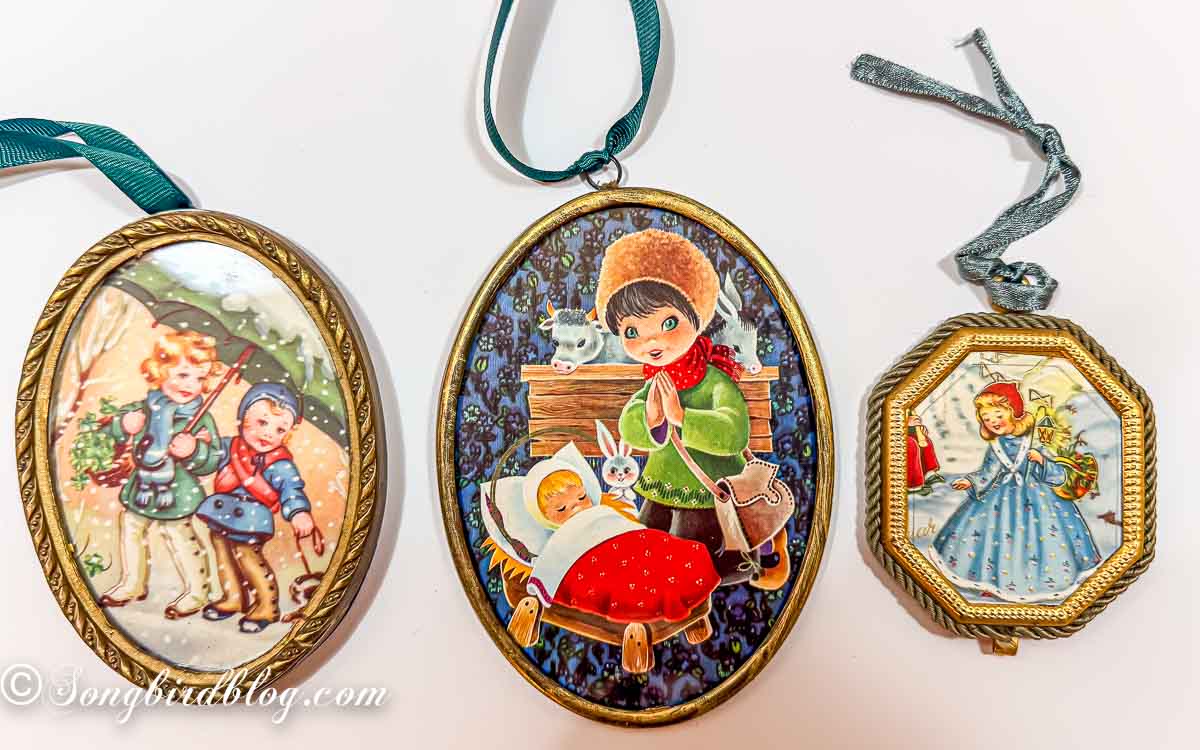
A whole new collection of picture frame ornaments for my Christmas tree. I love them! I can’t wait to hang them on the tree, once that is up.
And the whole thing involved only a few easy steps.
But before I walk you through those, let me tell you that this project is my contribution to this month’s Thrift Store Decor Team collaboration. You can find more awesome thrift store makeovers at the bottom of this post.
Ok, now on to making these cute picture frame Christmas Ornaments (and read on to see how I handled the one frame that gave me an attitude).
What You Need for DIY Picture Frame Ornaments
The supply list is short.
- Small picture frames in various shapes and sizes
- Vintage postcards (or my free printable)
- Ribbon or twine
- Pretty papers
- Craft Glue
- Scissors or a craft knife
A word about the frames. Look past the art inside, you’re replacing it. What you’re shopping for is the bones: solid backing, corners that still meet, and a top edge sturdy enough to hold a loop. Chipped corners don’t matter on a tree. Frankly a few scuffs make them look more at home next to eighty-year-old paper.
A word about the postcards. Estate sales and antique shops sell them by the box, and online sellers sell them by the lot. Condition matters less than you’d think, since a frame hides soft corners. I pass on anything too precious, rare, or pricey. A postcard that belongs in an archive belongs in an archive. The ones that I feel comfortable to craft with are the mass produced cards of that era that might have some sticky tape residue or a hole for hanging them.
How to Make Vintage Postcard Ornaments
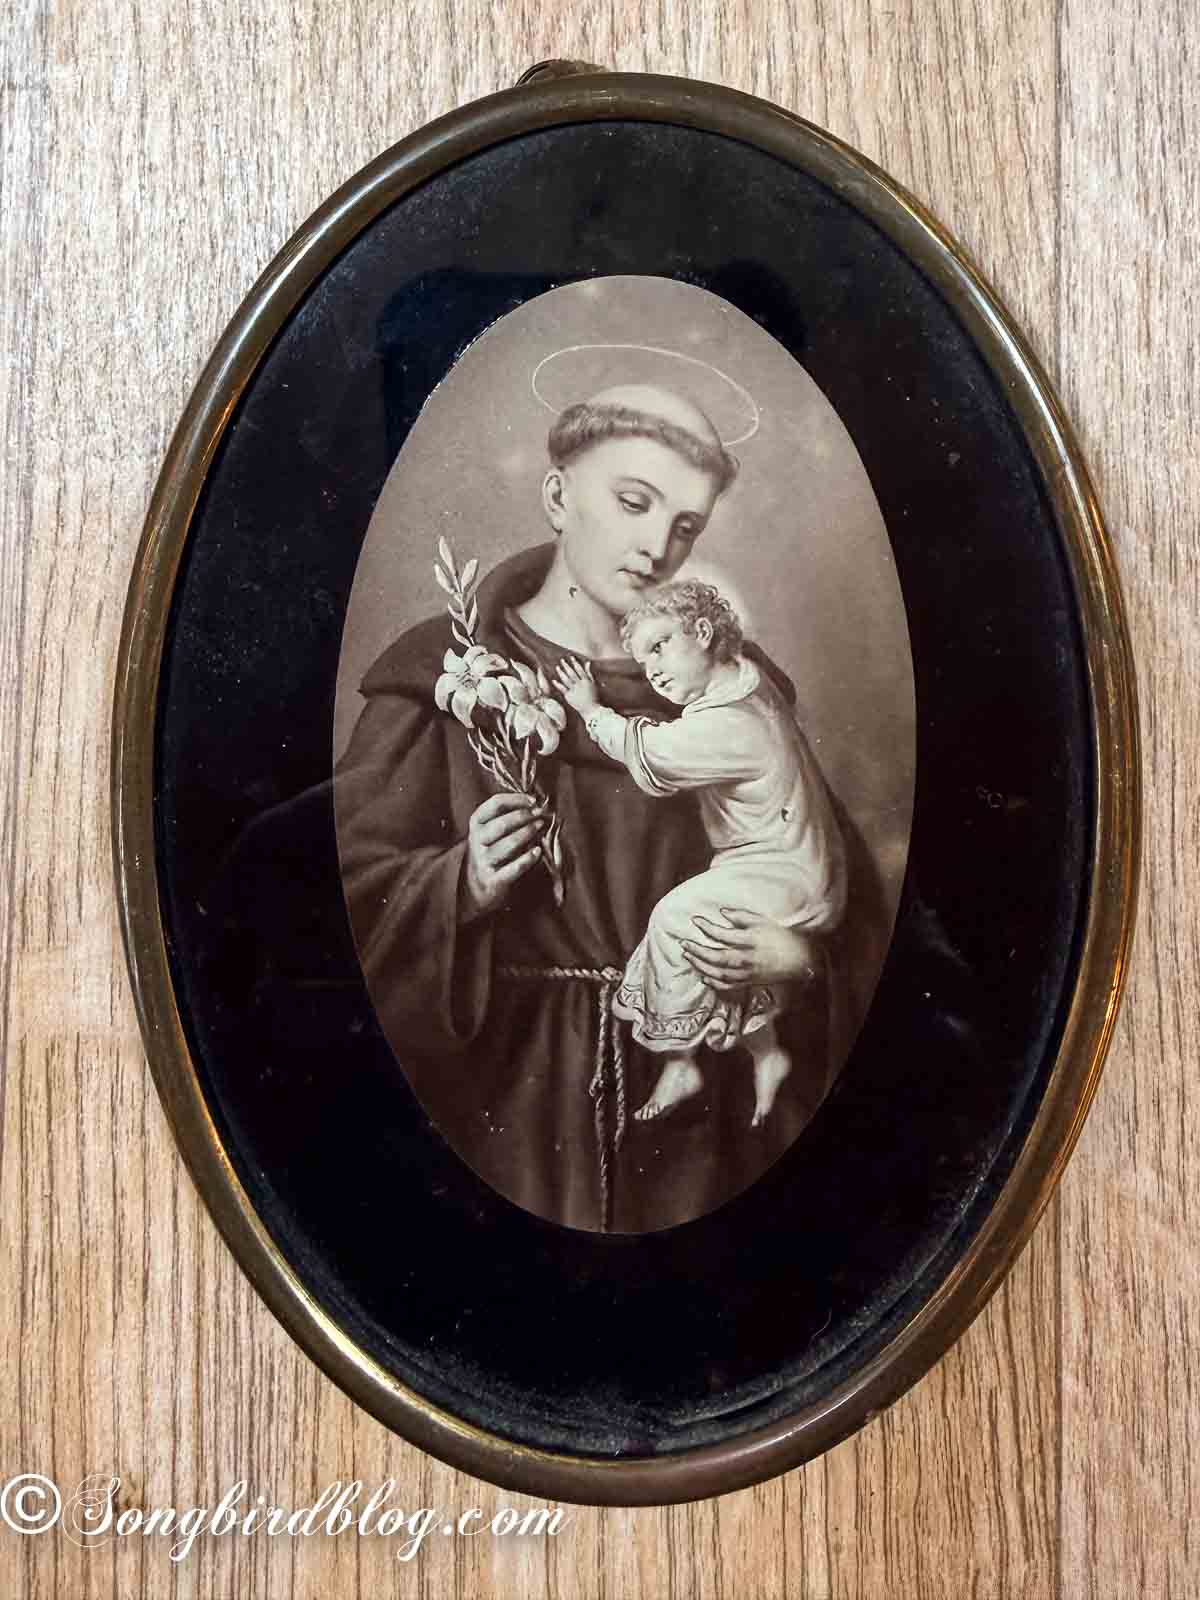
Step 1: Empty and Clean the Frames
Take the frames apart and wipe everything down. This is also the time to clean the glass. If your frame has a little stand on the back (my five silver ones had), remove that.
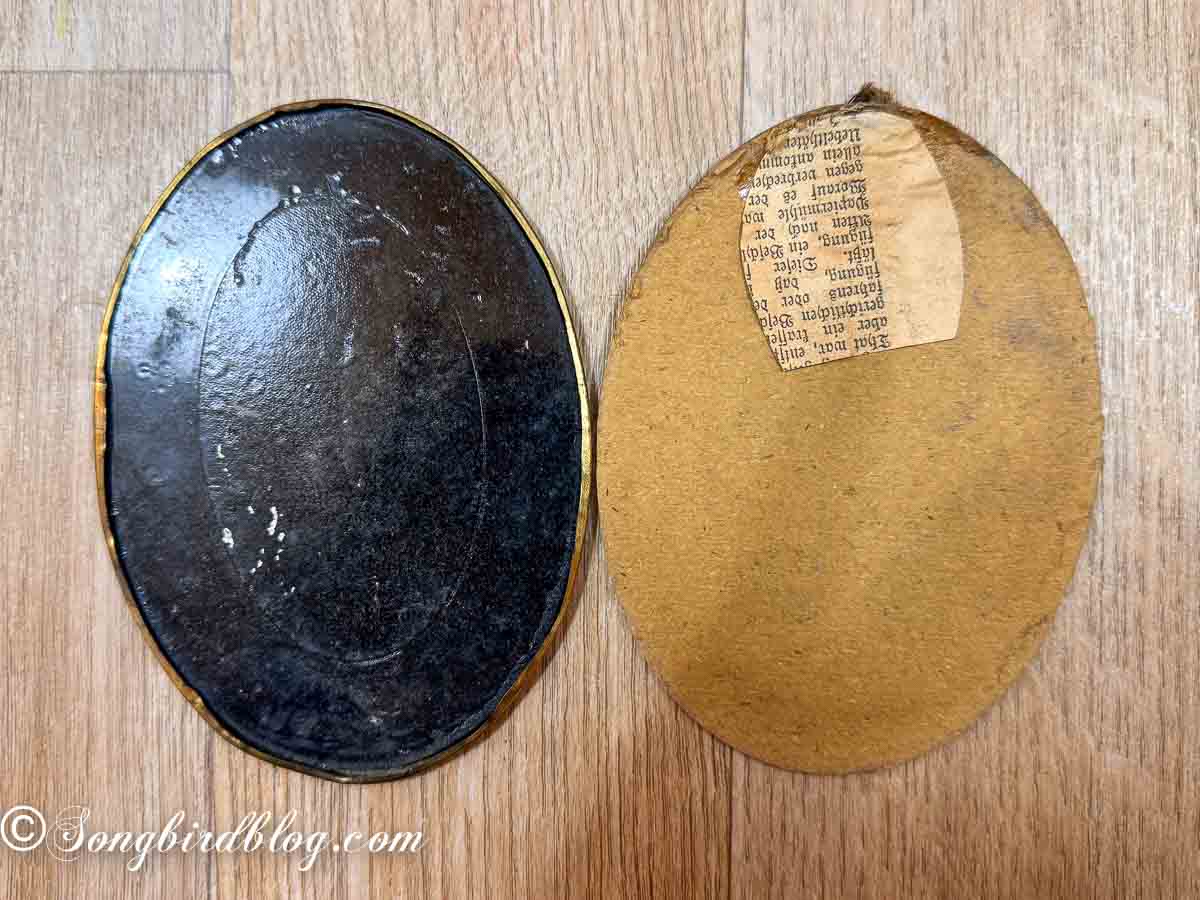
Every once in a while a frame comes with a secret. One of mine turned out to have its artwork glued straight to the glass, with the glass painted black on top of that, and no amount of scrubbing touched it. Several layers of hand sanitizer and some patient scraping got the paint off (a trick I learned from working in my art journal , I never expected I needed to use it in this kind of project, and I’ll probably never will again, but now you have it too). Your odds of meeting this particular kind of frame are slim. If you do though, now you know.
See if any of your frames need repairs or touchups. But don’t make them look all new and shiny. We are going for the vintage style here.
Step 2: Fit the Postcards
I used the small glass panes to figure out where to cut out my postcards. Simply lay it on the postcard until you have a nice little picture and draw the outline with a pencil. Cut out.
Step 3: Add the Hanger (if needed)
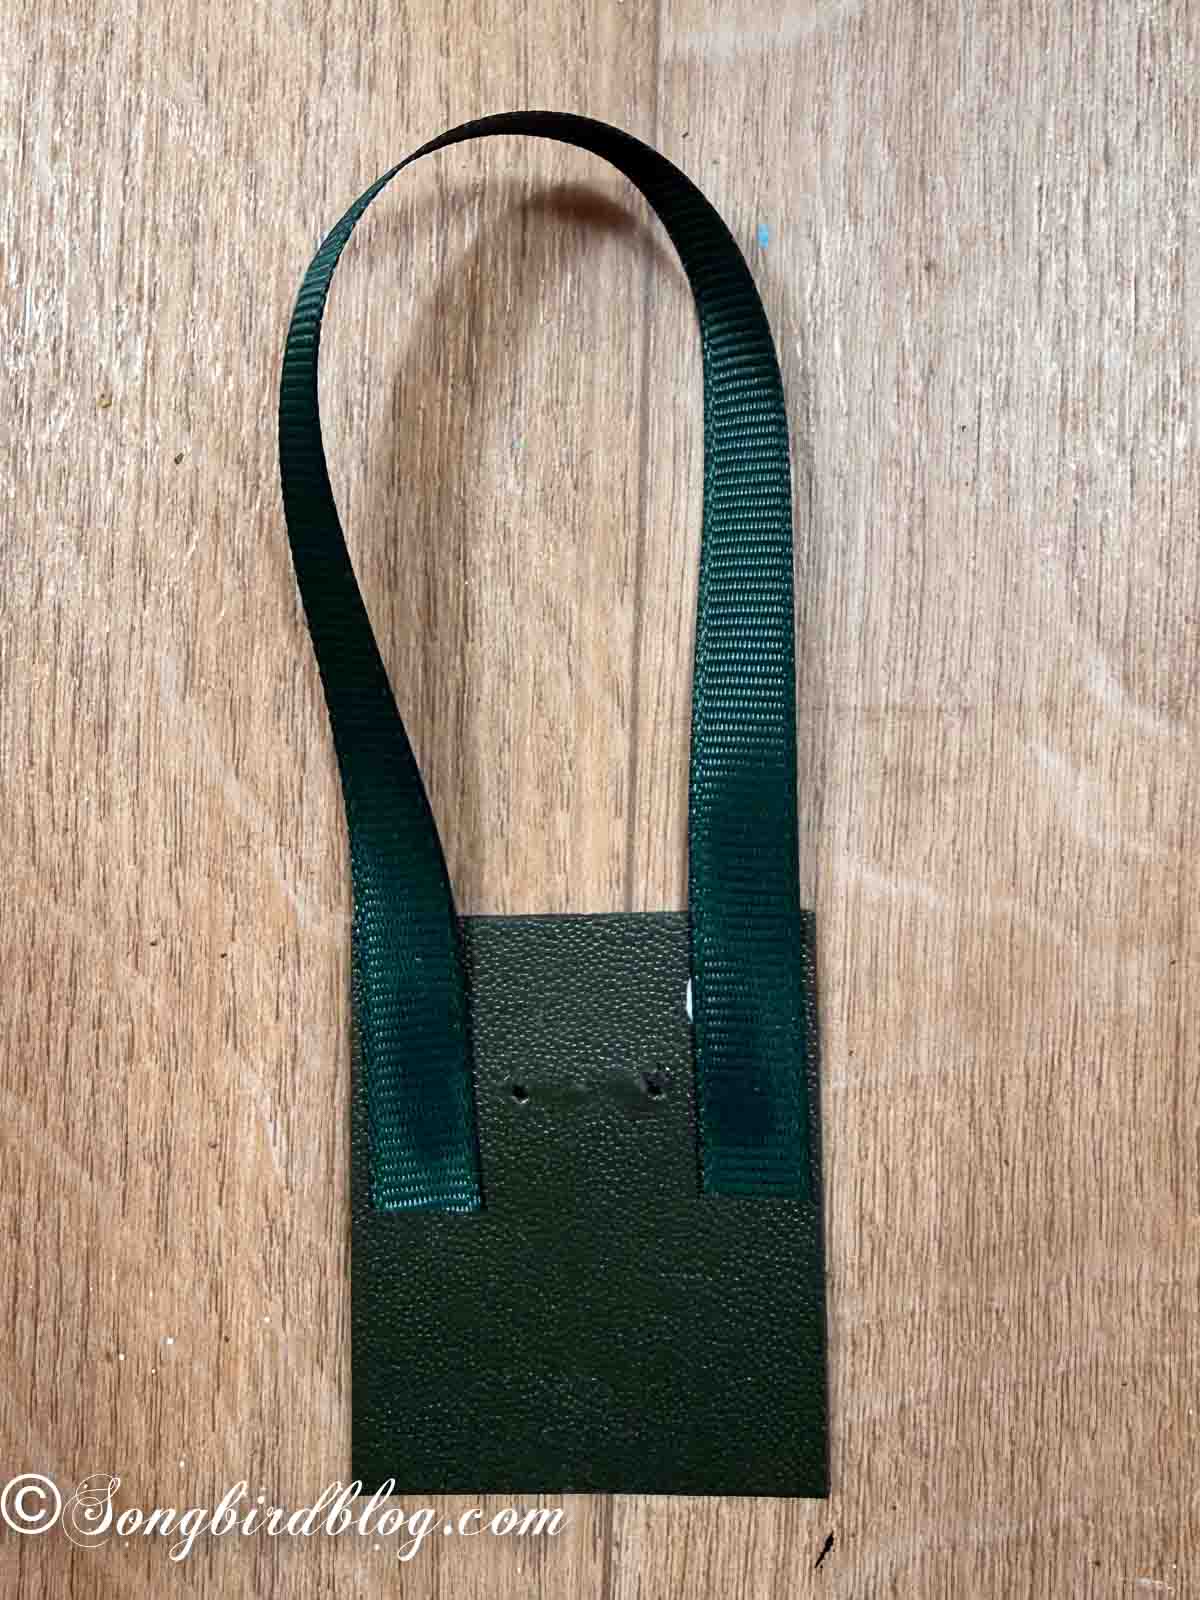
Most of my frames already had small screw eyes for a ribbon. If yours don’t you can add it now or do what I did with my little silver frames.
I glued a ribbon to the outside of the backing board
Step 4: Finish the Back
Since my little frames are ornaments now, I wanted them to have a finished backside too.
I traced the backing board onto some pretty papers, cut it out, and glued it to the backing board.
Step 5: Reassemble the Frames
Now we are ready to put it all together again. Reassemble the frames with the postcard cutouts behind the glass.
Step 6: Add a Touch of Sparkle
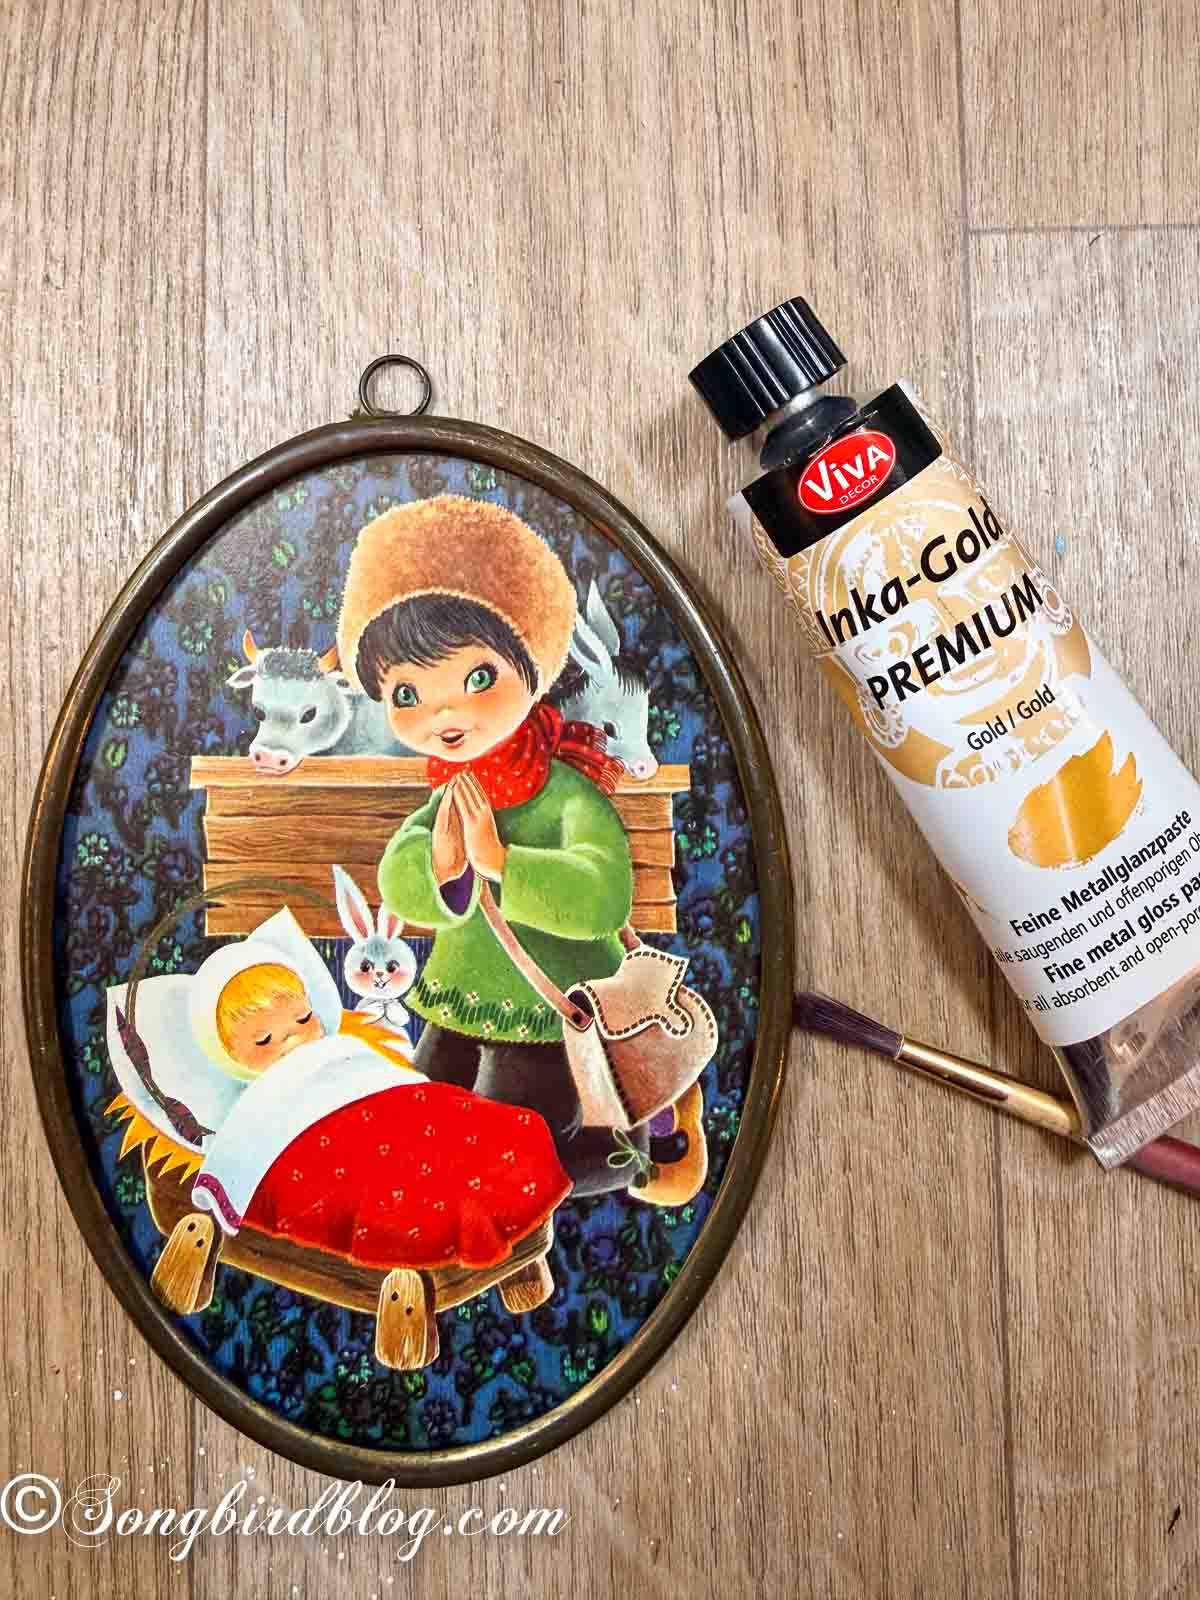
If your frames look a little dull and could need a bit of extra oomph, now is the time. I dry brushed a bit of gold paint to some of the frames that needed it. The biggest frame was originally gold colored, but a lot of it had rubbed off, so I gave it a touch up.
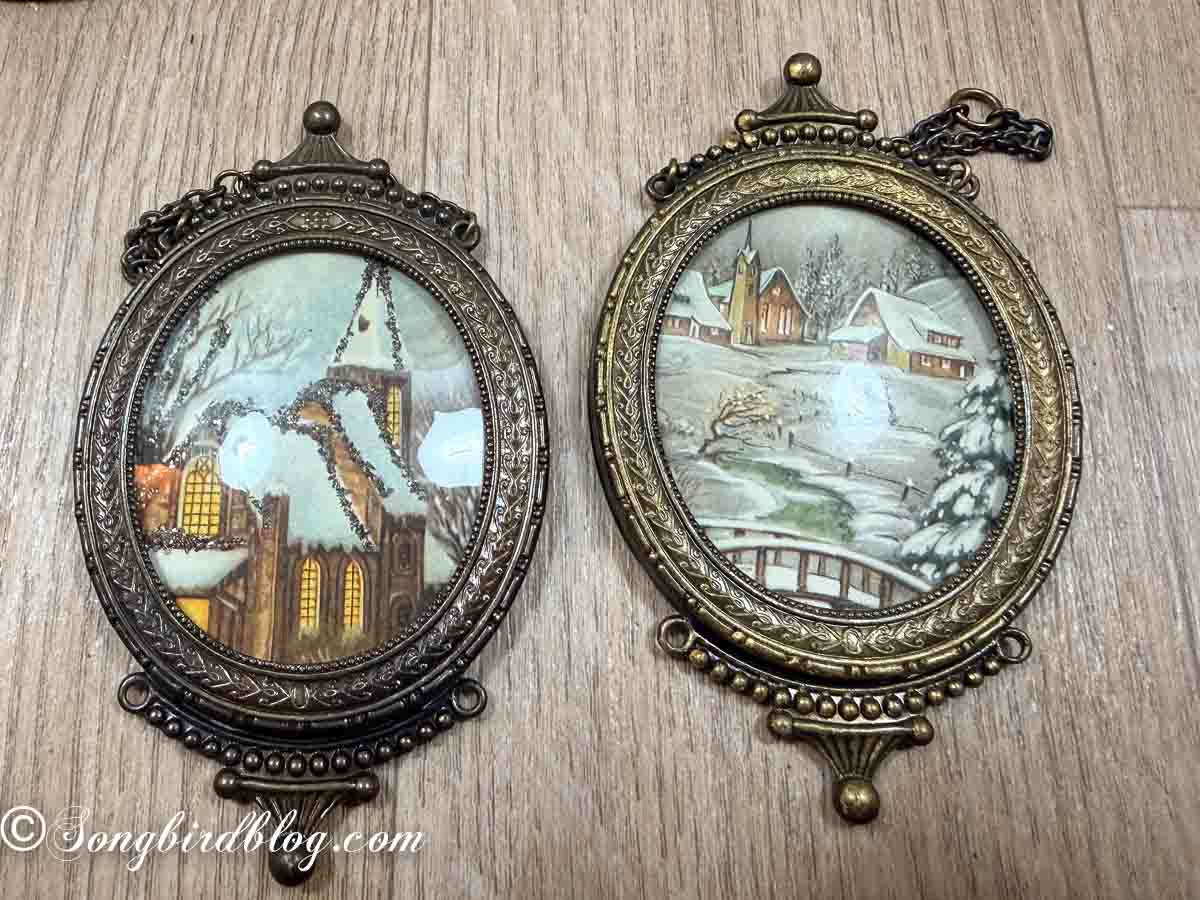
Adding a gold shimmer really brought out the relief and the design on my most ornate frames.
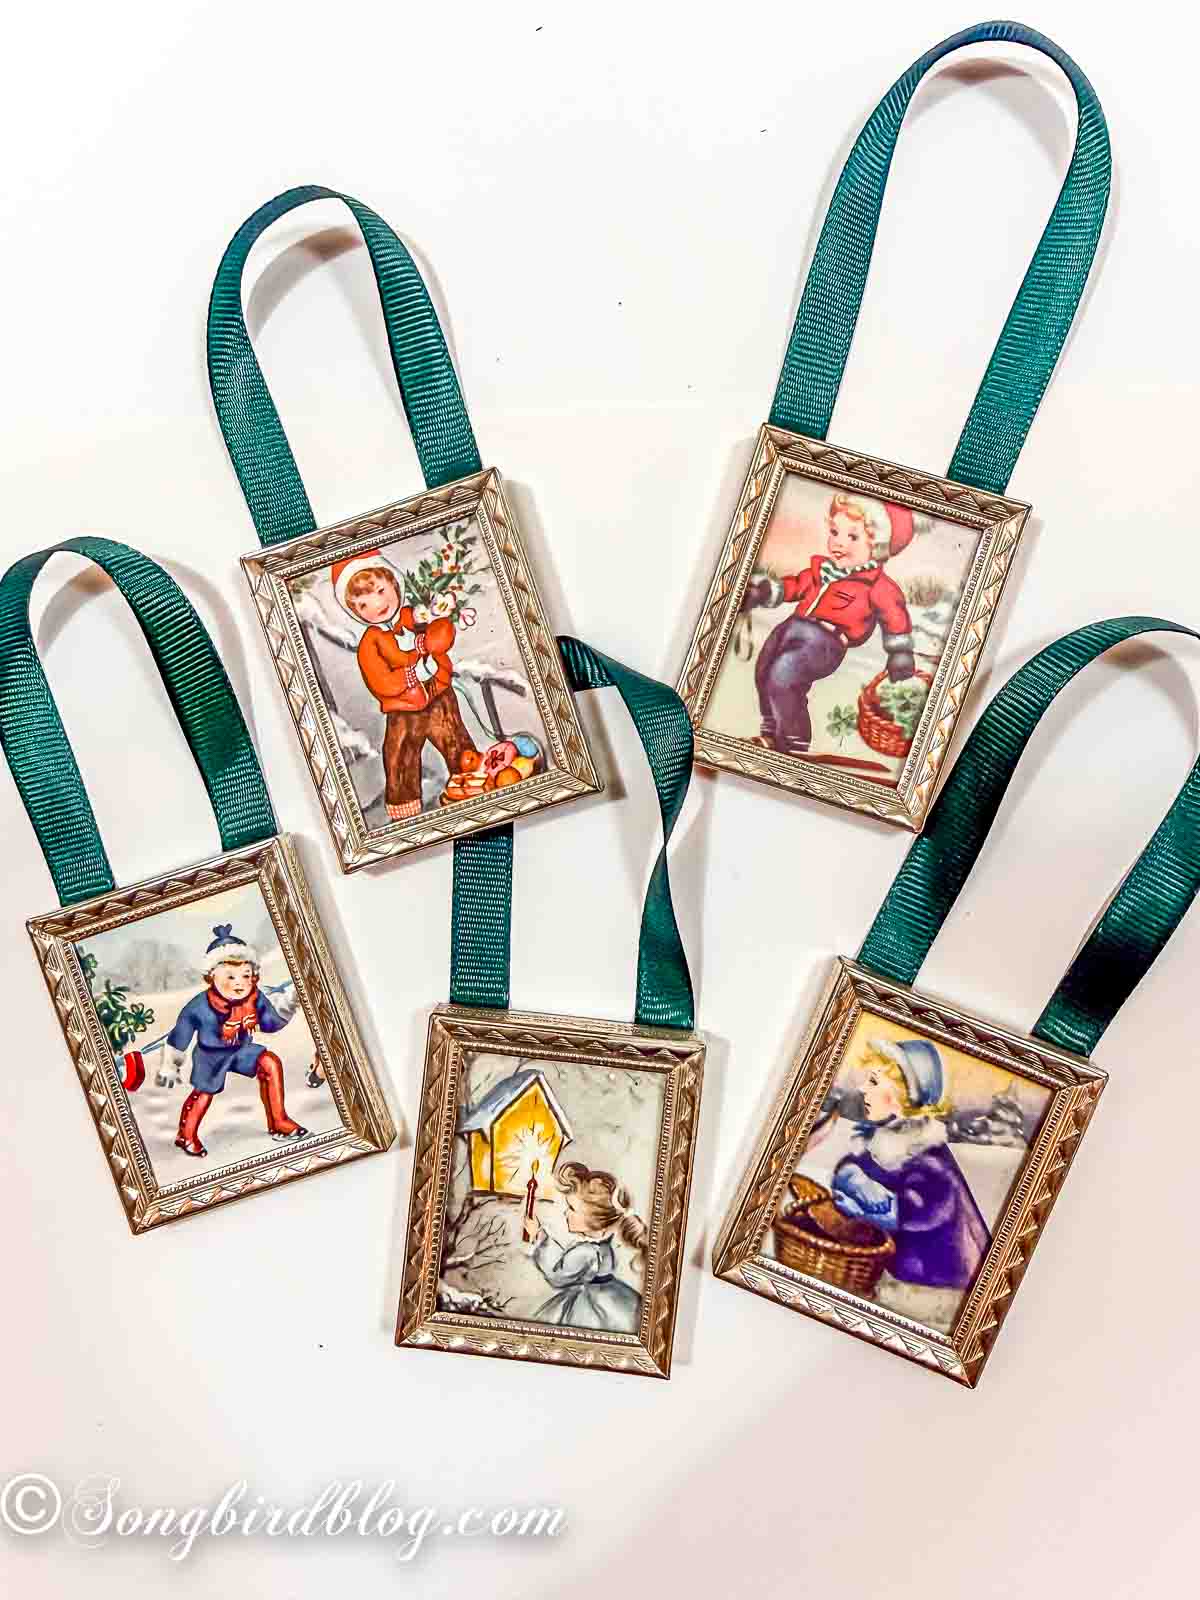
Step 7: Add Ribbons or Twine for Hanging
Just one final step and we are done: add the ribbons for hanging.
Now that was easy! Didn’t I promise you?
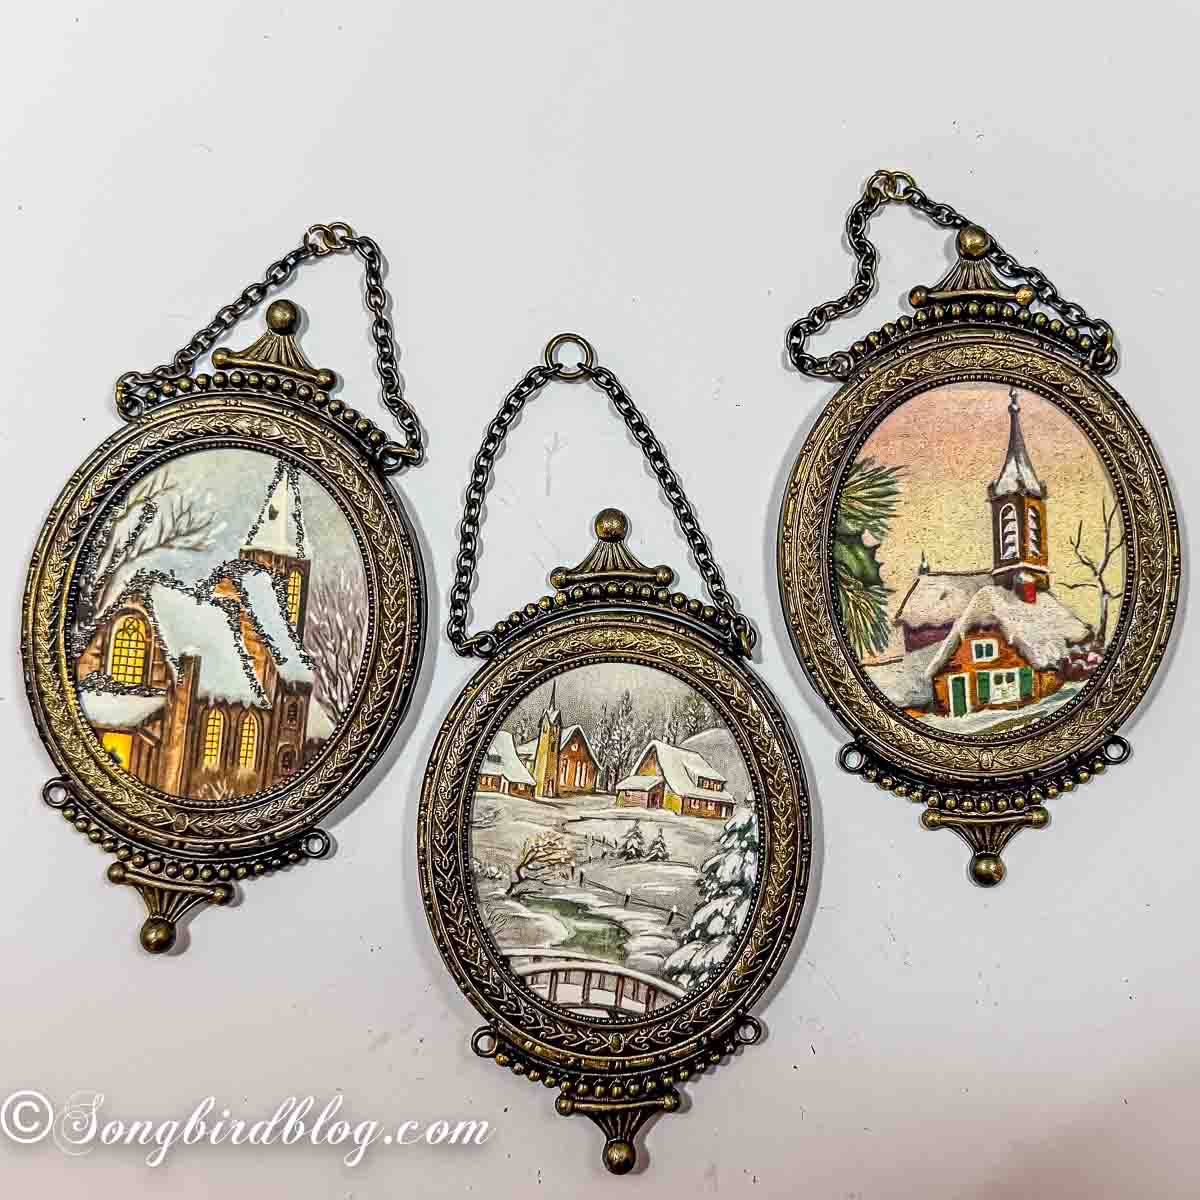
I was really lucky to have such a nice stash of vintage postcards to fill my mini picture frames with. But if you are not so fortunate I can help.
Before I started cutting into my postcards I scanned them and turned them into a PDF. You are more then welcome to download it for free. Just fill in your email address in the box below and the Christmas Postcard PDF will show up in your inbox pronto.
Your Turn
That’s the whole project. An afternoon, most of which I spent choosing which postcard to use in which frame, which was not a chore, it was the fun part.
Tell me. Do you have frames waiting for a second life, or a shoebox of somebody’s old postcards in a closet? And if you’re the kind who reads postcards at estate sales, what’s the best one you ever found? It’s time to tell on yourself in the comments.
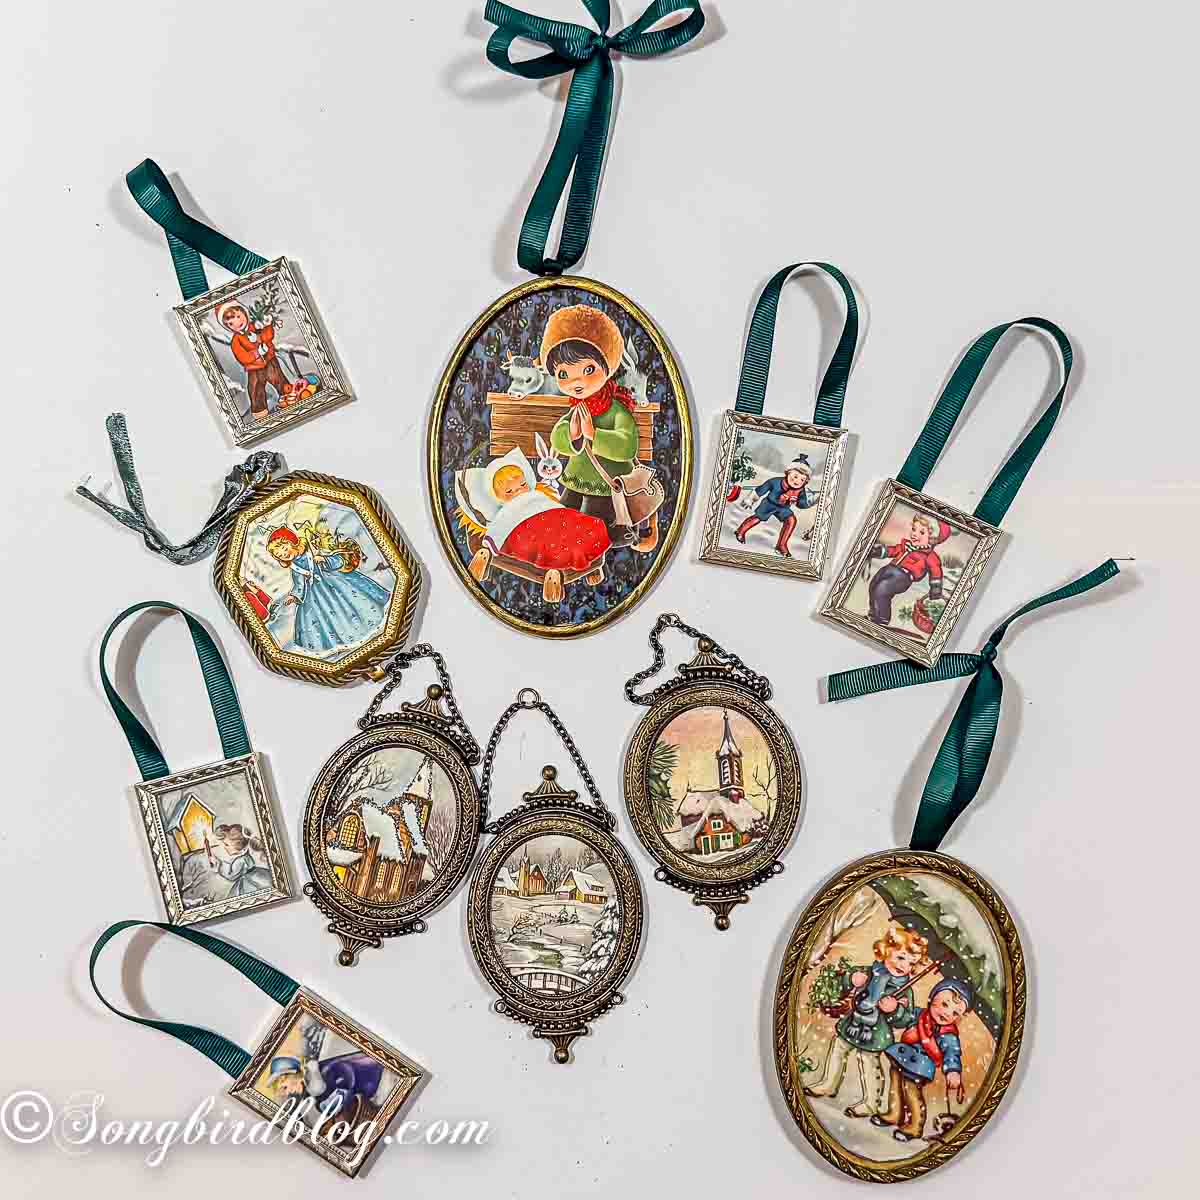

Pin now and make it later, friend.
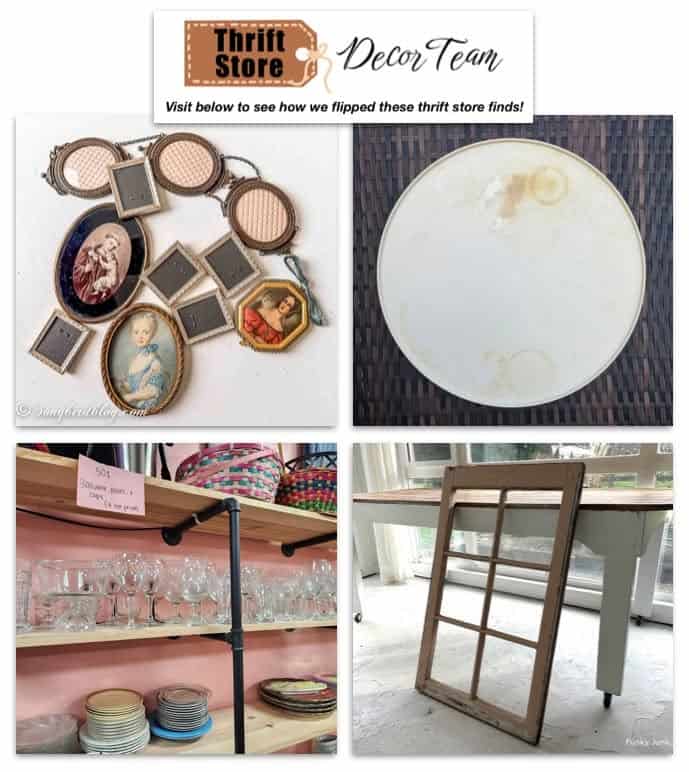
And here are the ugly before images of the thrift store finds, my friends gave a makover. Click the links below to see how these ugly ducklings were turned into beautiful swans.
1. DIY Picture Frame Christmas Ornaments
You Are Here!
2. Thrift Store Lazy Susan Holiday Update
See how Suzanne from Shop at Blu updated a large lazy susan with dollar store supplies!
Check out how Gail from My Repurposed Life turned thrift store glassware and little Christmas figurines into charming waterless snow globes!
4. DIY old window cabinet for laundry room storage
See how Donna from Funky Junk Interiors flipped an window into a cool storage cabinet for the laundry room!