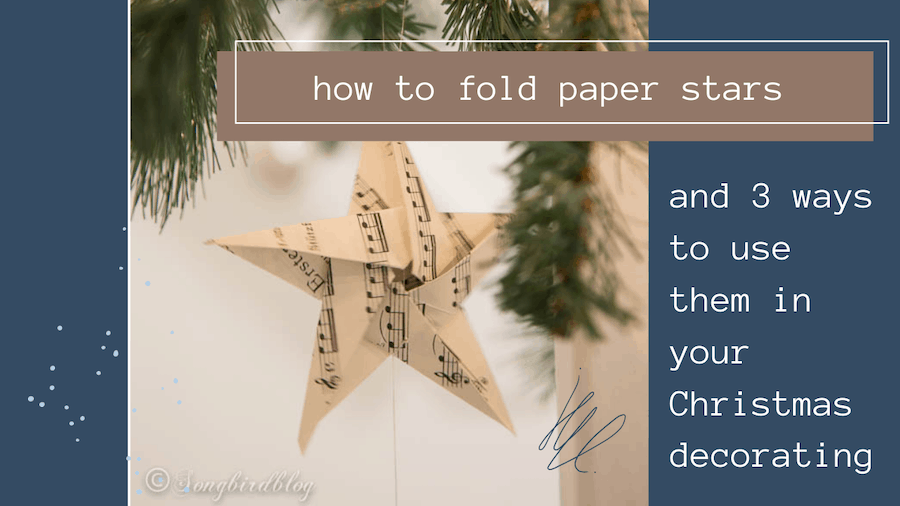
How to fold paper stars and use them in your Christmas decorating (with video)
Do you want to know how to fold those cute paper stars? Or looking for ideas on how to decorate with paper stars this Christmas? Maybe in the mood for a paper star Christmas wreath? Look no more, I’ll show you how to make and use them. It’s much easier than you think.

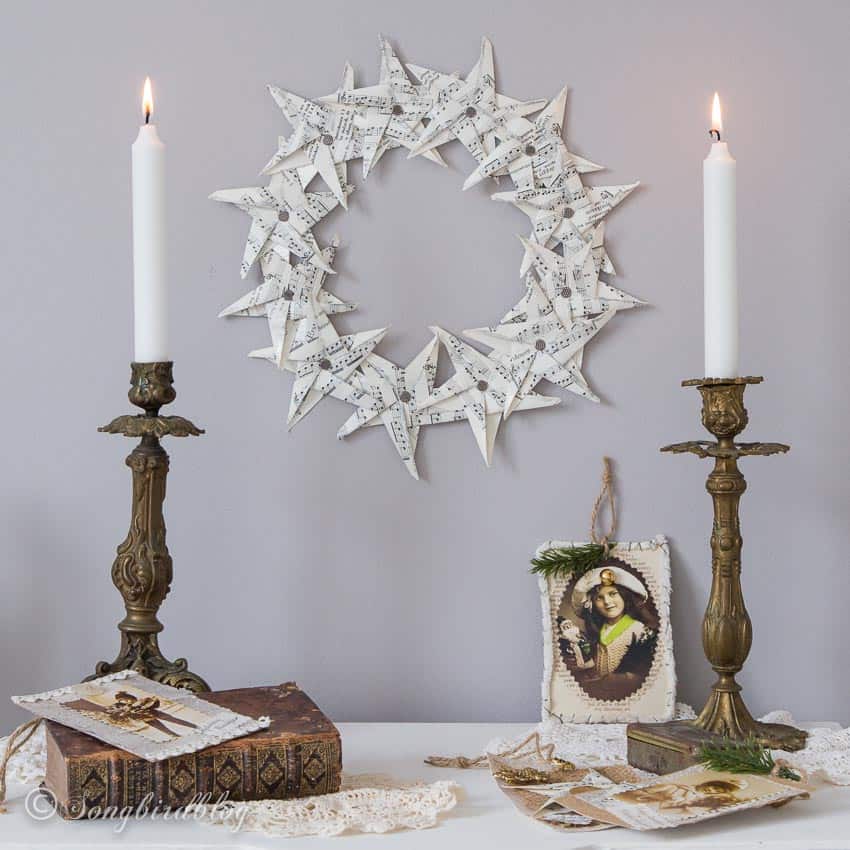
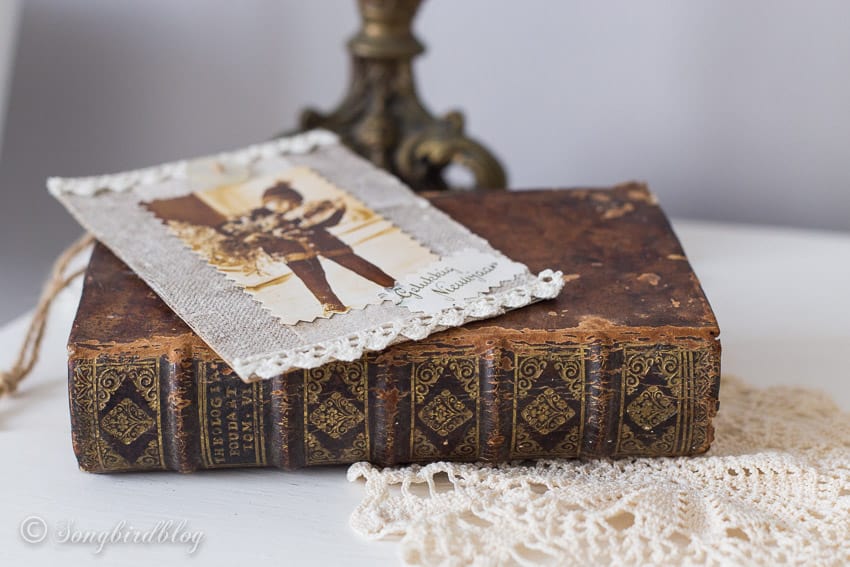
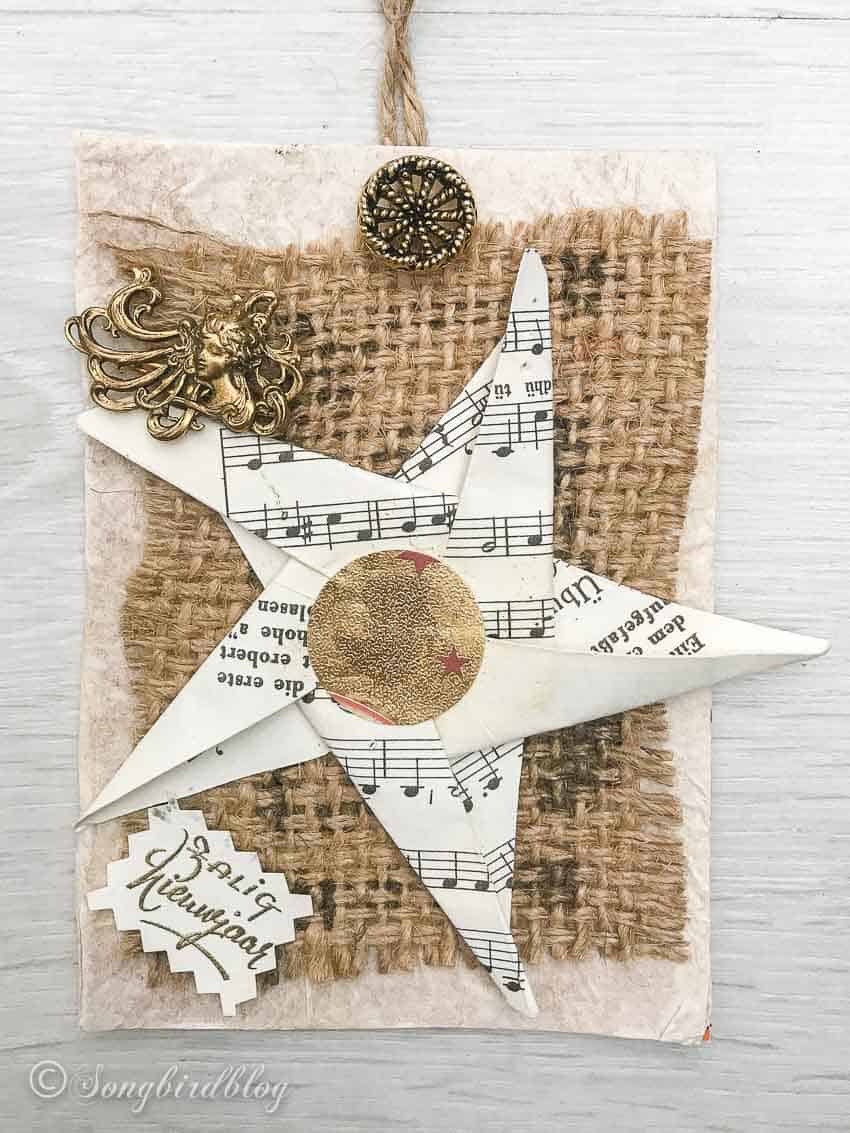
I can’t help it, I am in a vintage Christmas mood. After revisiting my vintage style Christmas gift wrapping ideas, crafting my heart out by making vintage paper Christmas ornament cards and looking at a whole bunch of junk-style Christmas decor ideas, I did one more vintage Christmas style decor project. I made a Christmas wreath from vintage paper stars.
And I am loving it.
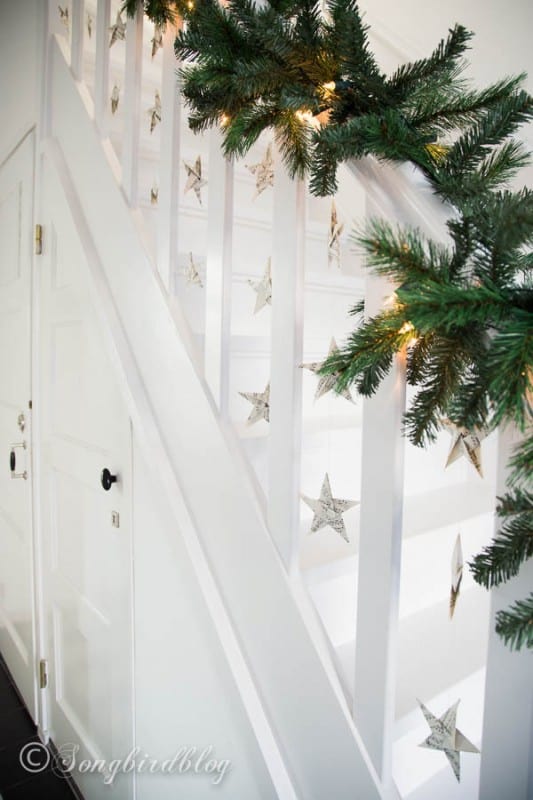
Years ago I made a whole lot of these stars and then used them in my hallway decor as little garlands on my staircase banister. I decided to make them again and this time turn them into a paper Christmas wreath.
Folding these origami paper stars is a lot easier than you might think. Once you have the hang of it, it goes surprisingly fast. I made a whole set of them in one episode of Bones (for the afficionados: “Dancing Phalanges”). During the next episode a made the wreath. That one was even finished before the episode was over.
Okay. Intermezzo…….
Anyone else measure the time needed to do a project in terms of the number of episodes you can watch while crafting? Is this my own personal craziness? Please tell me you all binge series too while playing in your craft room!!
Anyway let’s get on with it. Here are the instructions for how to fold five point paper stars. I have written them out but if you want to you can also watch the video for more precise instructions.
How to Fold A Paper Star: Step 1: Make a hexagon
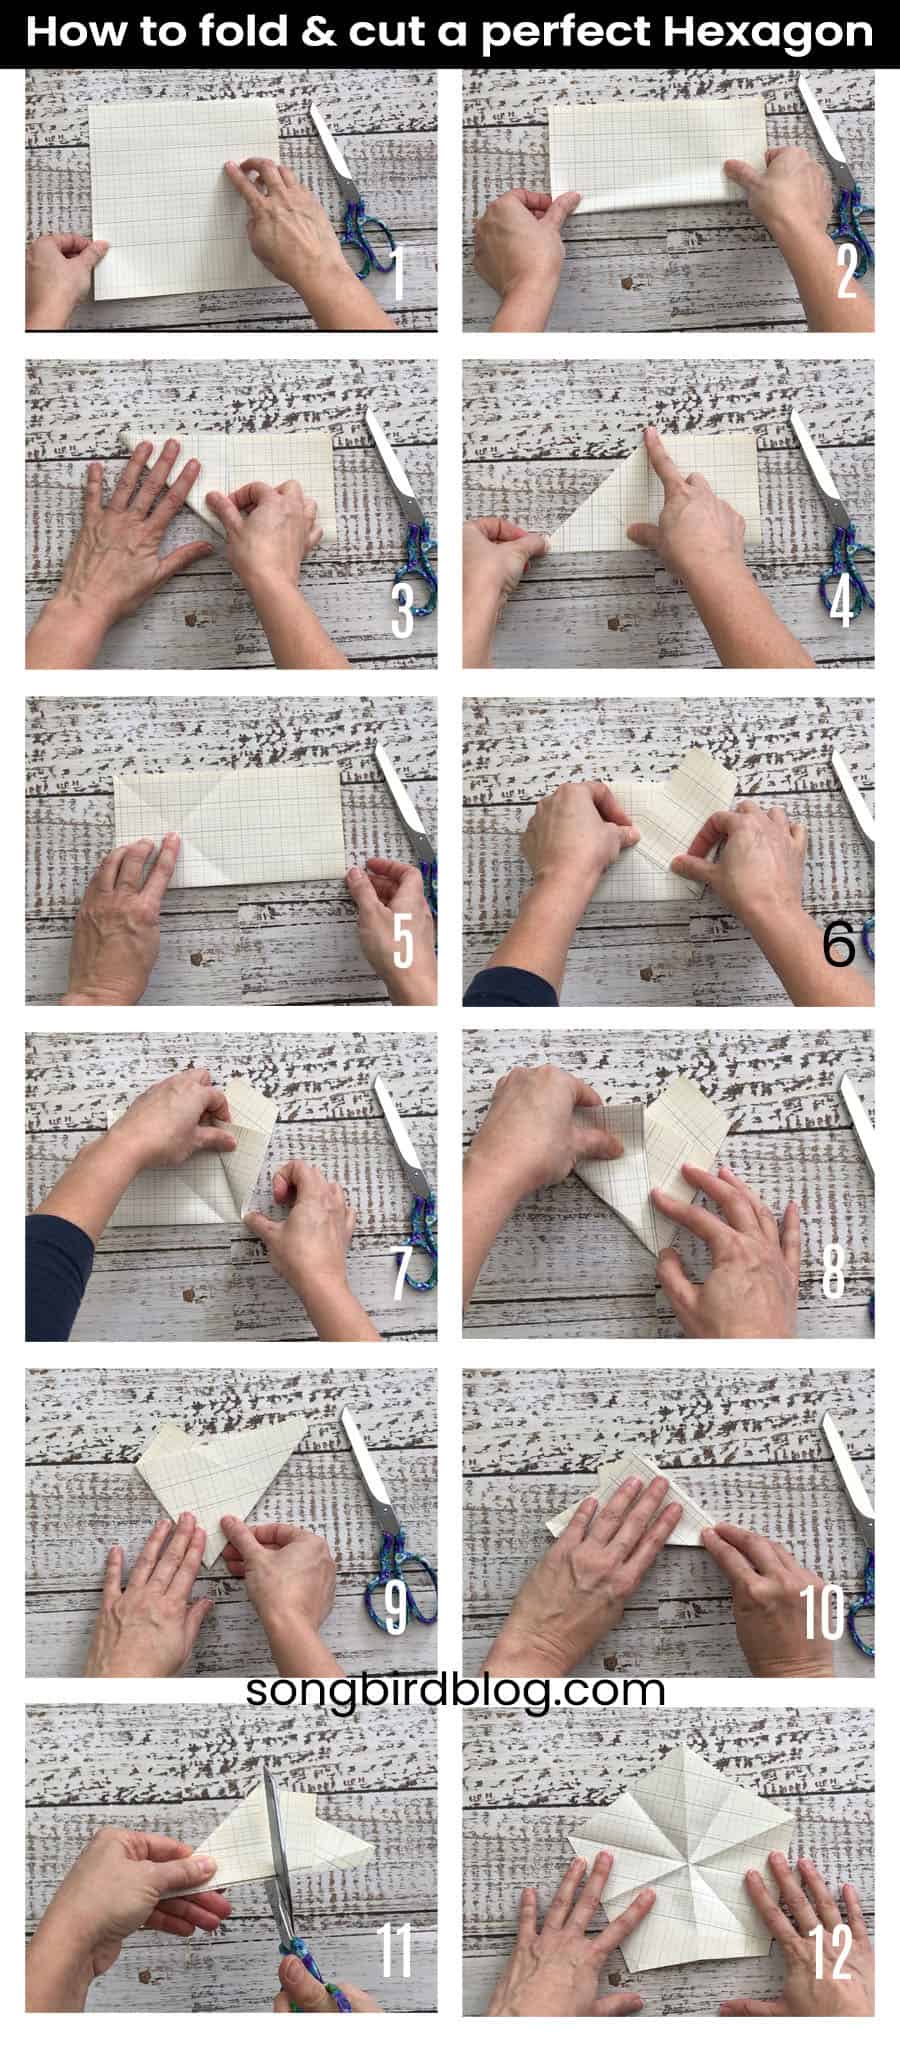
- Start with a square piece of paper that is easy to fold. I have tried making these stars with heavy craft paper and it was much harder to do. Put a a pair of scissors close by.
- For the first step fold your square in half. At all times make sure you make nice strong folds.
- Next bring the lower left corner up to the top. Line it up with the top line.
- Unfold your paper and fold the upper left corner down to the bottom.
- Open it up again. You will have a cross of folds on the left side.
- Fold the lower right corner exactly into the center of that cross. Patt it all down nicely.
- Now you fold the part that you have just made in half. Make sure the little corner at the bottom is nice and tight and line up the sides on the right.
- Follow this up with folding the left part of the paper by bringing the lower left corner up. Allign the paper with the fold you have just made. Again help the corner at the bottom to be nice and tight.
- Now turn it all over.
- Fold in half. Almost done with making the hexagon.
- Cut along the straight line so you have a perfect little folded triangle.
- Open up the paper and you will have a perfect hexagon, with folds across all the diagonals.
f you want to skip this part of folding and cutting your hexagon. You could use a template of a hexagon and cut that out. You would then still have to make all those folds on all the diagonal lines, because we will need those later. I prefer to just fold and cut my hexagon as I go as it is just as fast as cutting a printed one.
HOW TO FOLD A Origami PAPER STAR: STEP 2: Fold the Star
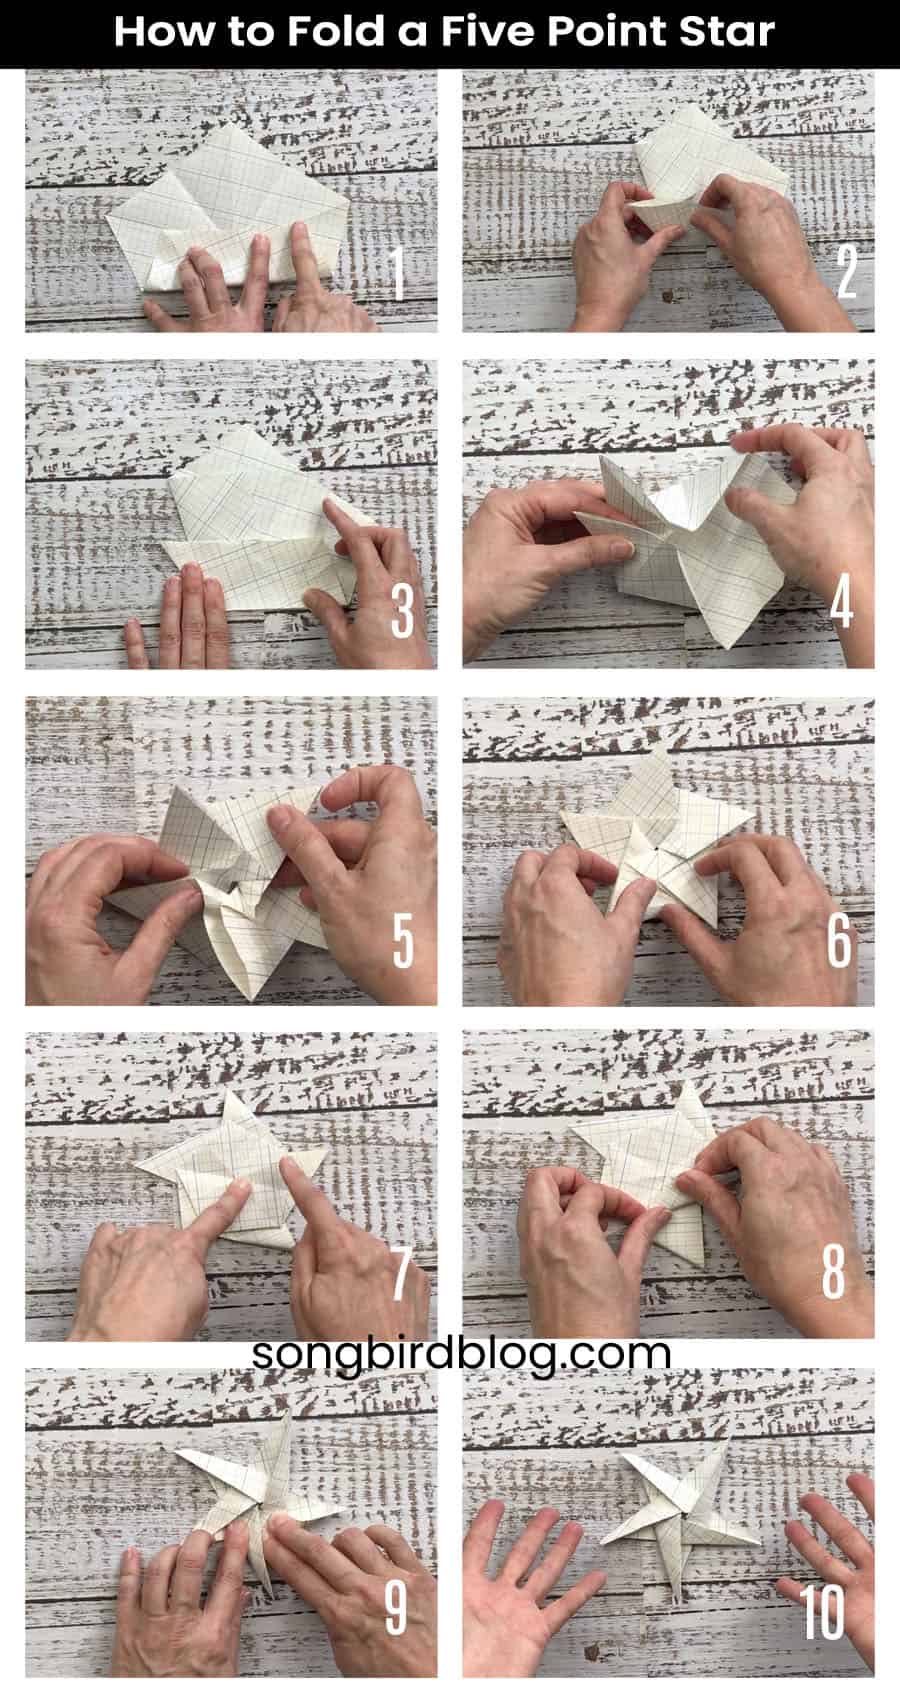
- With you hexagon unfolded again we can start making our star. In the middle you will have a straight fold down, and you have several folds going outward. Bring the bottom up to the two outward going lines as shown in image 1. Make sure your middle folds line up, that way you will know your fold will be level. Again make sure your creases are strong. Turn the hexagon and make this fold five times on every side
- When you have made these five folds, move on to the next one. Fold the left side in along the crease. Fold the bottom up but push the corner on the bottom left side out. You will feel that the paper will want to follow fold lines. Help it along and when it is lined up fold it down. You will be making a small diagonal crease.
- Open up, rotate the paper and do this five more times on every side of the hexagon.
- Next we are going to form our star. Pinch all the corners and try to hold them all at the same time. Push in the inside folds.
- Like magic the star will fold into itself. This sounds complicated but try it, you will see that the star will take shape. If this step is difficult check if all your folds are strong.
- The star is taking shape. For the final step turn it over.
- You will have a small hexagon in the middle.
- Fold every pointed corner into the center.
- The last one will need a bit of help because the center will be inside the first fold. Tidy all your folds.
- Your origami paper star is finished.
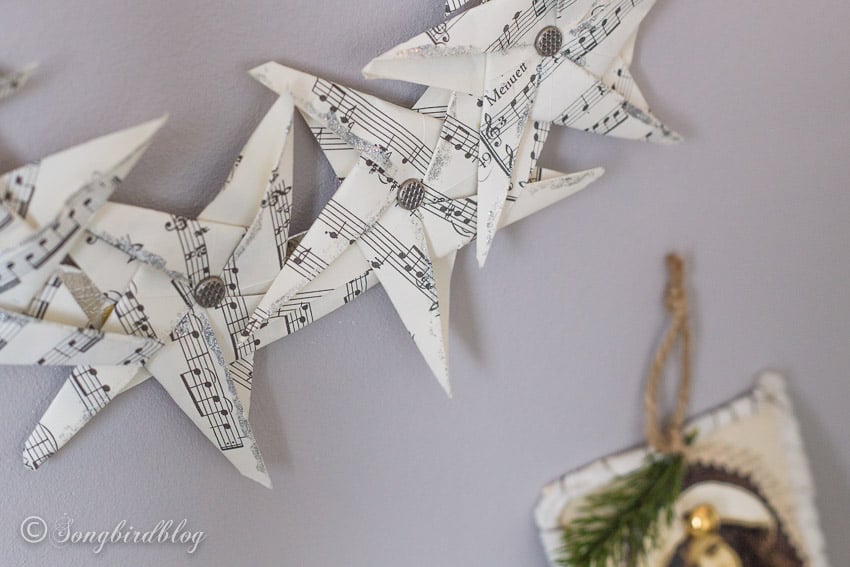
Go ahead and start over again with your next piece of paper. I used vintage music paper to make my stars. If you don’t have any vintage music paper you can buy it in my shop ?.

Or you can find images online and print them (remember use easily foldable paper).
More Christmas Craft Ideas you will Like
<<<< 50 homemade Christmas Decorations >>>>
<<<< DIY flocked Christmas Tree >>>>
<<<< garland stars Christmas mantel >>>>
<<<< DIY Tobacco Basket Christmas Wreath >>>>
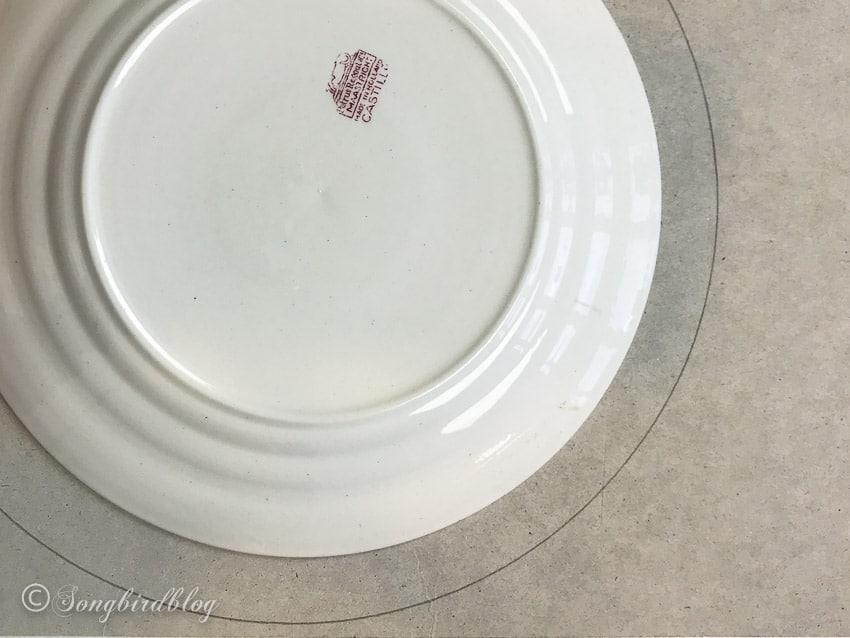
The base of my wreath is made from cardboard. I used a dinner and lunch plate as template. This results in a fairly small wreath. Of course if you want a nice big one, use a bigger template. Makes sense.
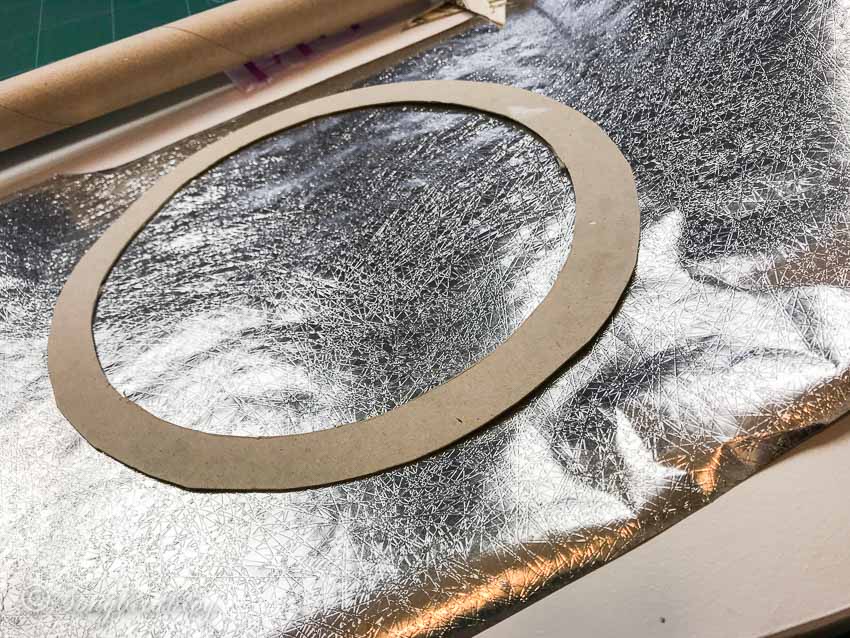
Cover the cardboard with a paper matching your paper stars. The background is likely to be visible so you want to make sure you see something nicer peak through than the cardboard. I used silver wrapping paper, but aluminum foil would have worked well too. If your paper stars are colored, use colored paper.
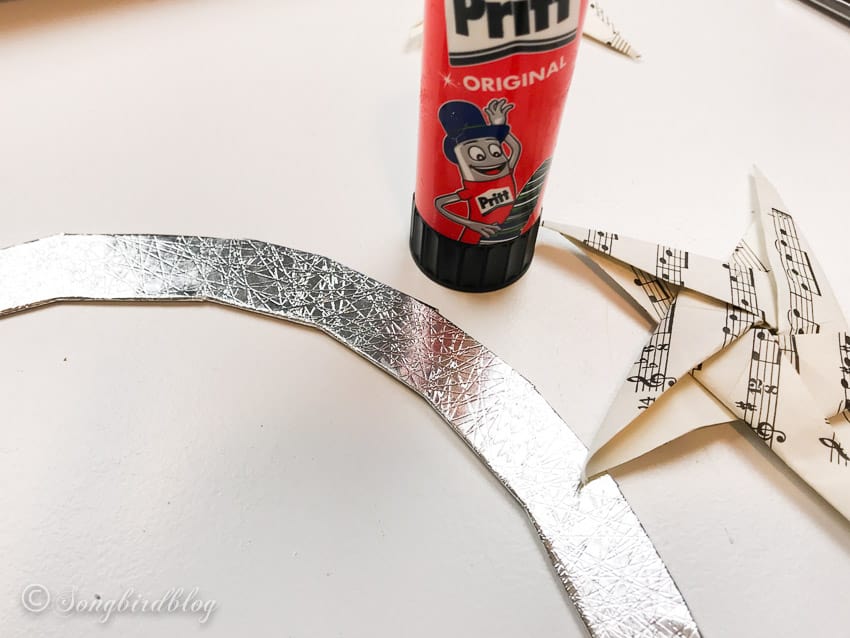
With simple craft glue, I glued my stars onto the base. I let them overlap slightly, but not too much. Just go with the arrangement you like best.

I felt the stars needed a bit extra. That’s way I punched holes in the middle of each star and finished the center with a scrapbooking split pin.
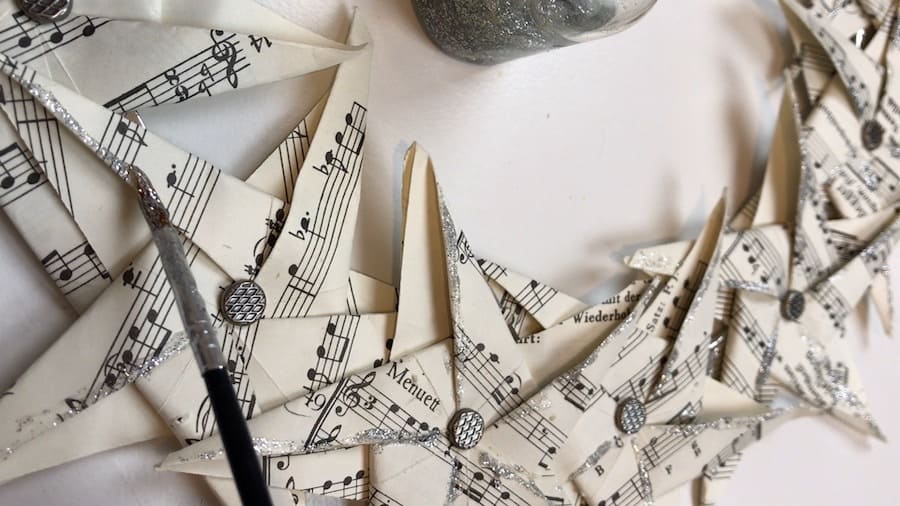
The last part was the best part. I think Christmas decorations just look better with a bit of sparkle. Something to catch the light. My paper stars definitely needed a bit more oomph. So, out came the glitter glue. With a small brush I added glitter to all the inside paper edges.
If all of this sounded complicated and a bit much, it might help if you see me do it ‘live’. Click the image below to be taken to my video, where you can see me fold the stars and here me explaining as I do it.
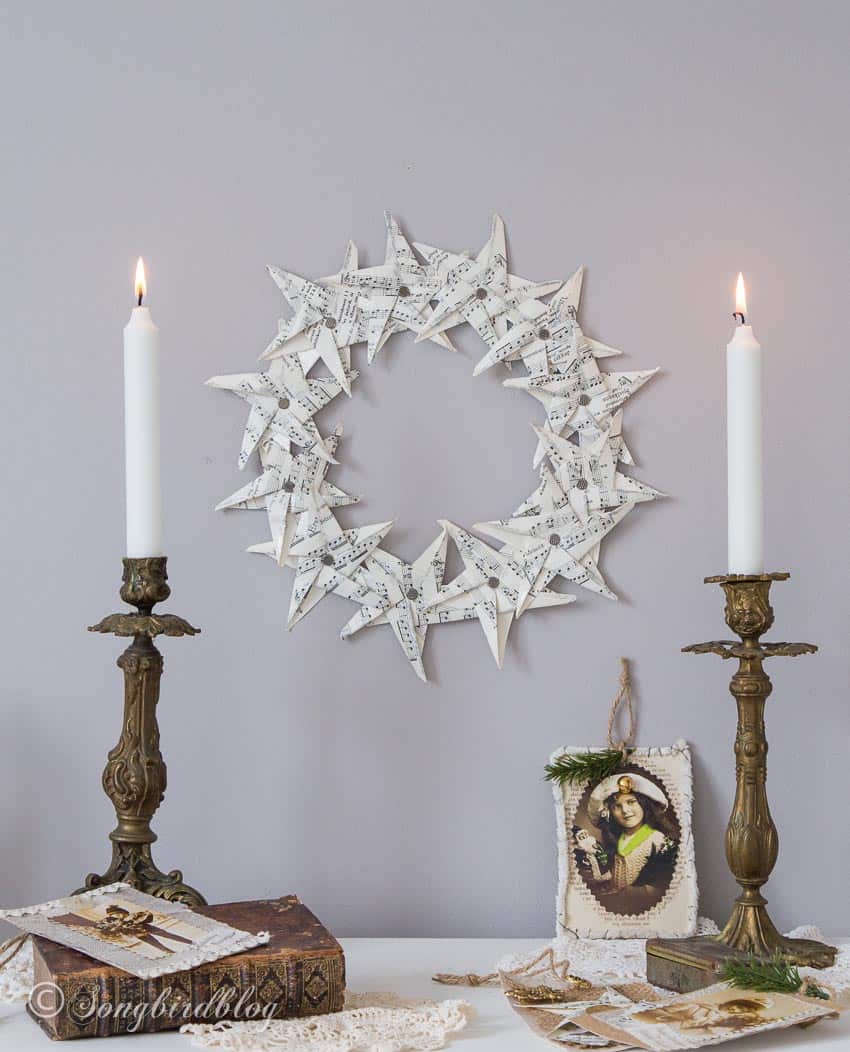
And here she is. My vintage paper star wreath. She asked for a bit of vintage decor. So I made a little vintage Christmas corner.

WANT TO REMEMBER THIS? SAVE THESE INSTRUCTIONS FOR HOW TO FOLD PAPER STARS TO YOUR FAVORITE PINTEREST BOARD!

Have fun making paper stars! Let me know if you are going to make them and how you are planning to use them. I’d also LOVE to see the final product.
This is not a hexagon, it’s a pentagon.