
How to Upcycle Curtain Rings Into Pretty Candle Holders
Learn how to make cute DIY wooden candle holders from upcycled curtain rings. These curtain rings candle holders are fun to make, look great in your home decor, and are a fantastic way to do a fun wooden rings craft on a rainy afternoon.

Did you, by any chance, change your old curtains recently? And now you are staring at a box chock full of wooden curtain rings and wondering what the heck you are going to do with those?
Join the club, after taking down all the old curtains in our farmhouse (that we are living in while renovating it from top to bottom), I was left with an enormous amount of curtain rings and curtain finials in all shades of wood brown. I did not want to throw them all away, but I had no idea if or what I was going to use them for. So I stuck them in a closet in the big barn.
Enter a group of talented ladies who are the queen bees of upcycling and thrift store makeovers, who invited me to join their monthly Wednesday Thrift Store Decor Tour. You can find all their amazing projects for this month at the bottom of this post.
I happily accepted the invitation to join the tour and went thrift store shopping in my own old barn and found that box of wooden curtain rings waiting for a project.
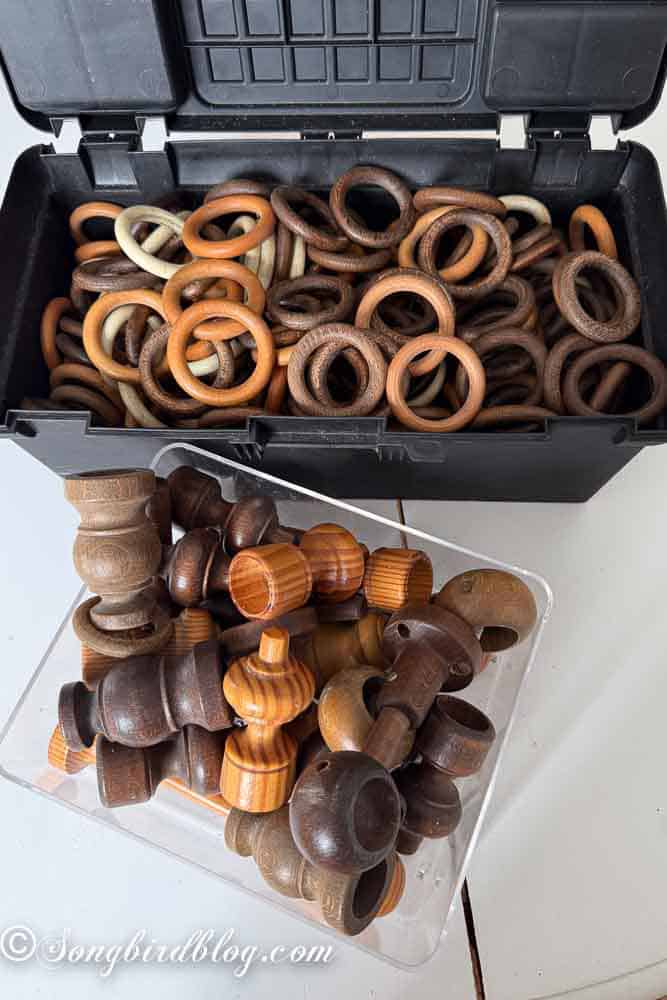
So if you happen to have a box of wooden curtain rings, or spot them during your next thrifting shopping spree, grab them and join me in making some super cute DIY candle holders.
New Here?
Hi, I’m Marianne (aka Songbird)
If you are new here, let me give you some information about our current living situation. We recently bought a 230-year-old farmhouse in Germany and are working on a complete and utter renovation of the house, the barns, and the land.
While working on the renovation, we live in a temporary apartment that we created on the house’s first floor. The apartment is cozy and comfortable but still has a lot of unfinished touches. That’s OK. It will get its final makeover one day. If you’d like to follow our renovating adventures, watch them on our Youtube Channel: Lex and Marianne.

Materials You Need for Making DIY Candle Holders From Curtain Rings
To state the obvious, you’ll need:
- Wooden curtain rings
- Optional but nice are wooden curtain finials
- A strong glue, like wood glue or hot glue (I used hot glue)
- Optional but nice are some paint samples in your favorite colors
- Small craft paint brushes
- Craft paper or the like, to protect your work surface
- Tea lights as candles
- Some time, a bit of patience, and your creativity
How to Make Upcycled Curtain Rings Candle Holders
1. Step one: Clean the curtain rings and finials
Pro tip for the best DIY makeovers: Do Not Skip the Proper Cleaning Step
I know, it is boring, and you just want to start the fun part immediately. But to have a nice and pretty outcome, one really must start with a good clean. I didn’t photograph it, but I gave all my wood pieces a good soak and scrub in water with paint prep cleaner. Let all your curtain rings and finials dry while you sort through your stash of paint colors to find the best combination.
2. Step two: Prepare your craft station
Gather your paints and some craft paint brushes. I decided to use a selection of paint samples I bought when trying to decide a color palette to use in our farmhouse makeover (not set and finalised just yet, but getting there, I’ll keep you updated). I had two wall paint colors from Farrow and Ball (a blue/grey named De Nimes, and one named Card Room Green), and three furniture paint colors from Rustoleum named Eucalyptus, Antique White, and Laurel Green. All are chalk paints, and I had a feeling they would look good together.
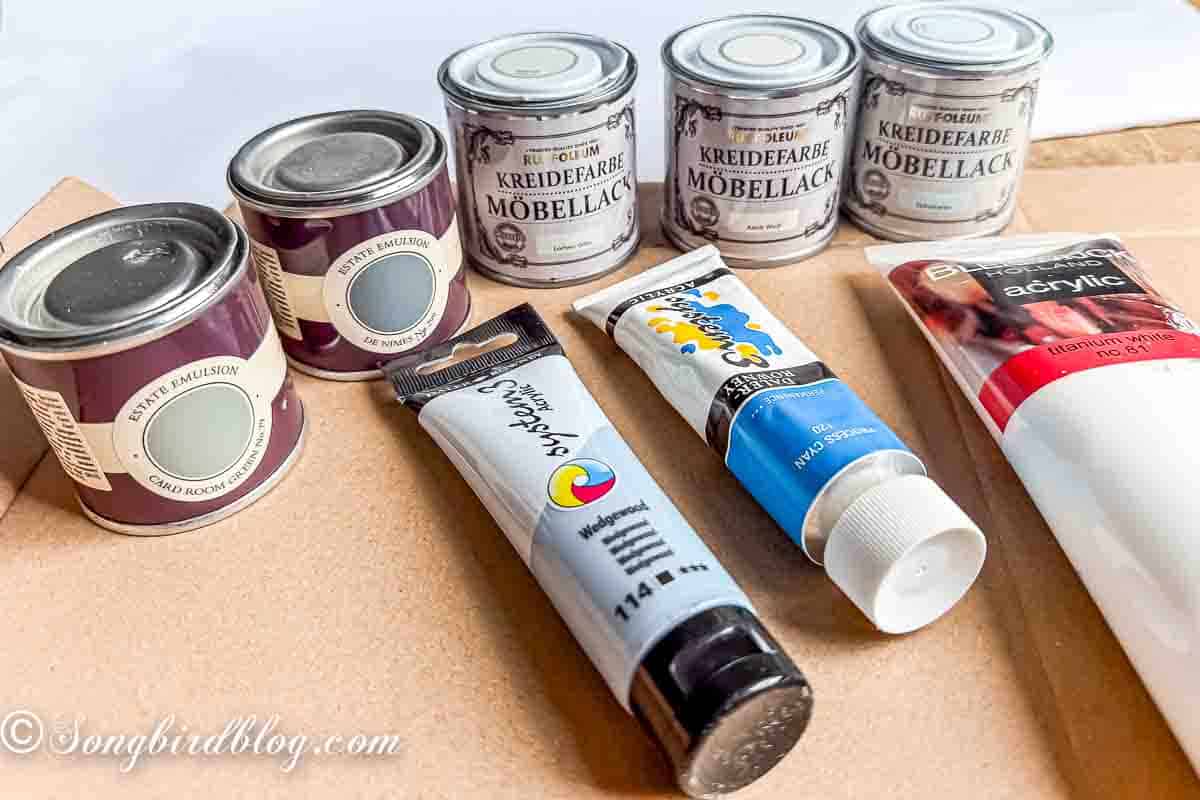
The other craft paints in the picture were an option that I ended up not going for.
I put down some craft paper to protect my desk, and also prepared some space with baking paper to use as a (hopefully) non-stick drying station.
3. Step three: Try out some designs
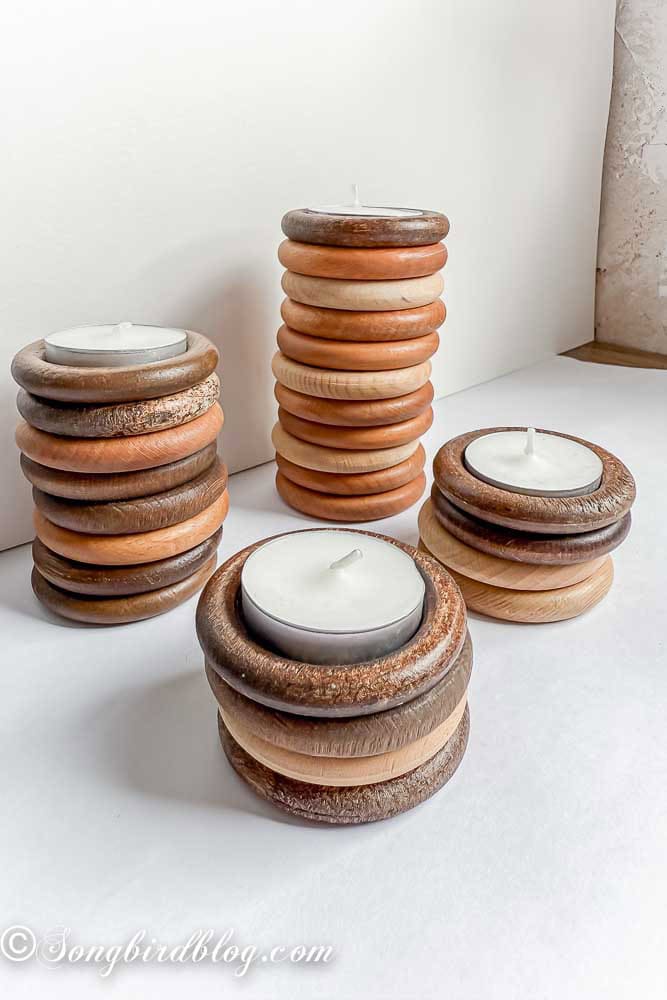
Before starting on the painting of the curtain rings, I tried out some designs to help me figure out how many rings to paint in what color. I used the different wood colors to give me a hint of how it would look. Of course, in the end, I just decided to paint a whole lot of them in different colors and figure it out later. But that is how I roll…
At this stage, I realised there were slight size differences between the rings. I was lucky to find one size that was the perfect snuggly fit for a tea light. I simply pressed the tea lights in place and decided to paint those curtain rings with the candles inside because the fit was so tight, I was afraid the tea light wouldn’t fit anymore if I painted the rings first.
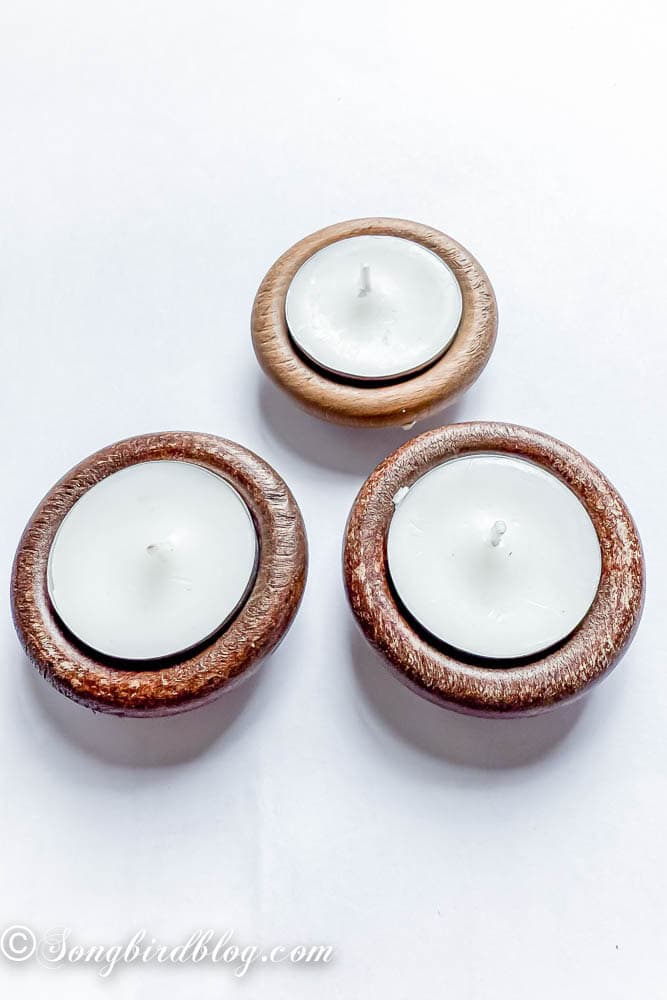
4. Step four: Paint the curtain rings
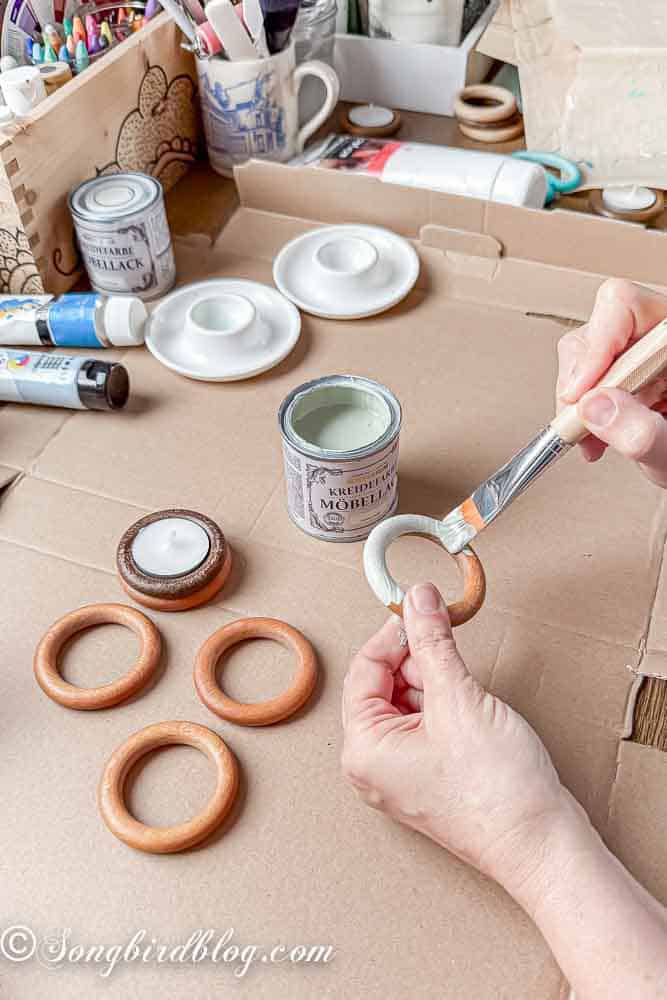
With a small craft brush, paint the rings and set them to dry on a sheet of baking paper.
I gave them all two coats before I started to assemble them.
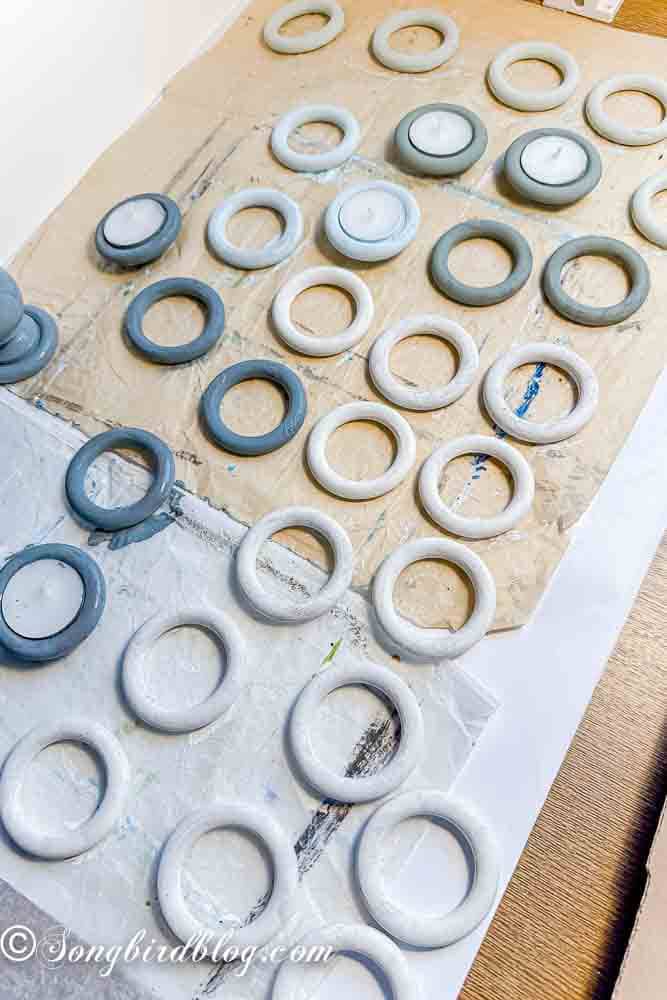
If you have the patience, give them a lot of time to dry because the paint will be sturdier the longer it has had time to set.
5. Step five: Glue the curtain rings into candle holders

You can use wood glue for this step, but I used hot glue and a hot glue gun. And I was glad I did because the hot glue set fast, but I was also able to unstick some attempts that were less perfect and simply redo them. A more permanent glue, like wood glue, would not be as forgiving.
The first tea light holders I made were simply stacked curtain rings. I played with the different colored curtain rings until I liked how they looked.
✅ Whenever you are going to do a hot glue craft like this, I highly, no, strongly recommend that you use finger protectors to avoid blisters. Ask me how I know…
Pro tip for hot-gluing curtain rings together: Try to use a thin line of hot glue and aim it more at the inside rim of the curtain ring. You don’t want big blobs of glue coming through on the outside. Have an old rag ready to wipe away excess glue that shows up in spots where it is not meant to be.
5b. Step five B: Get creative with curtain rings and finials

After the first three stacked curtain rings candle holders, I got ambitious and started to come up with more interesting designs. I had painted some finials too, and found out that with a bit of help of glue, I could stand them inside a curtain ring. And then one thing led to another…
I made the dark grey wood candle holder first. Just some stacked rings and a finial. Then I came up with the three curtain rings glued together while standing. It formed a perfect triangle to attach another set of stacked curtain rings with a tea light.
The last DIY candle holder I made was the one where I balanced the curtain rings on an upright ring that was standing on a painted finial. It took some fiddling and patience to get this one just right, but it is my favorite now.
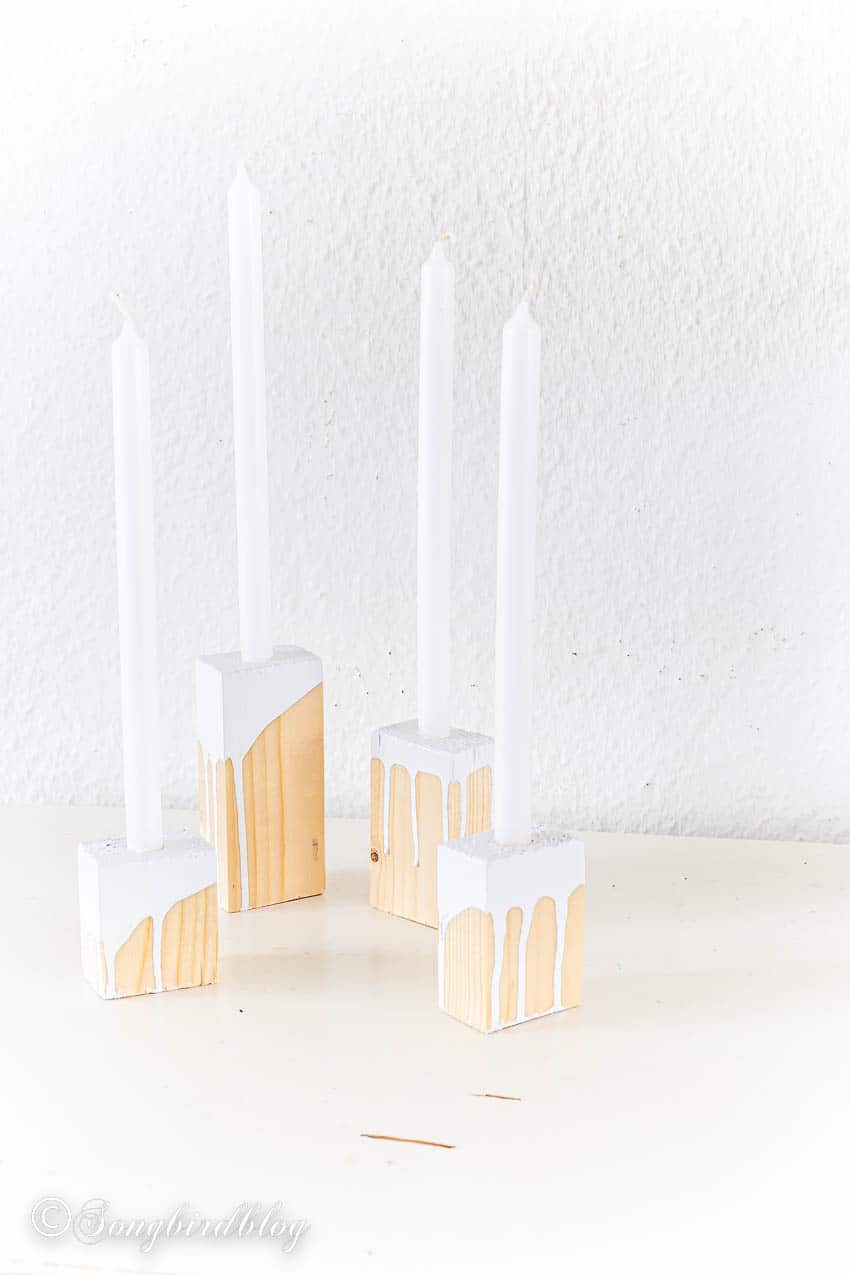
More DIY Candle Holder Ideas For You


6. Step six: Do some paint touch-ups

If your crafting goes anything like mine, then pretty much nothing goes right in the first try. I had to reposition some rings and especially my more creative designs involved some trial and error. The paint finish got damaged from all the fiddling and removing of hot glue.
I decided to just touch up the paint with one of the smallest craft brushes I had. That worked perfectly and really gave all my curtain rings candle holders a perfect finish.
And then all there was to do was style my little candle holder vignettes and photograph them for you.
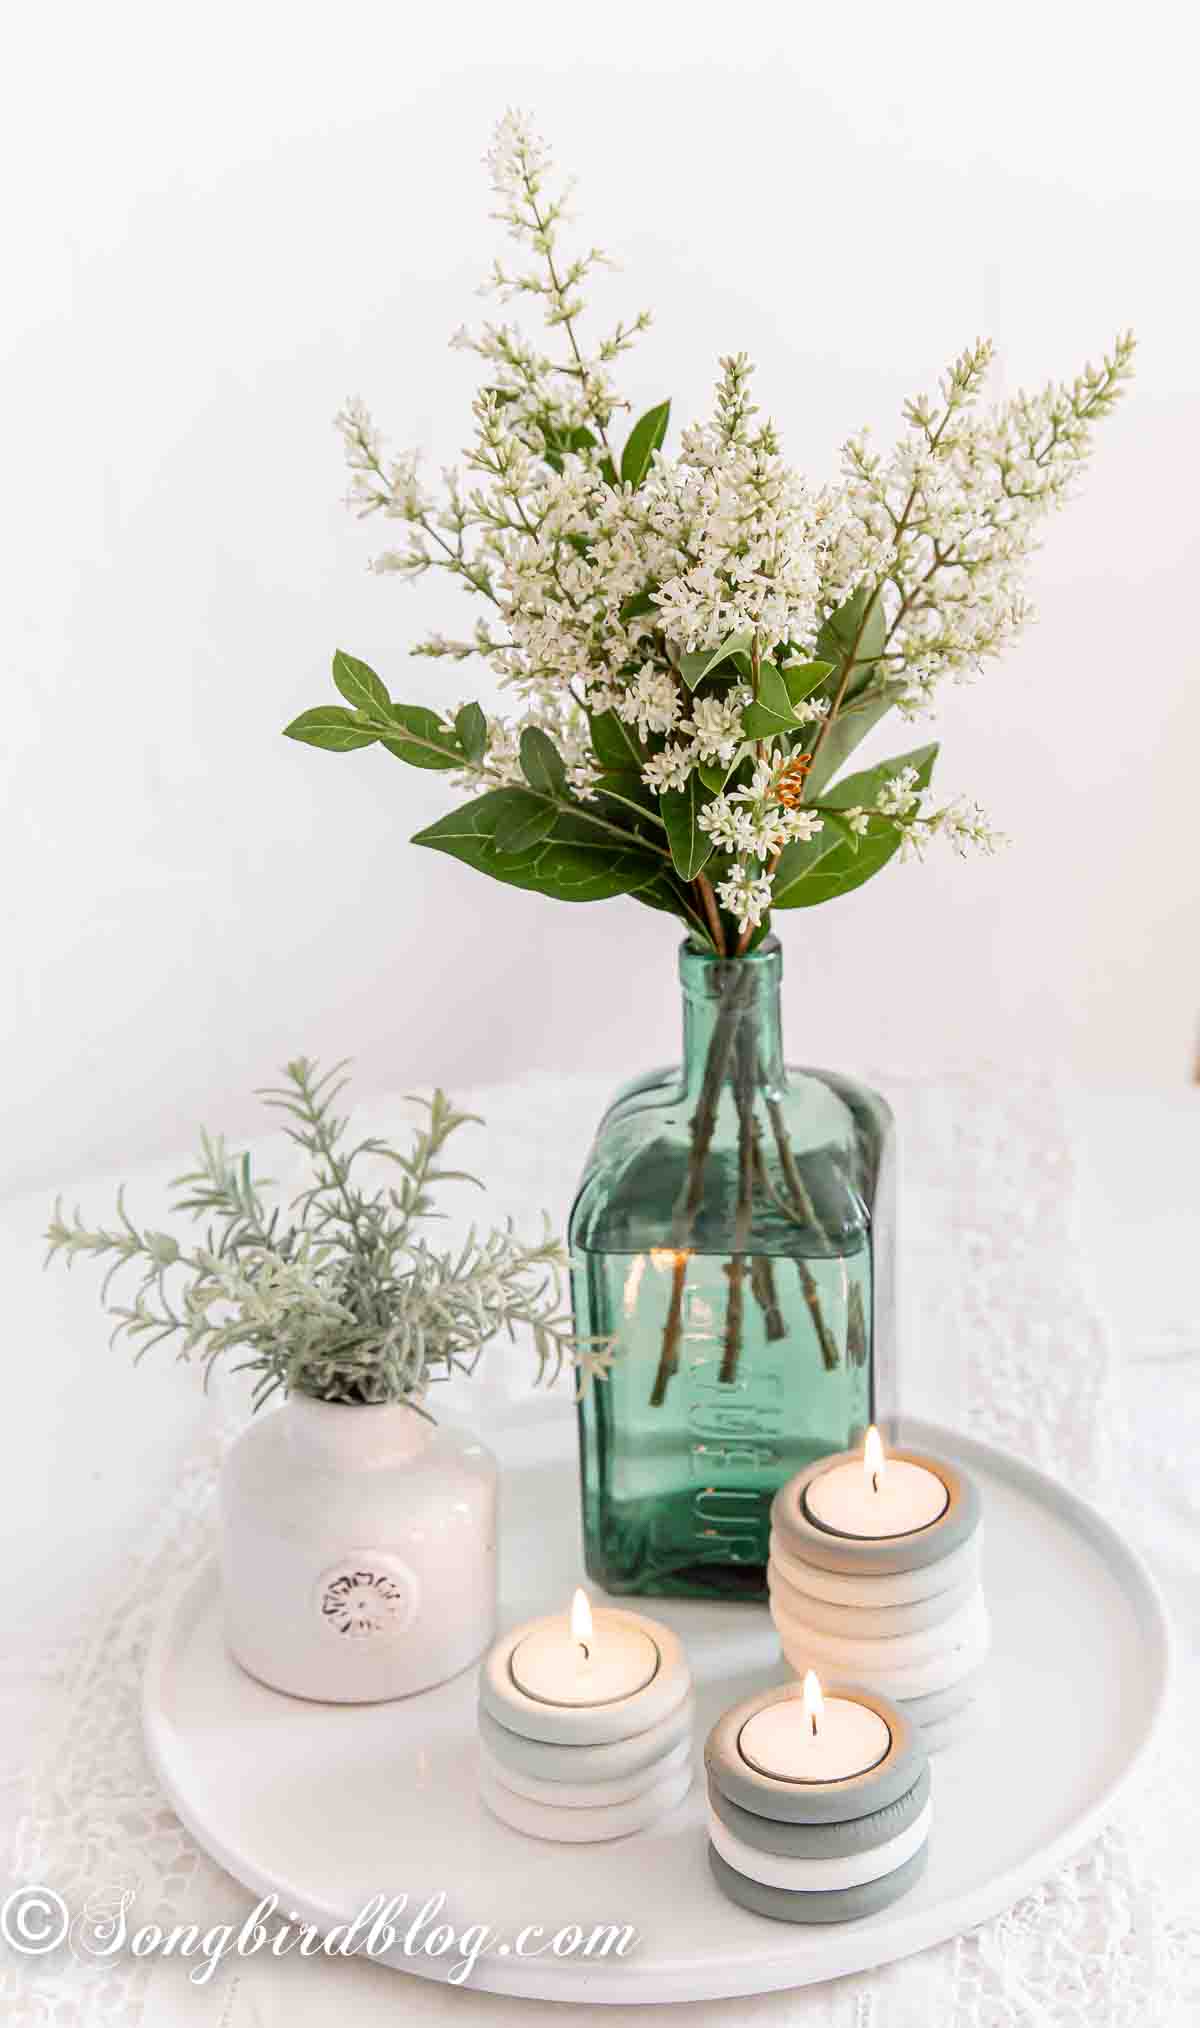
I have loved making this project. It is such a great feeling to have reused something from this old farmhouse (it was built around 1780) for this old farmhouse. It is my first but definitely not my last makeover project I will do with all the finds I saved when clearing out all the rooms, attics, and barns on this place.
So, what do you think of my little curtain upcycle project? Let me know in the comments. I love to hear from you.
And then go and check out the amazing creativity of the other Thrift Store Decor Projects on this tour.
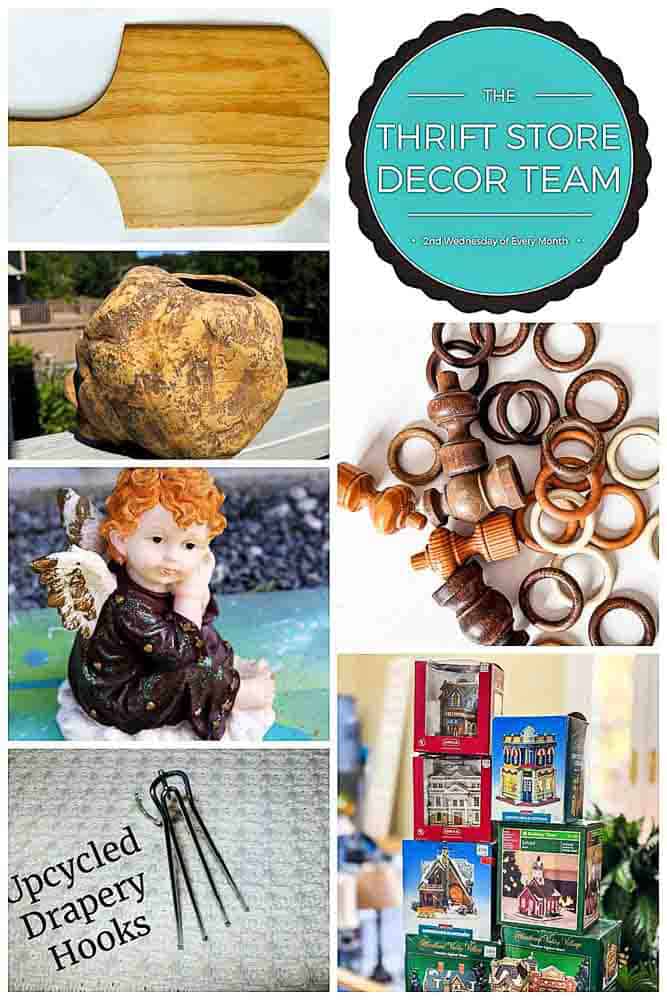
Thrift Store Decor Tour….
Faux Rock Finish – Shop At Blue
Upycled Drapery Hooks – My Repurposed Life
Gingerbread Village – Our Southern Home
Paint A Plastic Cherub Statue – Petticoat Junktion
Double Sided Decoupage Cutting Board – Our Crafty Mom
Songbird (you are here)

If you liked this curtain rings candle holder DIY project, don’t forget to pin it to your favorite craft Pinterest board.


Marianne,
Your curtain ring candle holders are so creative and pretty! I threw some wooden rings out years ago because I didn’t know what to do with them.
Pinned!
gail
Thank you so much! I am sure there will be more wooden rings in your future sometime. I for one still have about 200 of them to use in future projects….
Marianne, I am so excited that you are on the Team! I’m fascinated by your Germany restoration and I plan to follow along. How incredible! And these little candle holders made from curtain rings are fabulous. I’ll be keeping my eye open for those little buggers at the thrift store and yard sales…they would add some interest to any candleholder! Pinned!
Hi Sue, thank you, I am excited to be part of the team too.
Welcome to the team!! I adore this project. I’m kicking myself for recently donating some old rings. This is so clever. I can’t wait to dive into your German farmhouse!!
Leuk gedaan Marianne!
These turned out so beautiful!!! Love that you are on our thrift store team! I have a bunch of these lying around, I might just have to try something like this out, thanks for the inspiration!
Love how easy and elegant these candle holders turned out, Marianne!
Don’t forget to join us over at the Creatively Crafty Linky Party every Wednesday through Sunday
Pinned!
Creatively, Beth
Thank you! I am quite pleased with how they turned out too.
Thank you for sharing, Marianne! We will be featuring your project this week at the Creatively Crafty Linky Party starting Wednesday! Creatively, Beth
Thank you very much, Beth!
These are just lovely! Congrats on your feature at Creative Crafts Party! We’d love to have you link up each week at Tuesday Turn About, too! Hope to see you there!