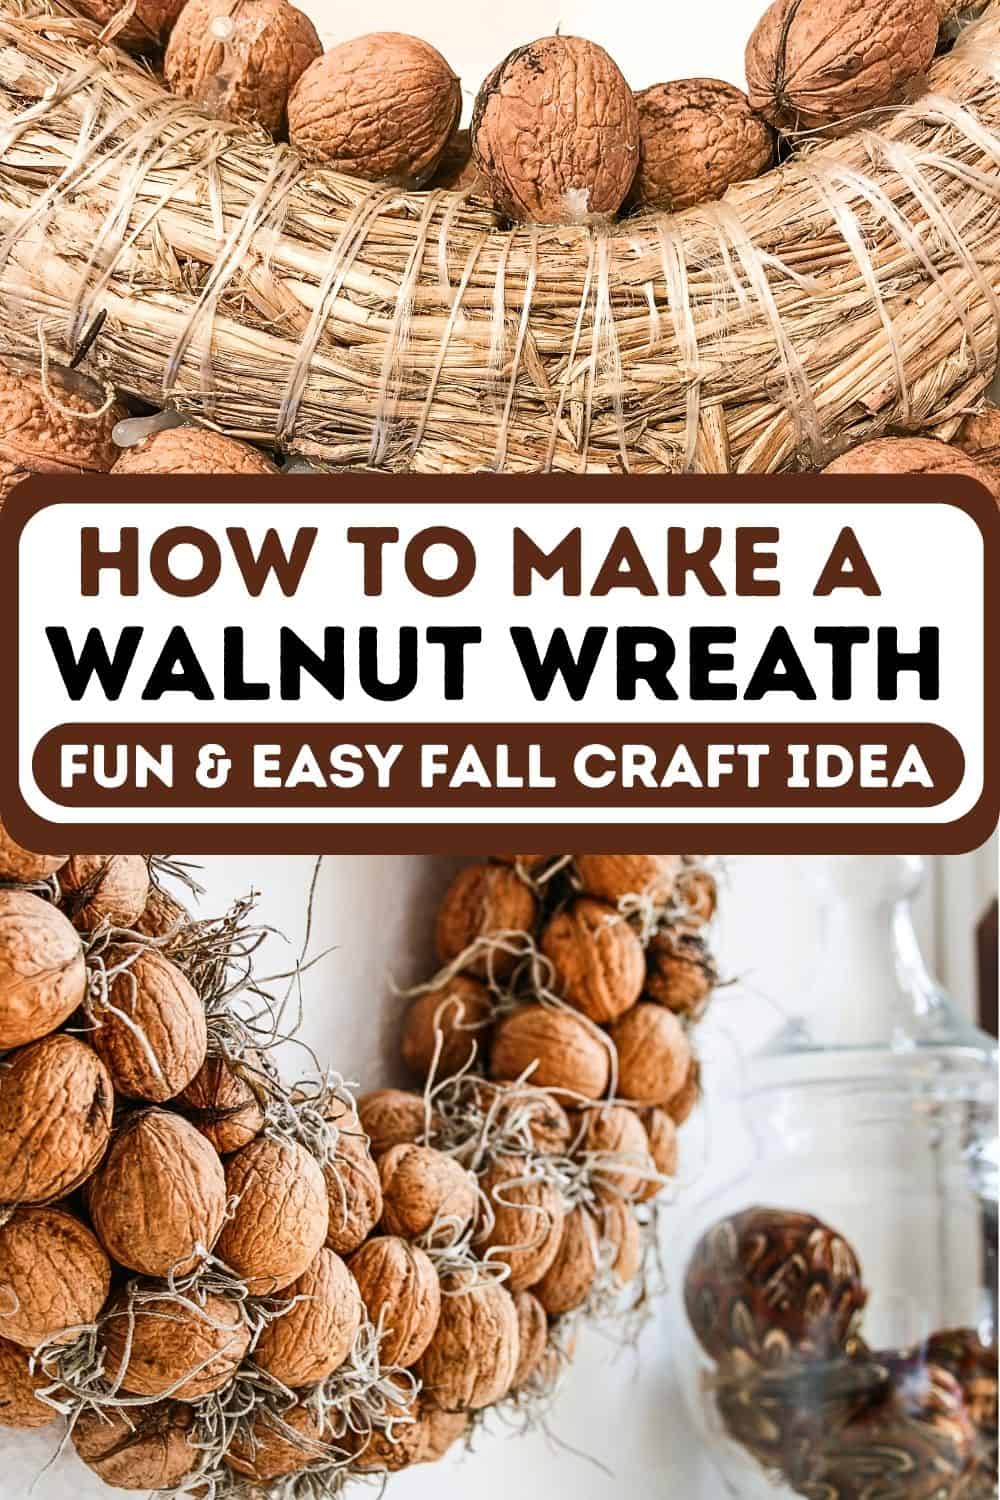
How to Make a Walnut Wreath (for free)
Looking for instructions on how to make a walnut wreath? Look no further, here is a full tutorial with tips and tricks for a DIY walnut wreath.
When someone hands you a bag of last year’s leftover walnuts, what do you do? Well get out the glue gun of course! Because it is time for some fall craft fun and make a bit of pretty fall decor with a harvest wreath to hang on the wall.
Making a nut wreath is an easy fall craft that involves hot gluing a big bag of nuts onto a straw wreath. You can do it with any kind of nut you have easy access to. Just make sure the nuts hold their shape as they dry in.

Chestnuts, for example, shrink and lose their shiny exterior and become dull as they dry in. I wouldn’t spend an hour or two gluing chestnuts into a wreath for that reason. Walnuts however are perfect for turning into a fall wreath.

If you don’t have a big bag of free nuts available. You can make a pinecone wreath this way too. Pinecones can be found in abundance and for free in any park of woodsy area. Pinecone wreaths can also be easily changed from fall wreath to Christmas wreath. See my fall to Christmas pine cone wreath story here.
Okay, here you go. Here are my ‘super complicated’ (not) instructions for making this “works for every season and holiday” nut wreath

How to Make a Walnut Wreath
- Grab supplies: straw wreath, a big bag of (free) walnuts, hot glue gun, and glue sticks
- Start hot gluing the walnuts to the wreath
- Glue some more
- Realise you are burning your fingers and need finger protectors
- Glue until the whole wreath is covered
- Push little puffs of Spanish moss into the openings
- Hang on wall or mantel
- Admire
✅ Whenever you are going to do a hot glue craft like this, I highly, no, strongly recommend that you use finger protectors to avoid blisters. Ask me how I know…
Keep reading for additional tips for when you decide to give this walnut wreath tutorial a go

You can see here that I pushed the walnuts really close together, alternating the direction of the walnuts as I went to make sure they sat together snugly. This left only very small gaps in which I simply stuffed some spanish moss (no need to glue that).
Walnuts are not that heavy but it still is a good idea to use a generous amount of hot glue when sticking them to the straw base.
Related Reading: Budget-friendly fall crafts for adults.

Here you can see the backside of the nut wreath. Those blobs of hot glue are totally not visible from the front, but it shows you don’t have to be precise. Just glue.
I didn’t glue any nuts to the back because that would prevent the wreath from laying flat against the wall.
In fact it is easiest to work on this wreath while it is laying flat on a table. That way you can see how it will hang on the wall. Just hold it up from time to time to check if all the walnuts have stuck really well to the straw form.
And that is it. There really is not much more to it.

A DIY walnut wreath: perfect for some fall decorating.
After the autumn season this walnut wreath can easily be turned into a very pretty walnut Christmas centerpiece that works great for Advent too. Go see it! It looks really nice.
And of course:

Don’t forget to pin these DIY walnut wreath instructions to your Pinterest board so you can remember it and reference it later. And make me happy!