
DIY Nativity Paper Bag Luminaries (No Cutting Machine Needed)
Turn plain paper bags into glowing nativity silhouette luminaries. An easy, meaningful Christmas craft with just a sharpie, sand, and flameless candles. See it styled in a lovely Christmas vignette.
Every December there comes a moment…
The decorating is done, the gifts are wrapped, and I’ve sworn I’m done crafting for the year. And then when I am about to sit down and to settle down for my umpteenth watch of The Holiday, the itch creeps back in. Maybe I have one more craft project in me? Maybe I should do something with that spark of inspiration that hit me in the twilight hours.
Sound familiar? Maybe your moment happens when the grandkids show up and beg to make something. Or you find yourself with one more free afternoon and just enough energy for one more craft session. If you can relate I have the perfect craft project for exactly that moment.
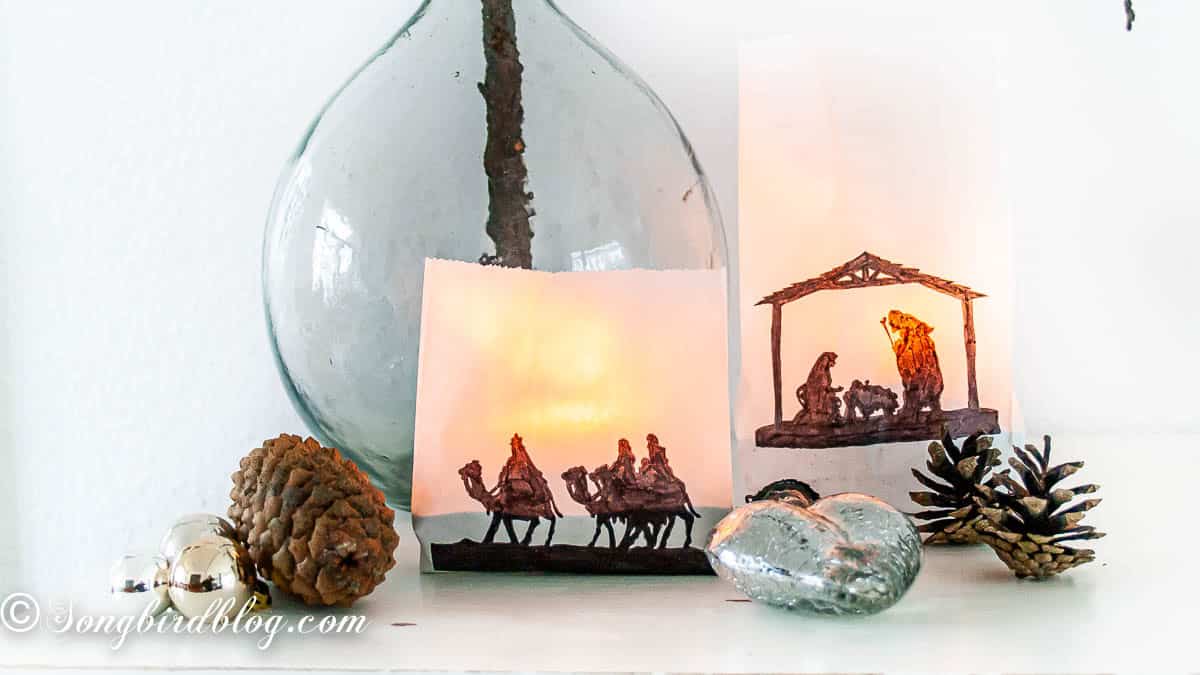
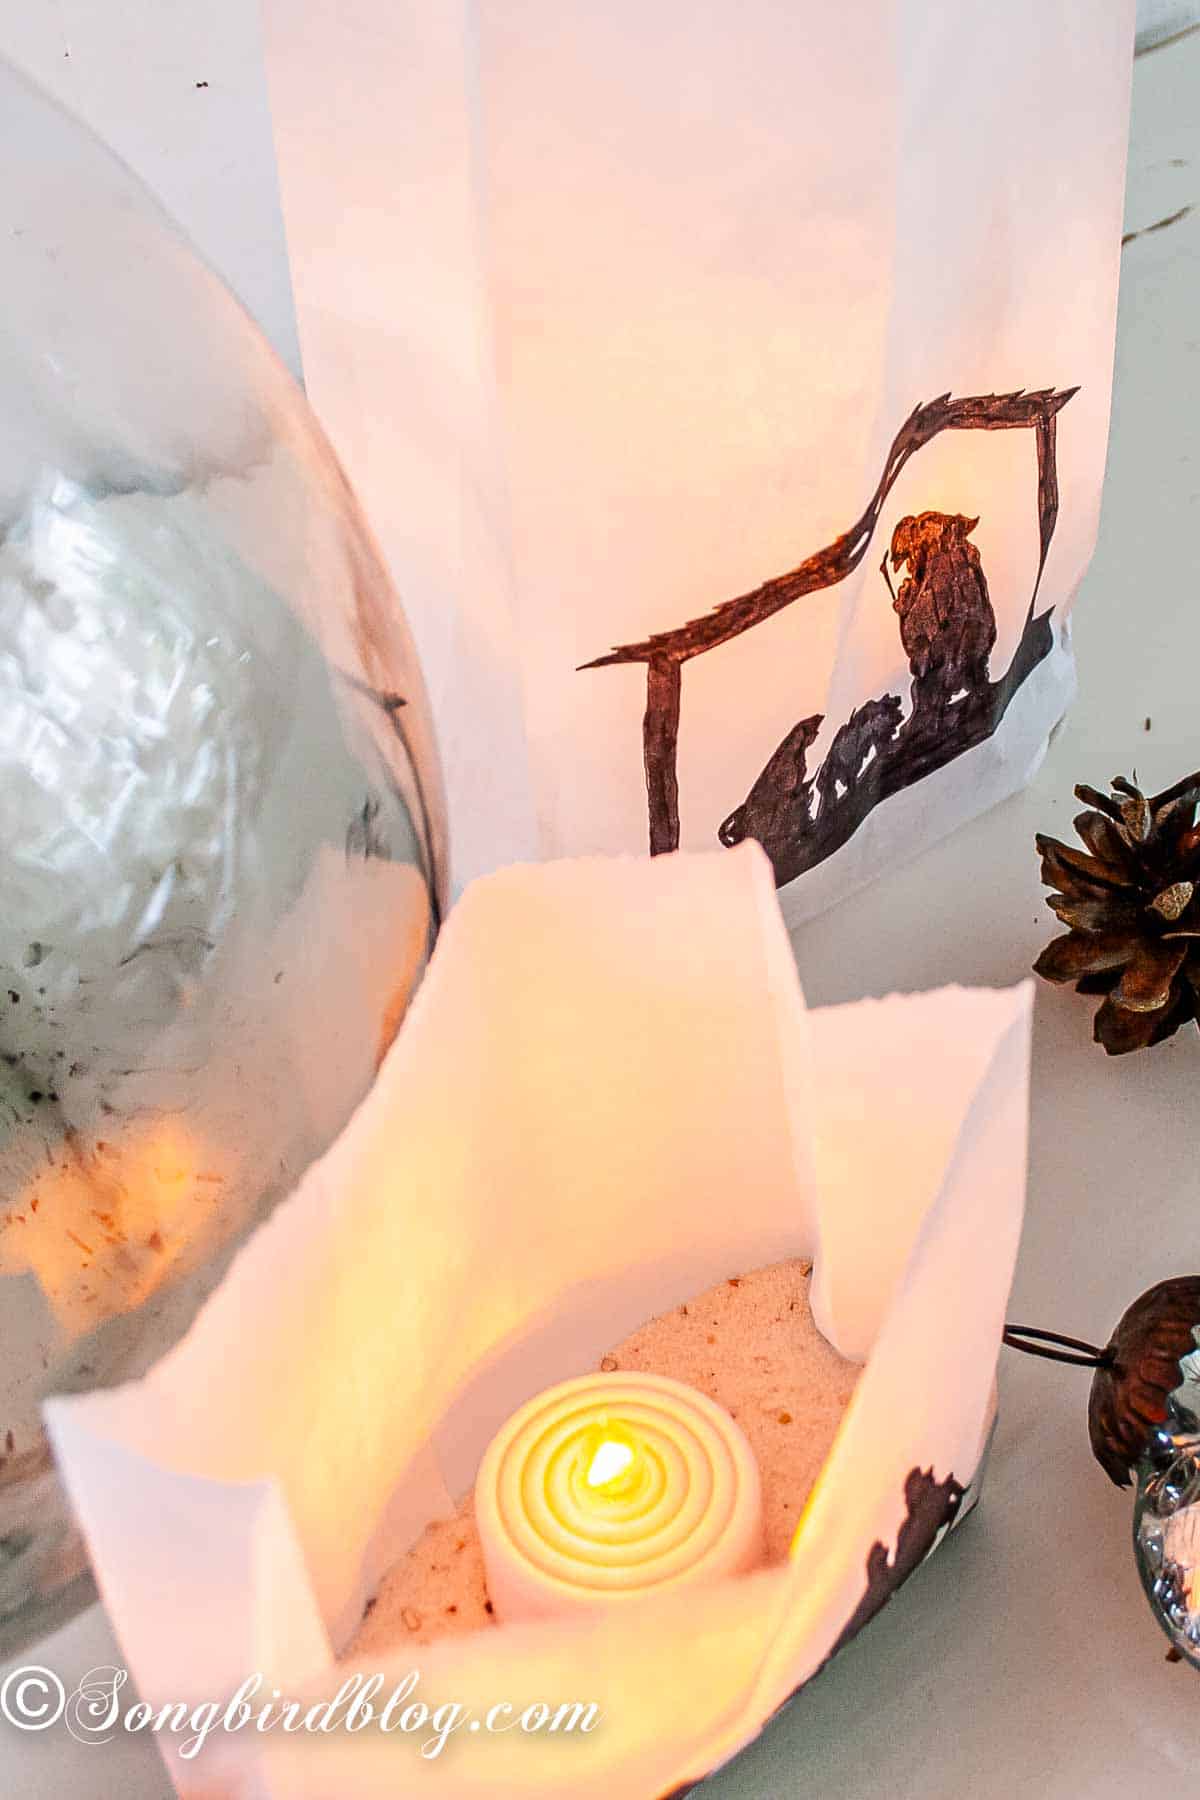
Today’s little Christmas craft brings you a homemade nativity silhouette, and it might be the simplest thing I’ve ever shared here. It started with plain white sandwich bags from the grocery store. The same bags you pack lunches in. An hour later they had become a set of softly glowing nativity luminaries, and honestly? I didn’t want to stop looking at them. I styled mine with a tall vase of pinecone branches and some silver ornaments, and it looks like something from a magazine, if I say so myself. If you are into styling decorative corners and little Christmas displays then check out my guide and inspiration post for Christmas vignette making.
There was something almost meditative about the whole process. Tracing and coloring takes you straight back to kindergarten, in the best possible way, and it leaves lots of quiet time to ponder the real meaning of Christmas. Coloring them in with a black sharpie took me right back to my childhood years. Although I have to confess, I was never the kind of kid who drew all the time. I didn’t have time then. There were too many books to read.
Before you start, one quick thing. At the end of this post I’ve answered the questions everyone asks about making paper bag luminaries. Including the one about whether they’re safe with real candles (short answer, please don’t). Stick around for that.
Come on, let’s take a peek.
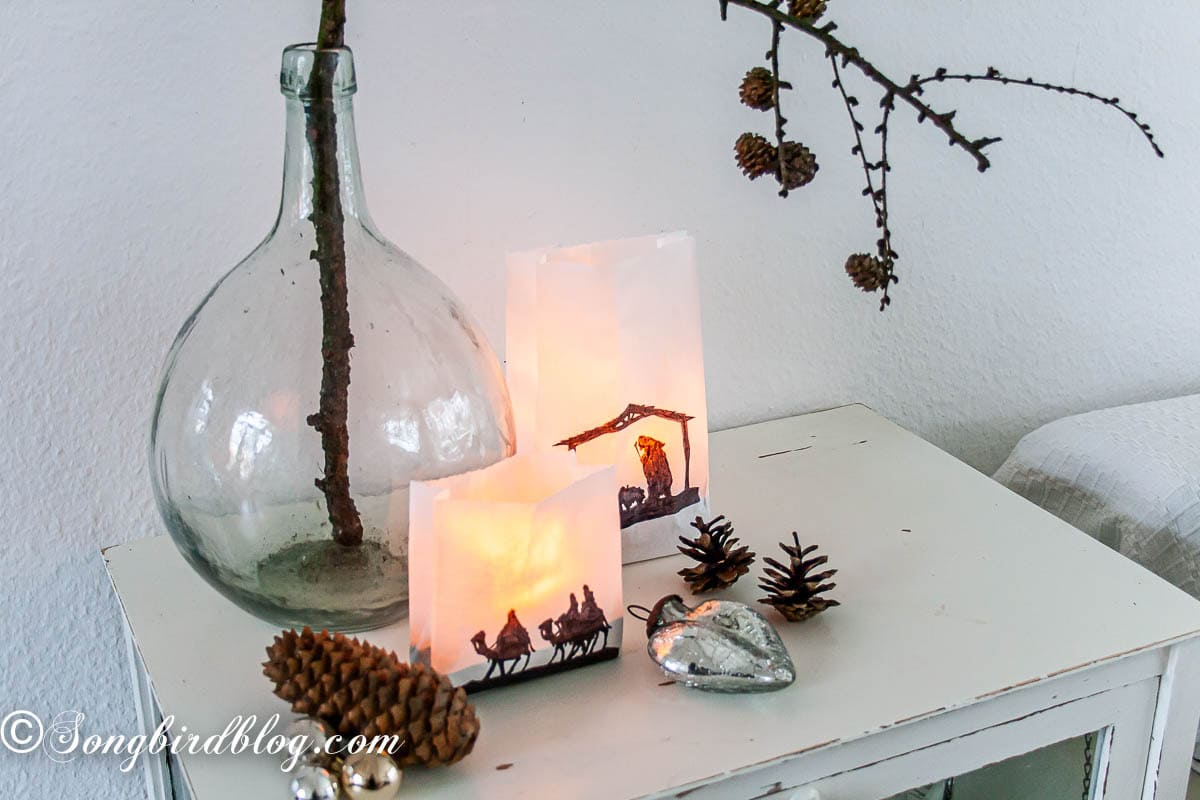
Supplies You’ll Need for Making a Nativity Luminary
You don’t need much special for this project. You can all pick it up at the grocery store when you do your shopping of the week (or you probably have everything in your kitchen drawers).
- Plain white paper bags (sandwich bags or lunch bags both work)
- A nativity silhouette to trace (more on where I found mine below)
- A printed version of you nativity silhouette of choice (no printer? use my trick I explain in the FAQ)
- A regular pencil for tracing
- A black sharpie
- Sand (or another weight for the bottom, I share options in the FAQ)
- Battery operated flameless candles
- Pinking shears, optional, if you want a decorative edge
That’s it. No cutting machine. No fancy supplies. Nothing to plug in.
P.S. if this craft leaves you wanting more candle projects, my sweet candle jars are next on the list.
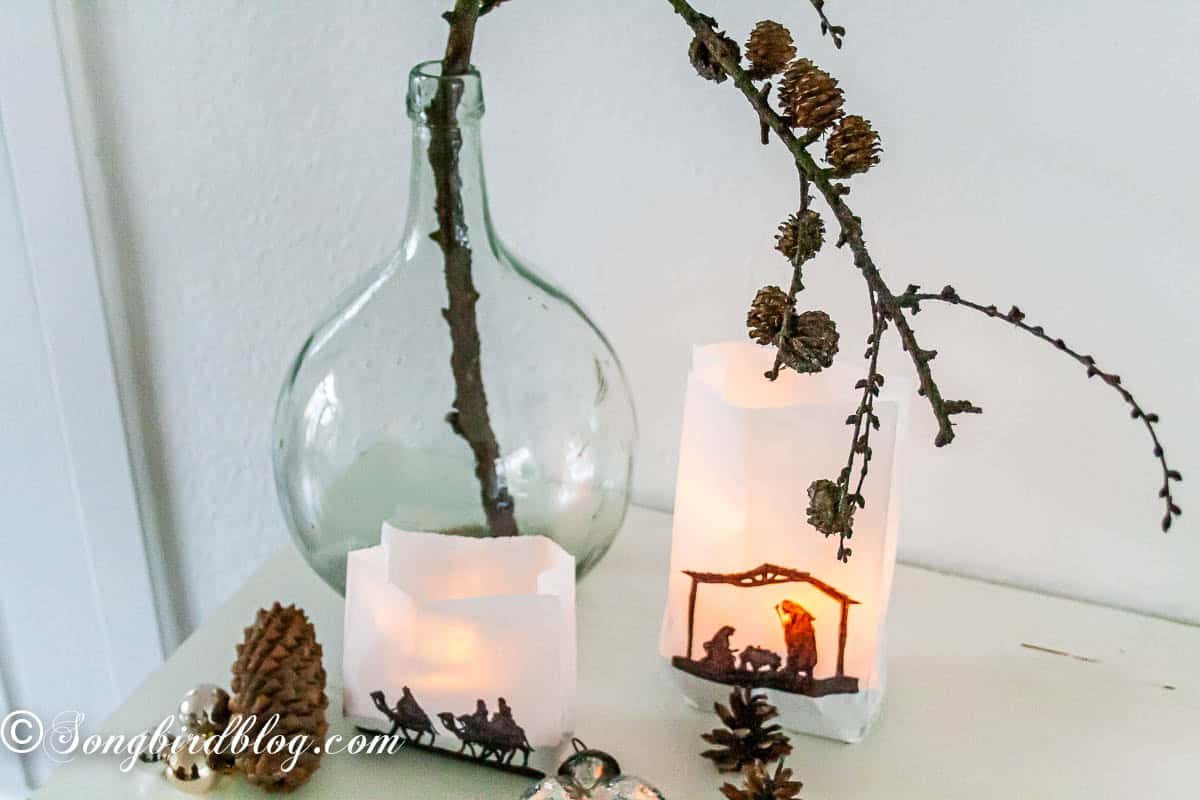
How to Make Nativity Paper Bag Luminaries
The trick I learned the hard way: don’t try to print directly onto the bags. I tried it, and the paper didn’t take the ink very well. The smudged mess went straight into the recycling. Here’s the method that actually works.
- Find a nativity silhouette you like and print it out on regular printer paper. Cut the printout to size so it slides neatly into the bag.
- Slide the silhouette into the bag and hold it flat against the front. Trace the outline lightly with a pencil. The bag is thin enough that this takes almost no pressure at all.
- Take the printout back out, then color in your traced nativity silhouette with the black sharpie. This is the meditative part. Put on some Christmas music and take your time.
- Fill each bag with an inch or two of sand. This gives the bags stability and a proper bottom so they stand up straight and don’t lean. If you like, trim the top edge with pinking shears for a little extra something.
- Nestle a flameless candle into the sand, turn it on, and line your luminaries up along the mantel, the window sill, or arrange them in a little Christmas vignette.
Step back and watch them glow. That’s the whole tutorial. It really is the easiest Christmas decoration I’ve made in a long time. And yet the most meaningful.
And if lighting things up is your love language, I’ve gathered 15 DIY candle holder ideas perfect for Christmas too. Between the luminaries and the candleholders, your room will glow all season.
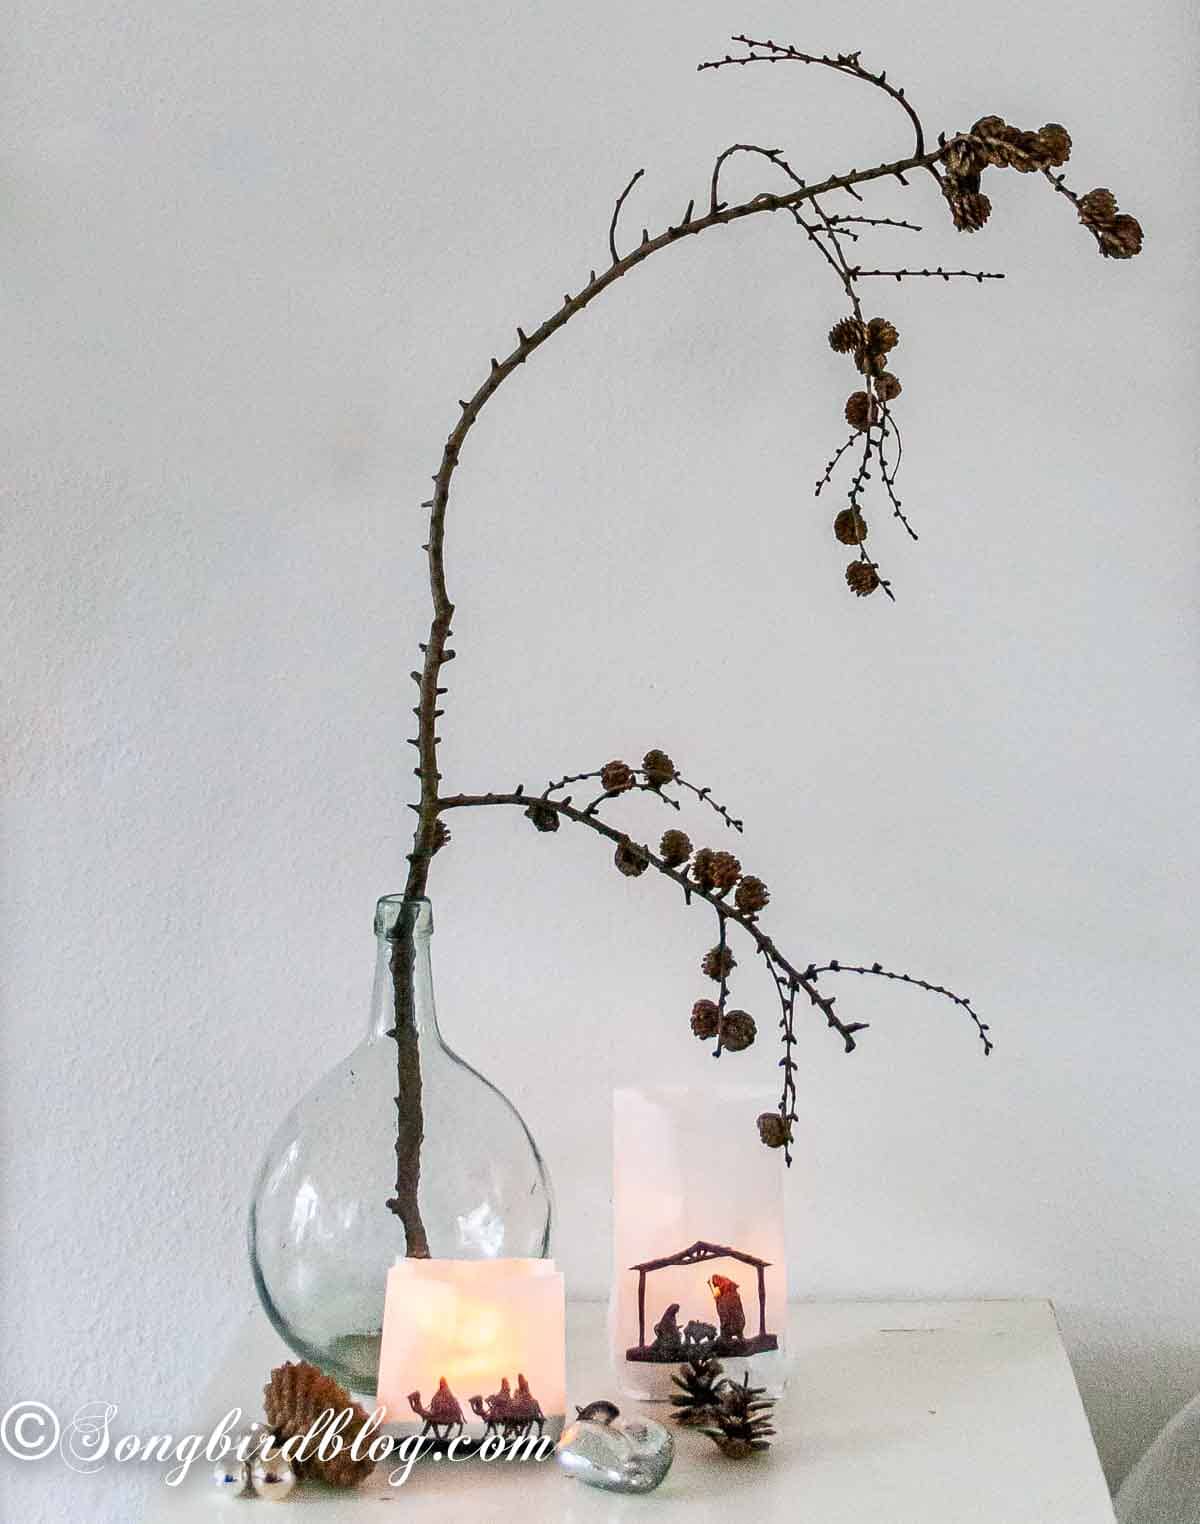
Where I Found My Nativity Silhouette
I found some beautiful nativity silhouettes over at You Seriously Made That and traced mine by hand. If that source isn’t your style, a quick search for free nativity silhouette printables will give you plenty of options. Look for a simple, solid silhouette with a bit of open space around it. The simpler the shape, the cleaner your traced version will look, and the better it reads in the dark.
One note on size. Sandwich bags are small, so a silhouette with a lot of fine detail will get lost. I looked for scenes with one clear shape, Mary, Joseph, and the baby, and let the glow do the rest.
Frequently Asked Questions About Paper Bag Luminaries
Are real candles safe in paper bag luminaries?
Please don’t. A paper bag plus an open flame is a fire risk, and these bags are light enough to shift and lean. Battery operated flameless candles give you the same soft glow with none of the worry. I use them in every luminary I make.
Can nativity luminaries go outside?
Technically these could. But I wouldn’t do it. Although the sand makes them heavy enough so they won’t fly away, I am betting that the paper does not do well in moist circumstances. Keep these for your indoor Christmas displays.
What can I use instead of sand?
Kitty litter works beautifully. So does rice, dried beans, or small pebbles from the garden. Anything heavy and inexpensive that gives the bag a stable bottom will do the job.
How can I make these paper bag luminaries without a printer?
Easy. Find a nativity silhouette online and pull it up on your tablet or laptop screen, then tape a piece of printer paper on top and trace. The screen works as a lightbox, and makes tracing easy. You could even try if it works with the whole paper bag on the screen. If not, trace on paper first and then follow the steps above.
How many luminaries should I make?
That depends on your silhouette and the display you want to make with them. With one scene per bag, a row of three to five reads beautifully on a mantel. If you traced individual figures, Mary in one, Joseph in another, you can line up six or seven and let them tell the story across the whole window sill.
Do you decorate with a nativity at Christmas? Have you ever made luminaries for Christmas Eve? I’d love to hear how you display the real reason for the season. Tell me in the comments below.
And if this gave you a little idea for a quiet afternoon craft, pin it now and make it later. Save this cozy idea for next season too, it will be waiting for you when the tree goes up.


Your nativity looks beautiful, very well done!
Thank you! ♥ Marianne
Seriously LOVE this!! Gone to the store to get some bags…………(thanks!)
And? Are you back yet? Are you coloring with your black sharpie? 😉
Thanks for your sweet comment.
This by far my favorite 12 days of Christmas display!
I’m thinking…a couple of these, a baggie with some sand, and a couple of candles…wrapped creatively would make a sweet gift to share the birth of Christ with a friend, neighbor or family member!
Very simple! But I absolutely am enjoying this idea.
Pat
What a great idea. I agree it would make a very nice, thoughtful gift. Have fun making these!
I love it! I used those same silhouettes to make my own nativity this year and posted it on my blog just yesterday!
Have a wonderful weekend!
Doreen
How fun, I’ll be right over to check your silhouettes out.
So lovely!
Marianne,
Exactly. Sometimes with the hustle and bustle of the season….we forget how important the reason for the season is! Thank you for sharing your heart today!
blessings,
karianne
LOVE your nativity! So simple yet beautiful and the true meaning of CHRISTmas too!
xx
Anne
Dit is ontzettend mooi! Staat samen met de ster van twijgjes met stip op nummer 1.
Prettig weekend!
Dank je wel! Met stip op nummer 1. Nou dat is een mooi compliment. Nog een fijne zondag!
This is so beautiful! And you are right, it would definitely make us sit and take the time to ponder on what it’s all about.
It’s always the little details that make decorations so perfect and special. This is just lovely!
I think Jesus would approve of the beautiful simplicity! Love these.
Wow you can’t get better than Jesus approval. Well since his father was a carpenter, and his mother turned a stable into a nursery, I am sure he can appreciate a little handywork and some decorations 🙂 Thanks for the compliment.
O My GOSH, I can’t stand it, it’s so CUTE! I am pinning this and making this or something like it. It’s the perfect nativity. Also following on everything. Happy Christmas Season. Linda
Thank you! I am so glad you like it, and welcome to my flock of followers. I hope I’ll keep you entertained.
Hi Marianne 🙂 Love this! Just printed on a 5×7 piece of vellum and it looks great! Thanks again.
Ah, printing on vellum would work! Great idea. Enjoy your nativity!
Marianne, thank you so very much for bringing our real reason for Christmas to blogland. What you have written and created is so warm and genuine.
This is so lovely,,,thank you for sharing!
You are most welcome, I am glad you like my little silhouette nativity vignette.