DIY winter floral arrangement (complete tutorial)
Create an easy and inexpensive winter floral arrangement with these clear and easy instructions. This winter flower centerpiece will look great on your table until spring comes along.
I love creating floral arrangements, both fresh and artificial. I find it an easy, fun craft to do that is relaxing and rewarding. I create floral centerpieces all year round, but I never need them more than in winter. Using faux flowers is a great way to save money on buying flowers that are rare in winter. They can be reused season after season. Gotta love that!
I have been wanting to make a winter-inspired flower arrangement since I packed away all the Christmas stuff and the house has been feeling so empty and bare (see how I fixed that and created a cozy winter home). I felt like our home needed a little extra to lift our spirits up.

This outdoor decorating idea – although it looks complicated and expensive – was actually very simple to put together and was made almost exclusively with materials that were repurposed or bought at the dollar store. I am quite proud of how this DIY outdoor decoration turned out and that’s why I like to share a little tutorial today so that you too can add a little cheer into your home or garden this winter.
Playing with flowers has always been one of my greatest loves. I started making Christmas arrangements as a little kid and moved on to fresh flower arranging in my teen years. Living in the Netherlands there is always an abundance of fresh flowers in our local shops, and I usually prefer working with real flowers like this winter white flower bouquet. However, this arrangement was destined to be an outdoor centerpiece for my garden table in winter so I opted for fake and faux flowers and greenery to make it last in the winter weather.
This post contains some affiliate links for your convenience (which means if you make a purchase after clicking a link I will earn a small commission but it won’t cost you a penny more)! Read my full disclosure policy.
See exactly how to make a faux floral arrangement for your winter garden table in this tutorial video below (or keep scrolling if you prefer to read a step-by-step tutorial and some extra tips and tricks.
Materials to make a winter faux floral arrangement
- Container sturdy enough to form the counter balance for your arrangement. I used an old metal urn but a heavy weight garden planter would work too.
- Dry floral foam (also called Oasis), when working with faux materials use the dry floral foam that can be used without water.
- Wire clippers for cutting the stems of the faux flowers and greenery to size (check the video to see why you need some heavy duty clippers ?).
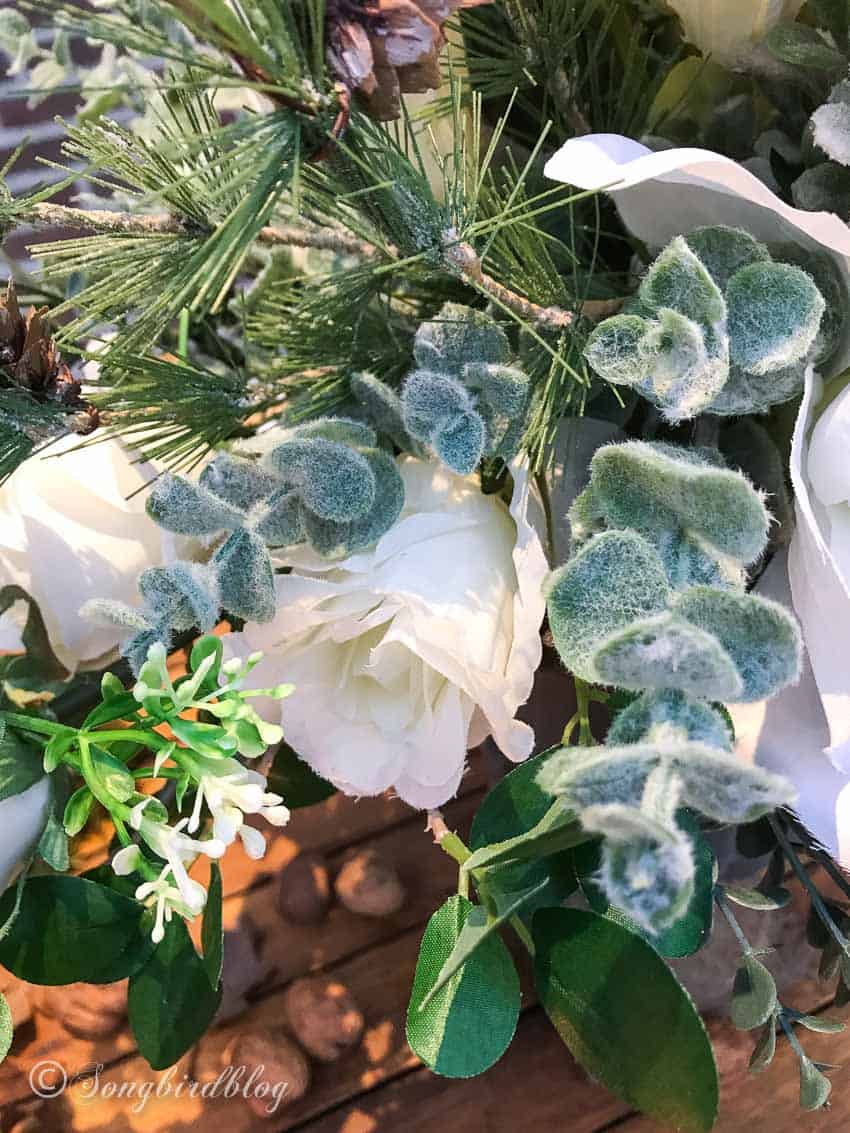
- Faux greenery (I used leafy greens, evergreen pine branches, faux eucalyptus stems and soft grey lambs ears).
- Flowers of choice ( I used roses and amaryllis)
- Embellishments (I used painted pinecone floral picks and little sticks on a floral pick but these faux cotton pods would have worked great too)
- For styling the arrangement on my garden table use an assortment of pinecones, nuts and small candle holders in matching colors (I used oversized pinecones and white votive holders).
Creative floral arranging Ideas you will like
<<<< Playing with Tulips >>>>
<<<< Flower Mantel Idea >>>>
<<<< Summer Garden Table Flowers >>>>
<<<< Super Easy Single Flowers Arrangement >>>>
<<<< Pinecone Fall Centerpiece >>>>
How to make a diy floral centerpiece
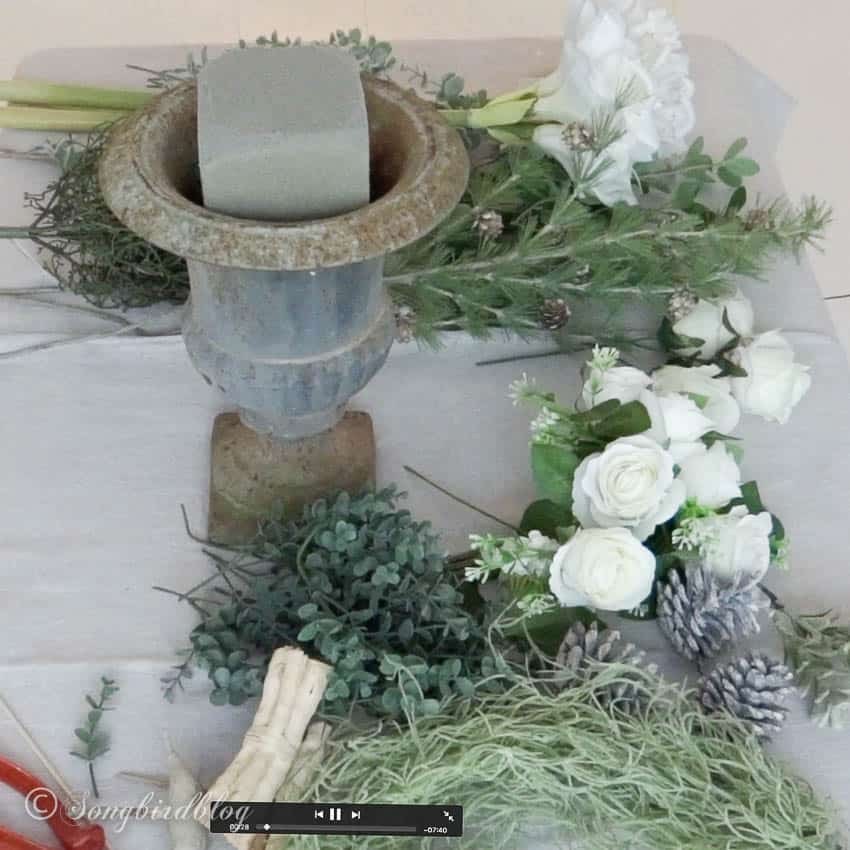
Step 1: Gather materials
I always like to start by gathering up all my materials. I rummage through my craft materials, eye old wreaths for additional pieces I can scavenge, and look for anything in the right color style for what I have in mind. A tip is to always gather much more than you will think you will use and add some odd, unexpected things too. Once you get going you will never know what will turn out to be the perfect missing piece you are looking for.
For containers, you have a wide array of choices. A vintage urn like I used works beautifully, but any sturdy pot, vase, or basket would work. If the container itself is not heavy, add some extra weight at the bottom. Especially for DIY outdoor decor, you will need some counterweight to make sure your yard craft doesn’t fly away in heavy winds.
Years ago I made a fall arrangement in this same urn which I still love to this day. The urn was also featured in this Christmas outdoor centerpiece. This just shows that if you choose your decorations well you can reuse them for years to come.
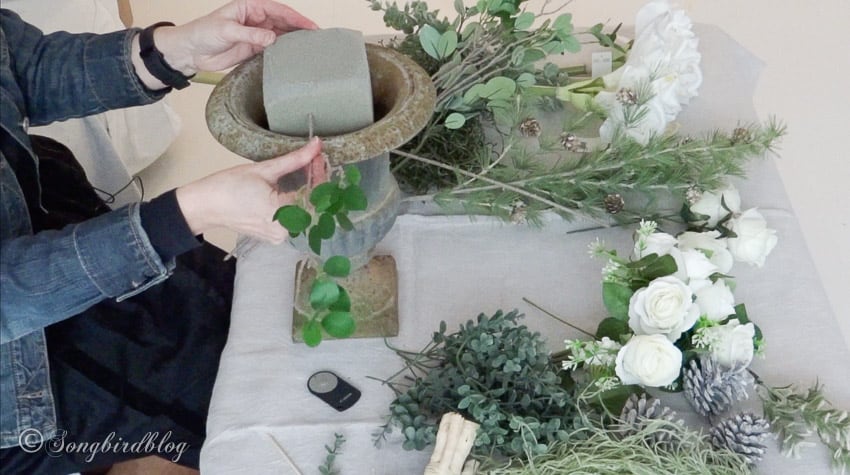
Step 2: Start by setting the outline of your piece
Choose one or two of your largest branches to determine the outline and size of your arrangement. Test it out how wide you want your piece and how heigh you think it should be. Don’t worry if this feels difficult or complicated. Remember: nothing is set in stone and anything can be changed up later! Just follow your intuition and set some outer boundaries for your winter garden centerpiece
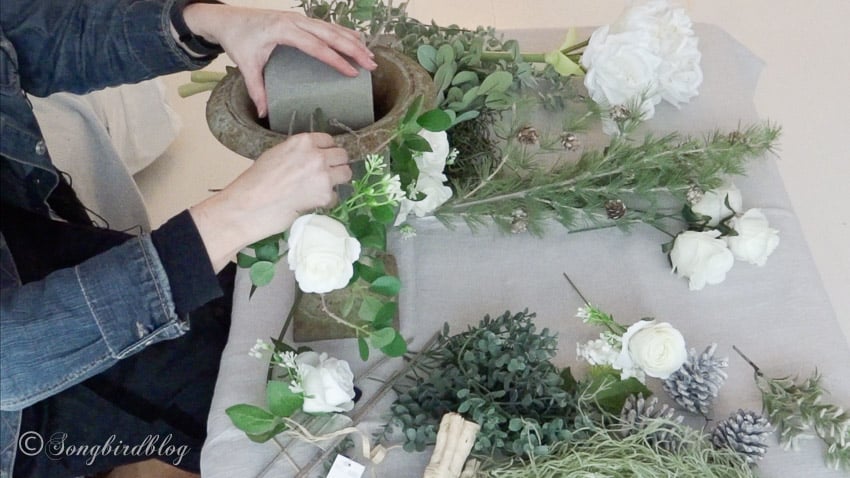
step 3: EMPHASIzE the outline by adding flowers
I always start with greenery but move on to the flowers quickly. Reinforce the outline you made with your flowers and add some weight and structure to your piece with the largest flowers. Make groupings of the flowers and echo them in several places (I explain this in more detail in the video)
Step 4: Add more greenery and a few embellishments to fill out your floral design
Keep adding different greenery until your floral arrangement becomes lush and full. Try to balance your greenery by echoing it in several places. Also, make sure that you mix up the greens and use the variation in color and shape to make your arrangement more interesting.

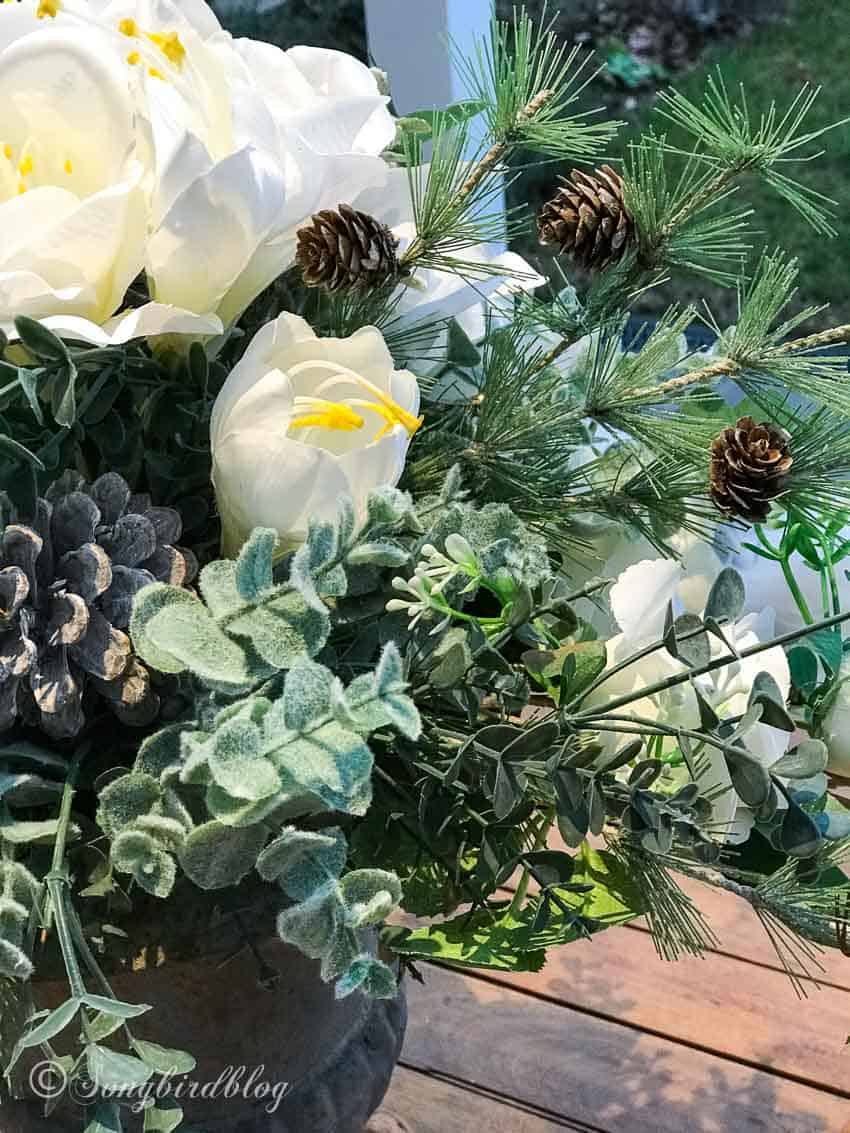
Step 5: fill the empty spots
Make sure that all the oasis is covered. Keep turning your arrangement and look at it from all angles. Use itty bitty bits of greenery or small embellishments like pinecones to fill up empty spots. Also, take a step backward from time to time to look at your arrangement from a distance. If you are not happy with how a certain bit looks, simply try something different. The materials are patient and you can fiddle with it just as long until it feels absolutely perfect (or simply good enough, that works for me too ?)
Step 6: Place your arrangement in its designated spot
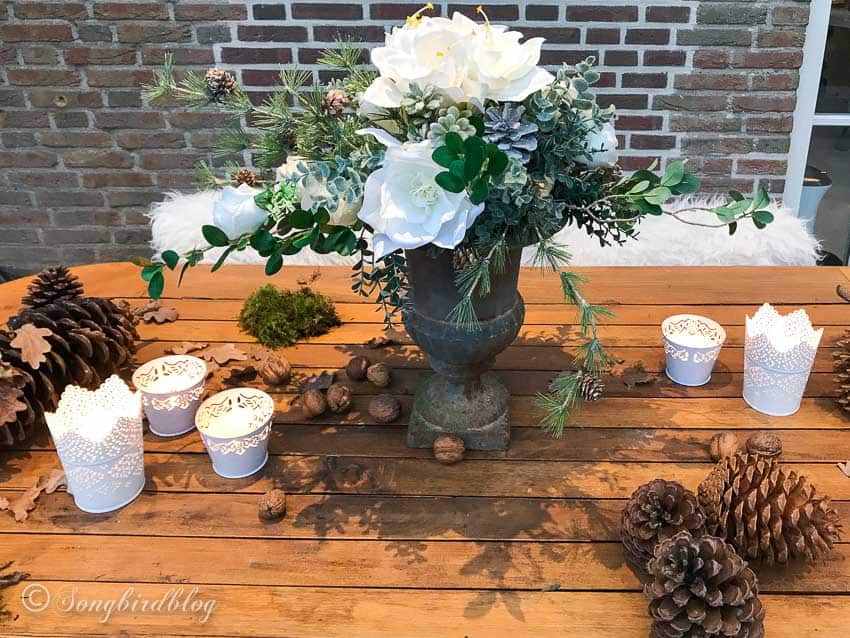
Once I have placed my arrangement in its final location I usually take another close look and a look from a distance. I make some last little changes and then move on to additional styling. Sometimes the flower arrangement can take center stage all by itself but often it helps to add some additional styling to give the whole thing some extra oomph. In this case, I scattered pinecones, nuts, and fallen leaves on the table to add some more natural flair. I echoed the color white of the flowers in little votive jars that allow me to add candles on those dark winter days.
When I am standing at my kitchen sink I can see out into my garden and my garden table is right in front of that window. The winter months in the Netherlands are usually grey and dreary so I thought a little extra oomph for that table would just be the thing to help me ignore the dullness of the winter months and help me remember that this too will pass. I am so happy with my big and luscious garden centerpiece. It is just what I needed.

WANT TO REMEMBER THIS? SAVE THE DIY FLORAL ARRANGING TUTORIAL TO YOUR FAVORITE DIY PINTEREST BOARD!

Final thoughts on making a faux floral arrangement
This arrangement probably didn’t require a tutorial but I loved to share the process of how I put together a centerpiece like this. In this blog post and in the tutorial video you can follow along with all my steps just in case you’re new to creating your own floral arrangements. It really is so much easier than you might think. I promise!
One of the best things about this arrangement is that I used materials that I already had (and sometimes have used and reused countless times already) or that I could find cheaply at budget stores. Working with faux materials is great for your budget because even the super cheap ones look better and more real than ever before. Faux flowers and greenery lasts for years and can be used over and over again.
And remember that your arrangement does not have to look exactly like mine! In fact, it most probably won’t, because you have different materials at hand so it will look a lot different and that is a good thing! Have fun experimenting with shapes and styles you like! I guarantee that whatever you come up with will look beautiful!
Have fun making your own arrangement! And I’d love to hear about it when you do!