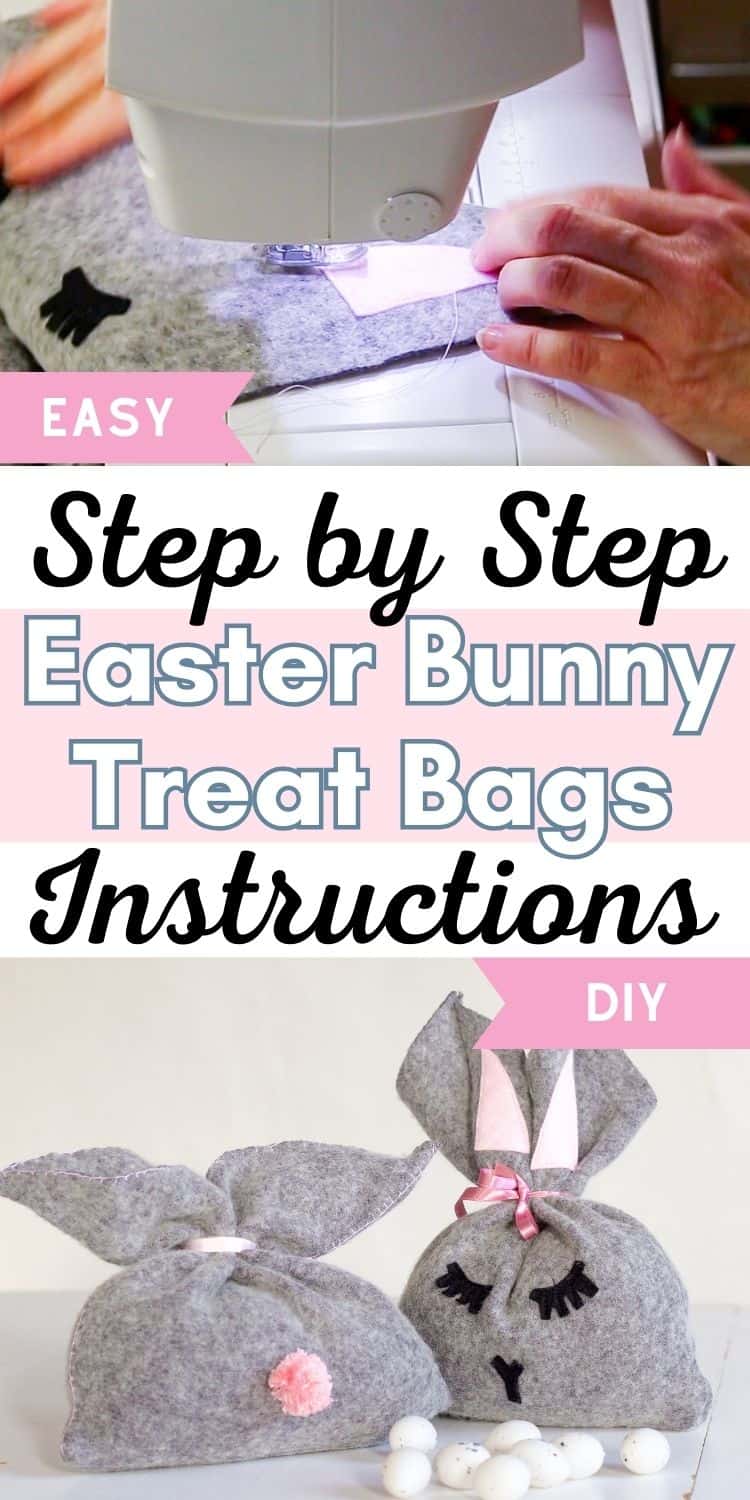
How To Turn a Laundry Disaster into the Cutest Soft Easter Bunny Treat Bags
Need a last-minute Easter craft? These homemade Easter bunny treat bags are quick, cute, and made from upcycled fabric. See how!

You know those moments when life hands you a laundry mishap and you don’t know whether to laugh or cry?
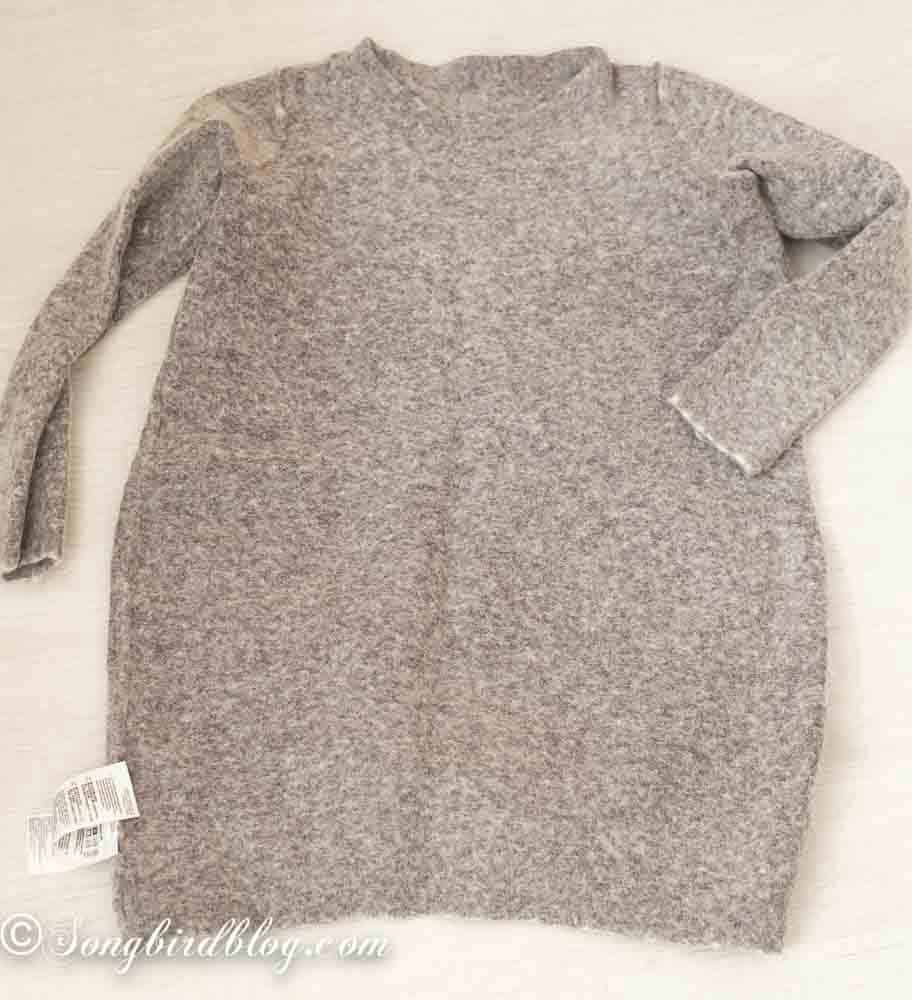
That’s exactly what happened when my favorite, grey, wool dress accidentally took a spin in the washing machine. It came out looking like it had been through a battle. It had shrunk into a child’s dress, the fabric had felted, and it was utterly unwearable.
Until.
I held it up and realized: this wasn’t a disaster. It was an opportunity.
Because that soft, squishy wool was practically begging to be turned into something new and huggable. And with Easter just around the corner, I knew exactly what to do.
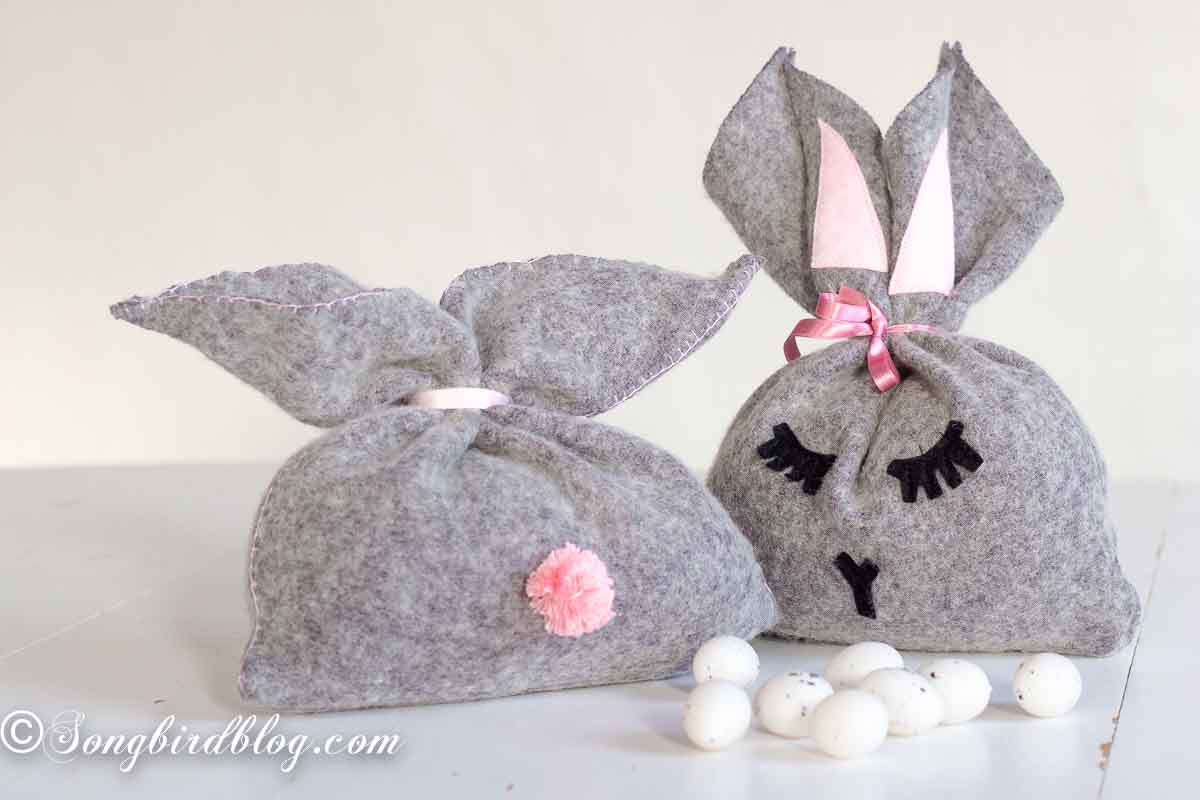
So, I grabbed my scissors, some scraps of pink and black felt, and a handful of pink embroidery thread. And before I knew it, two adorable Easter bunnies were born. Easter bunnies that are too cute as is, but actually can also hold a treat or two for extra Easter fun.
Want to see How I Turned a Laundry Disaster into the Cutest Easter Bunny Treat Bags? Then read on for a full tutorial.
But not until I give you a heads up that this project is my entry for Februari’s Thrift Store Decor Team Tour. You can find all the projects of the other team members at the bottom of the post.

Materials for Making Felt Easter Bunny Bags
To make these cute Easter bunny treat bags you will need the following materials:
- grey felt or felted wool (an old sweater from the thrift store is perfect).
- scraps of pink and black fabric. Felt or fleece will work exceptionally well for this project.
- sewing thread.
- embroidery thread or thin cotton thread.
- pins, scissors, sewing needles, pencil and a fork.
- small bits of pink ribbon.
- Adhesive interfacing.
- Sewing machine (optional see instructions below for making these bunny bags without a sewing machine).
Create a Template for Making an Easter Bunny Bag
I hand drew a template for my Easter bunny bags on graph paper.
Creating your own template means you can make your treat bags as big or small as you need them to be.
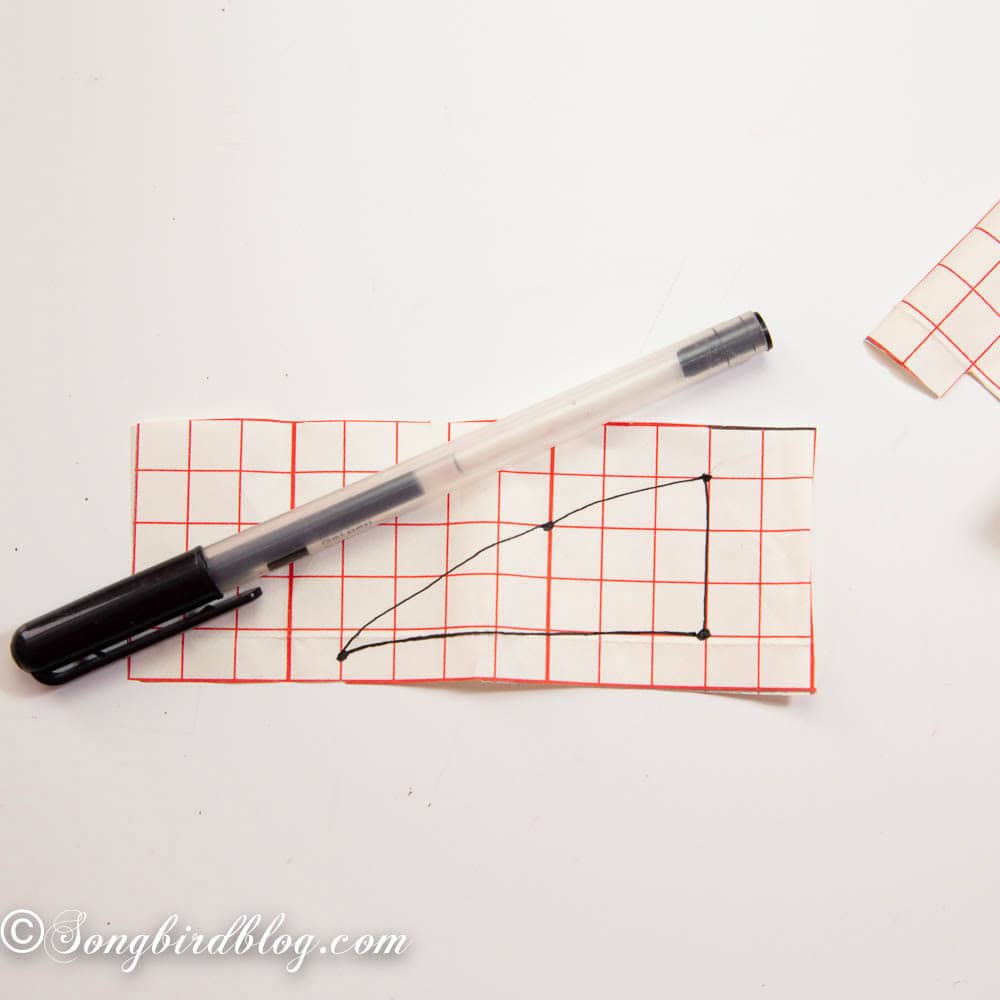
The basic template is created like this:
- Measure a square on your graph paper. Mine was 20 cm (8 inches) wide
- Mark the middle on the top line
- Extend the sides by 1/3
- Draw two lines down from the outer edges to the middle mark on your square line, cut out the triangle in the middle
That’s it. Your basic bunny template is ready.
You’ll also need a template for the inner ears, the nose and the eyes. Check below in the images for the shapes. I free handed mine so that the dimensions would be right for my bunny.
How to Sew Easter Bunny Treat Bags
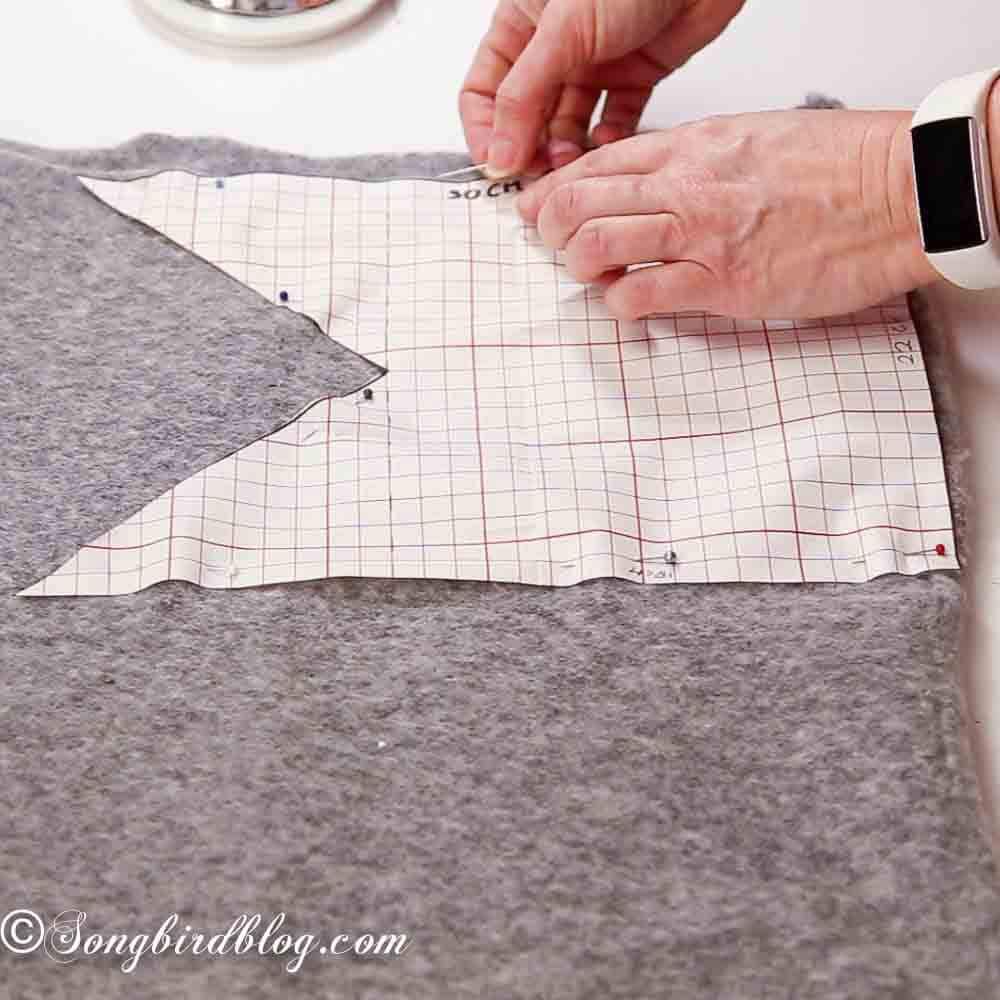
STEP 1: Pin Pattern
Pin the template on the double-folded fabric. Place the fold at the bottom
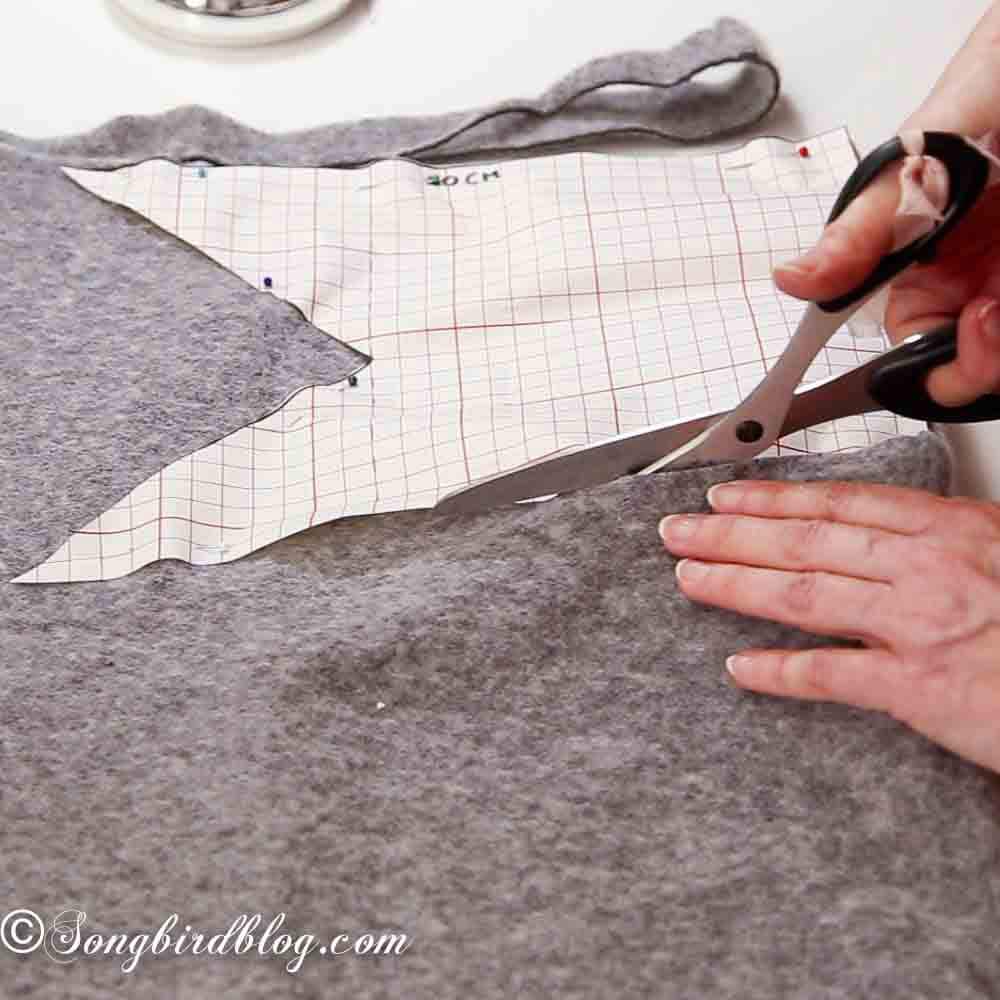
STEP 2: Cut Bunny Fabric
Cut the bunny shape from the fabric without a seam allowance.
STEP 3: Draw Bunny Details Templates
On a piece of paper draw a template for the bunny ears, nose and eyes. Using graph paper makes this easier. (see image below for details)
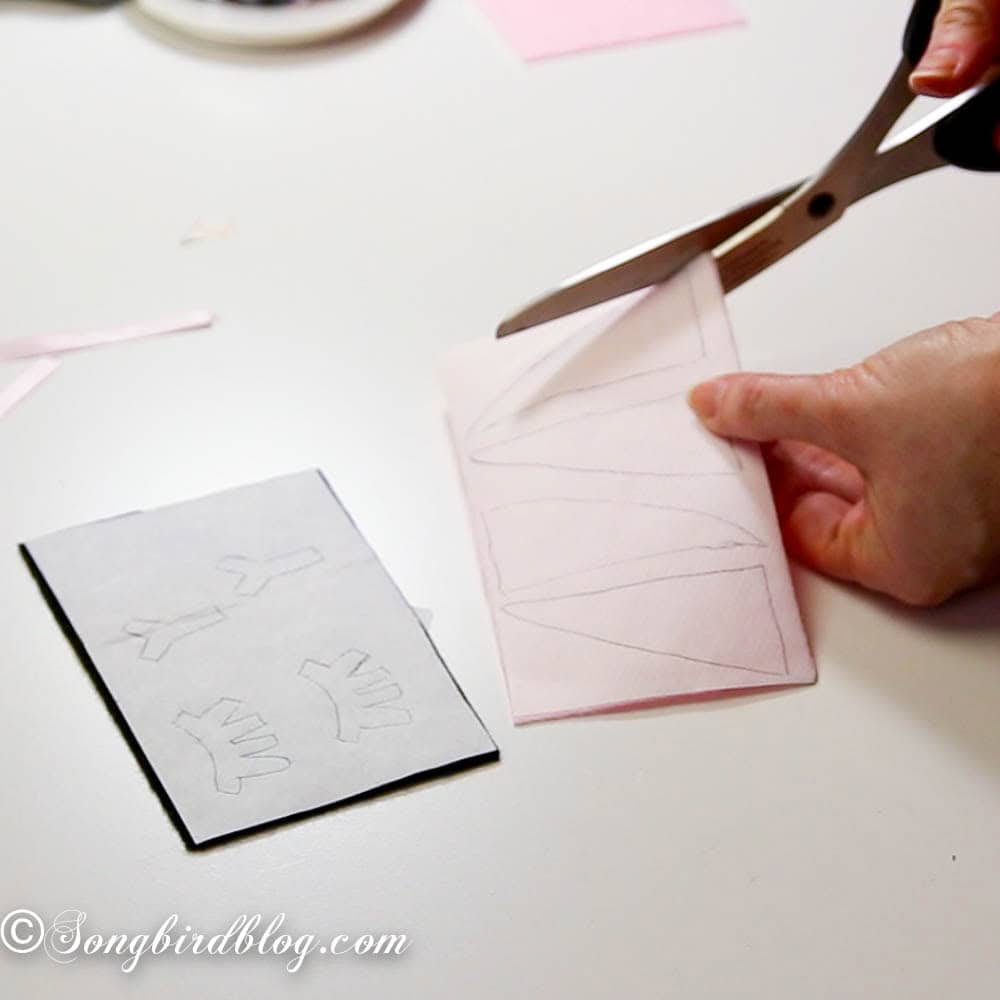
Step 4: Create Felt Bunny Details
Iron on adhesive interfacing to scraps of black and pink felt. Draw the nose and eyes on the black felt and the inner ears on the pink felt. Cut out the shapes.
I doubled everything because I was creating two bunnies.
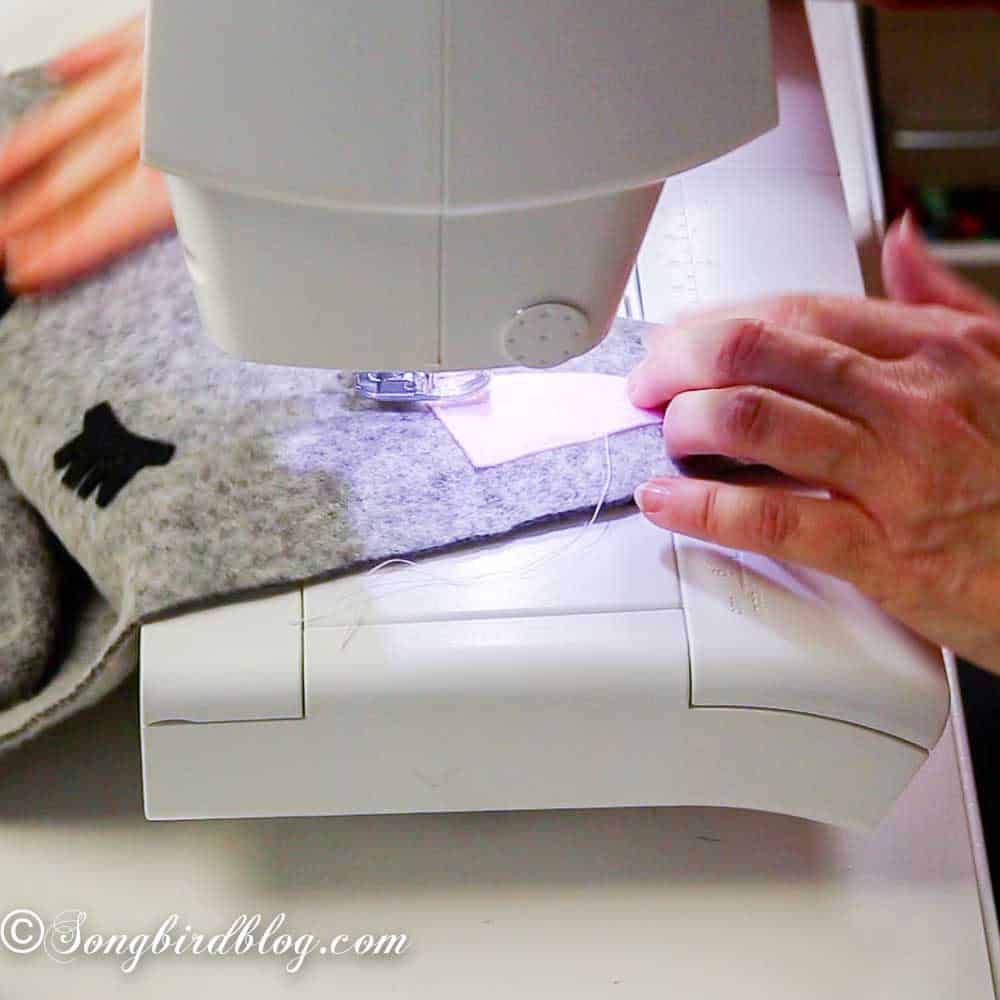
Step 5: Assemble The Bunny Bag
Iron the pink inner ears and the nose and eyes onto the fabric.
On the sewing machine, first sew the inner ears and the eyes and nose to the grey bunny fabric. Then close the side seams.
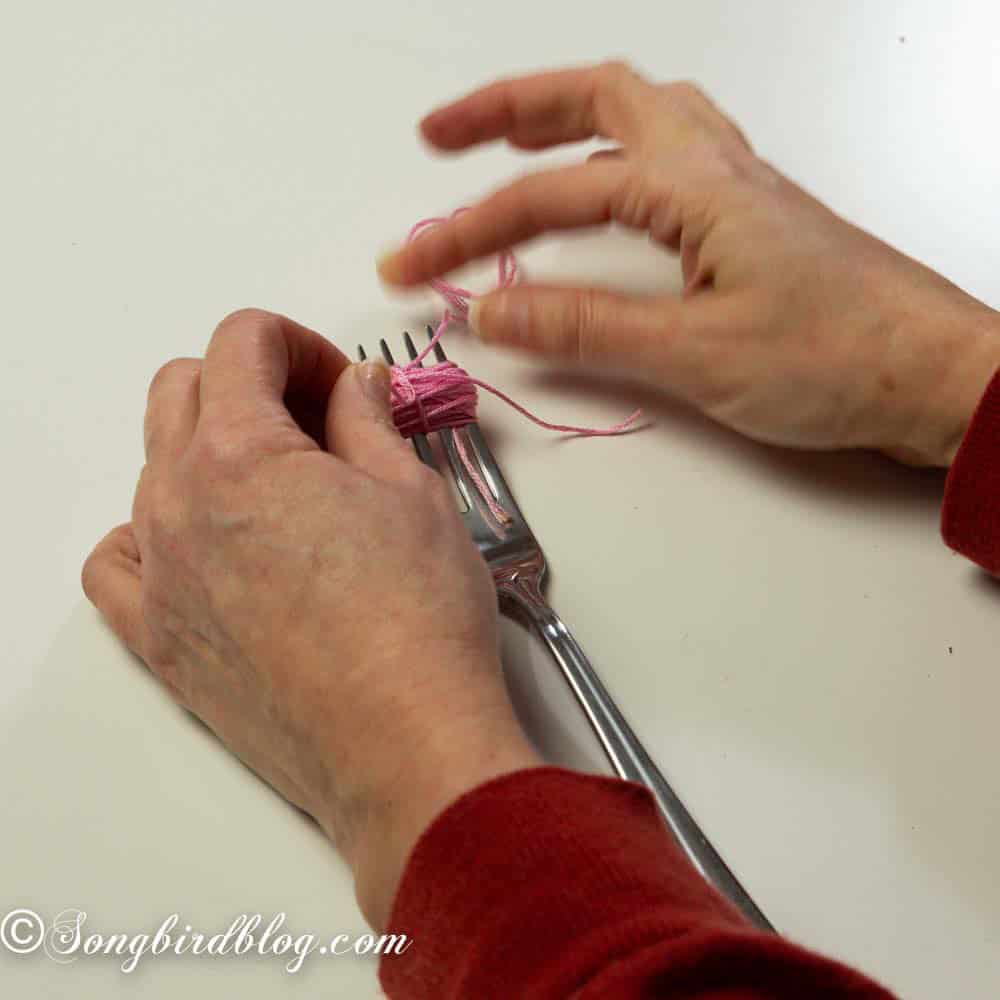
Step 6a: Create Pompoms With Yarn
Wrap embroidery thread or thin cotton thread around a fork.
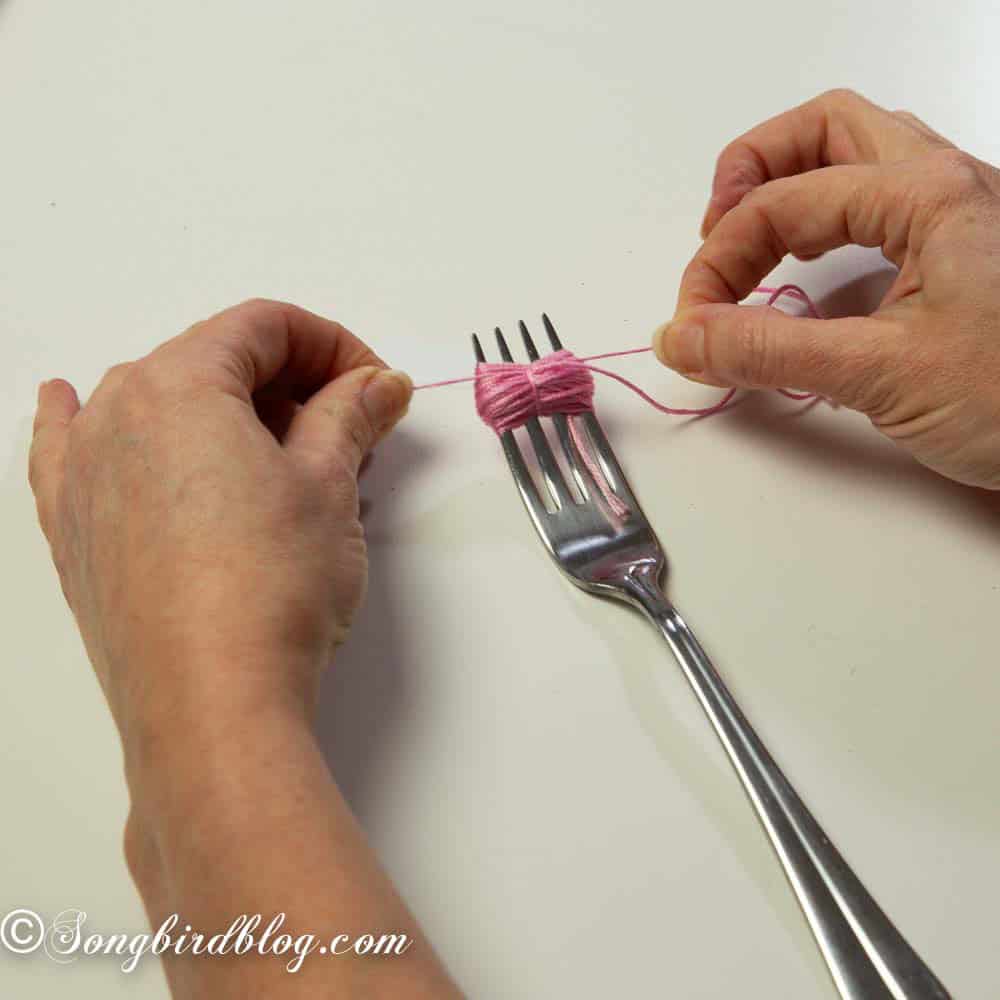
Step 6b: Create Pompom Bunny Tails
Gather the threads in the middle and tie (very tightly) with a few knots.
Cut the loops on both sides to make the mini pompom. Trim and fluff into a bunny tail.
Hand sew the bunny pompom tail in place.
That’s it! These bunnies are soft and cuddly and they hold a satisfactory large amount of chocolate eggs.
But you can also fill them with some leftover fabric or cotton wool and use them as cute Easter decor.
DIY Easter Bunny Treat Bags – A Beginner Friendly Sewing Project
This Easter bunny treat bag is a perfect beginner sewing project. It only requires straight stitches.
And if you don’t have a sewing machine you can still make them. You’ll need extra strong adhesive interfacing and you can close the side seam with a blanket stitch.
I actually embellished the first bunny with a blanket stitch in pink all around the body and the ears. Looks very cute, but in all honesty I was too lazy to do it for the second one. Either way they are both adorable, and I love them.
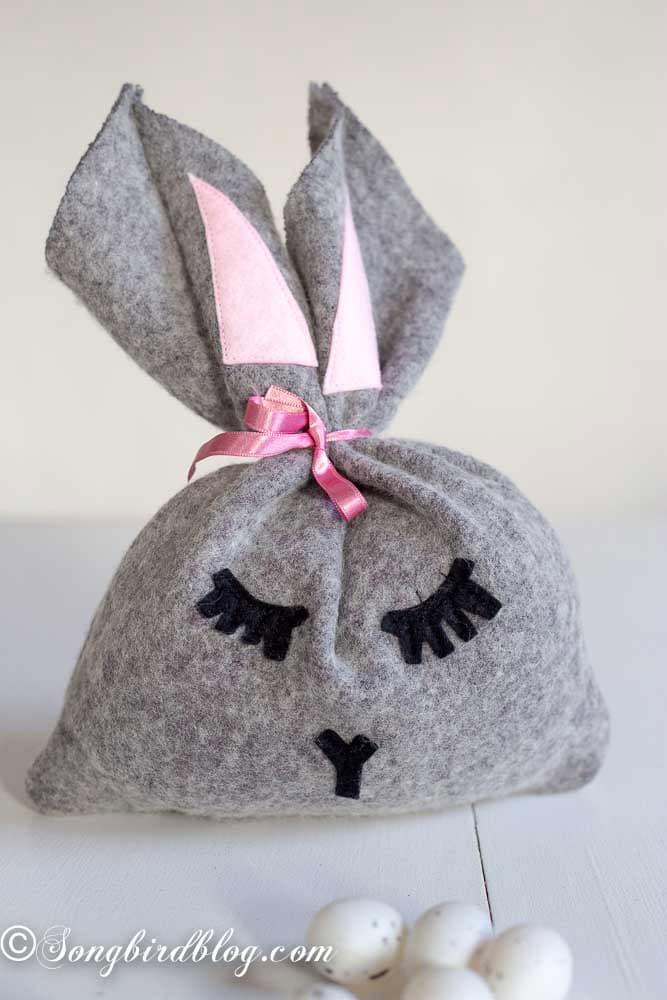
I am kinda jealous of those beautiful eye lashes on my sweet bunny.
Don’t you agree that she looks like a dainty little lady? (She is definitely a she, I think).

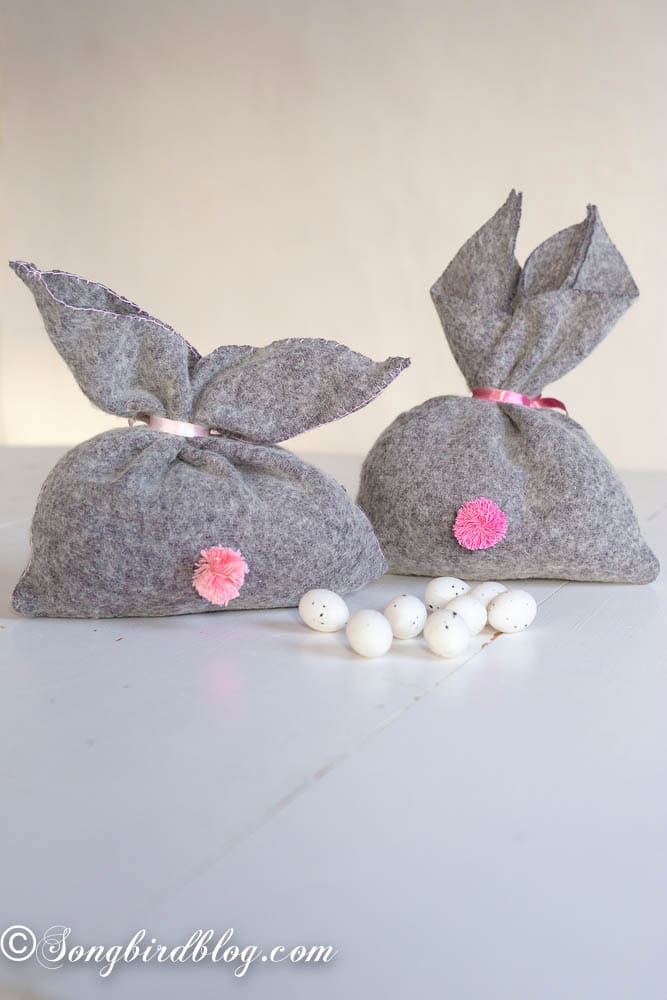
Here are both my Easter bunny treat bags from the front side by side.
And in the next image you can see their cute little bums with the pompom tails.
And there you have it! Easter bunny bags that are as sweet as they are simple to make.
I love how these little bunnies turned a laundry oops into something special. There’s just something about handmade gifts and decorations, isn’t there? The way they carry a little extra love, a little extra thought.
Now, I want to hear from you. Do you have a favorite way to repurpose old fabrics or clothes? Or maybe you’ve got a go-to Easter craft that your family adores? Share your stories in the comments, I’d love to hear them!

And if you’re feeling inspired, don’t forget to save this idea for your next Easter craft session. Pin now and make it later, because these bunnies are just too cute to not make one for yourself.
And now onto the other thrift store decor team projects. Check them all out. The links to the individual projects are below the image.
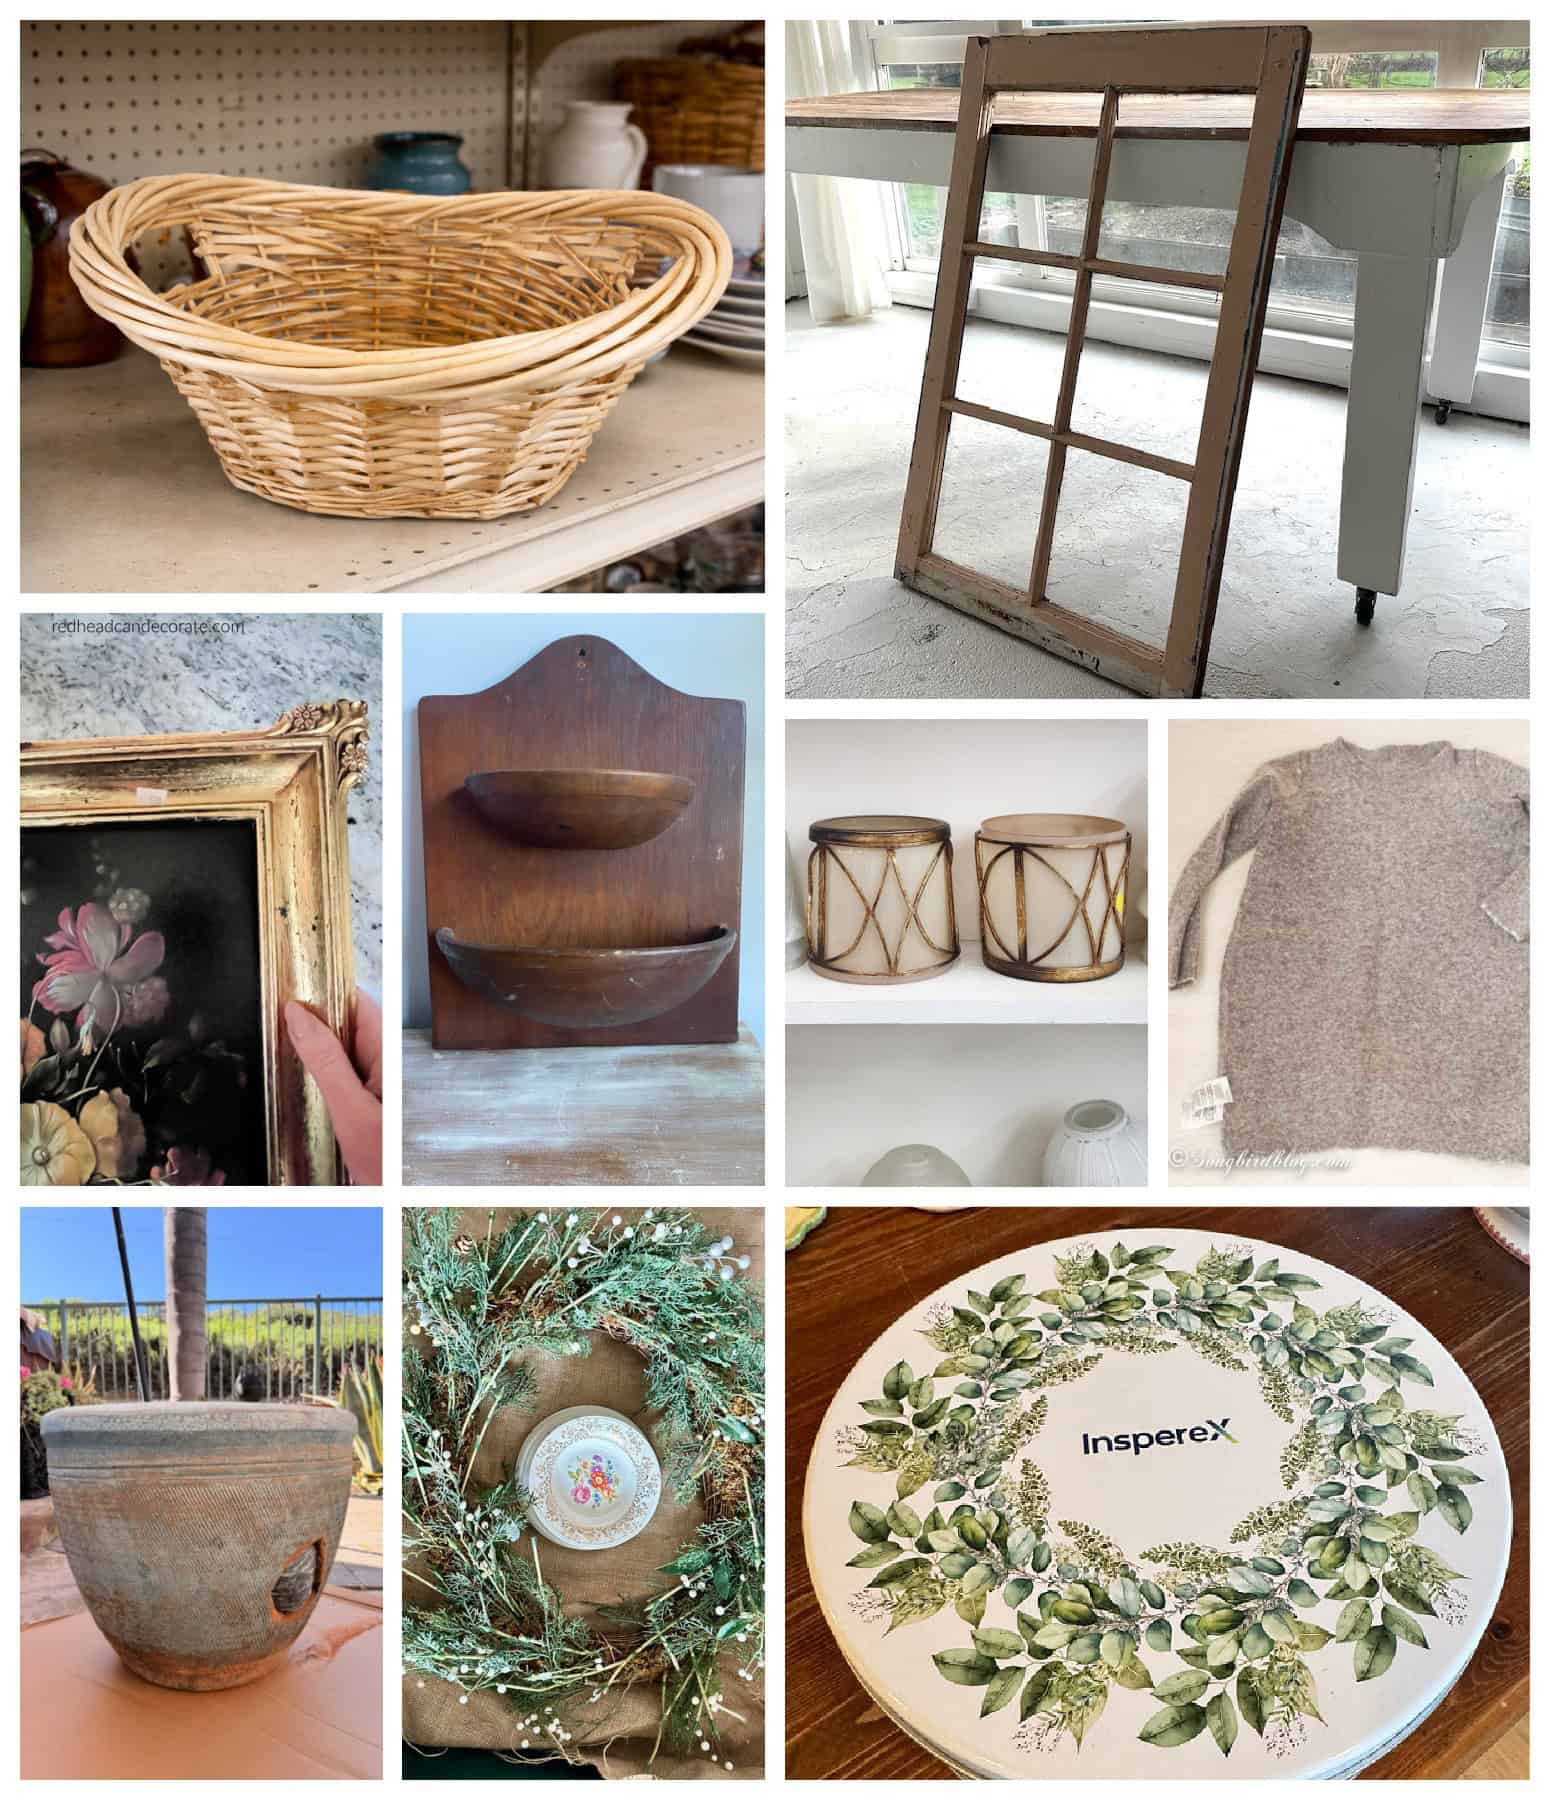
My Repurposed Life Thrift Store Basket Makeover
Funky Junk Interiors DIY Window Wood Coffee Table With Storage
Redhead Can Decorate Gorgeous Thrift Store Gold Framed Floral Print
Shop At Blu Modern Use for a Vintage Wood Wall Pocket
Sadie Seasongoods Chic and Upcycled Light Shades
Songbird Easter Bunny Treat Bags YOU ARE HERE
My Uncommon Slice of Suburbia Aged Stone Planter
Our Crafty Mom How to Make a DIY China Plate Wreath
Exquisitely Unremarkable Tin Top Wall Clock
These are absolutely adorable! What a super cute save. That dress made some darling bunnies..and now I want to make some, too.
Ohhhhh how positively squishable are those bunny treat bags! I’d love a throw pillow size for my sofa please! The wool sweater was the perfect fabric to try this! But how you even came up with this design is well beyond my own comprehension. What an art!!
I’m such a sucker for a good sweater upcycle and these turned out SO CUTE!! Especially the little pompom tail on the back, OMG.
These bunnies are the cutest!!! I’m so sorry about your sweater; someone in my house “might” have done that to one of my sweaters as well. But you really did create the cutest little easter bunny!
Oh, my gosh! Cutest bunnies ever. So sorry about your favorite dress Marianne, but you really saved the day. Their little bums are so cute with the pink pom poms. I love that the ears can be up or to the side. It’s hard to choose a favorite for me.
Pinned!
gail
Aww, those are so cute! I’m glad you didn’t give up on your favorite dress, even if you can’t wear it anymore 🙂
We all remember that wool and dryer catastrophe! What a sweet little project that brings some joy. Love this! Pinned.
Oh my gosh… this is so cute! I actually just had this happen to my husbands wool scarf!! It turned into a little thing it was hilarious. Bravo, Marianne!!
These bunnies are just adorable! I am jealous of the lashes, too. Thanks for the great tutorial. Pinned.
So cute! What a wonderful idea for Easter. They seem quite easy as well. Thanks for sharing these adorable bunny bags.