
A Simple DIY That Turned Rubber Stamp Storage Into Decor
Looking for rubber stamp storage ideas? Discover decorative stamp storage that keep stamps visible, organized, and easy to use.
You know how sometimes you walk into your craft room with a really good intention?
Like.
Today is the day I’m going to make something beautiful.
And then you sit at your desk.
Rummage around in the piles of dumped stuff.
Look at the empty wall in front of you.
And suddenly the moment is gone.

Inspiration is not showing up. You can’t remember any of the brilliantly creative ideas you had before you walked in and set down.
Well that happened to me often. Lots of good intentions not enough follow through.
But not anymore! I have added something to my craft room that gets me in the mood to create every time! And I used a thrift store find that I got for a song and dance!
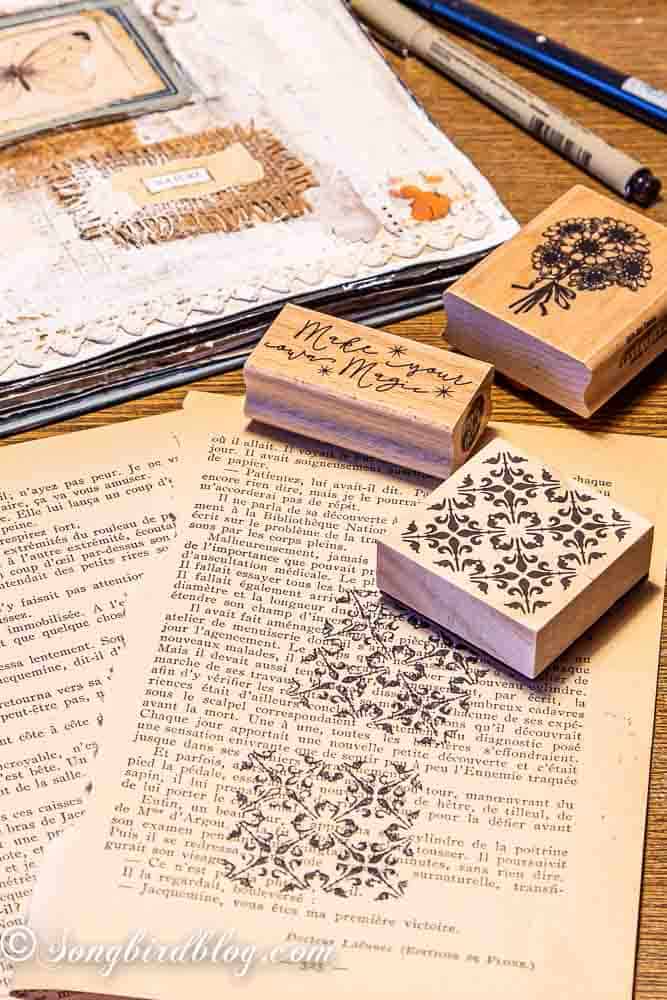
Speaking of thrift store projects. Today’s DIY stamp storage is my entry for the monthly Wednesday Thrift Store Decor Tour. It is that time of the month again where a group of talented ladies who are the queen bees of upcycling and thrift store makeovers, have a little online crafting get-together where they share their latest makeover projects. You can find all their amazing thrift store projects for this month at the bottom of this post.
So about that, ‘not doing anything worthwhile in my craft room’ problem of me…
You see, one of my ‘issues’ is that if I can’t see my supplies, I forget they exist.
Completely.
Out of sight really is out of mind around here.
That’s especially true when it comes to my stamps.
I love them, because they are so pretty. I collect them. I buy them with big creative plans.
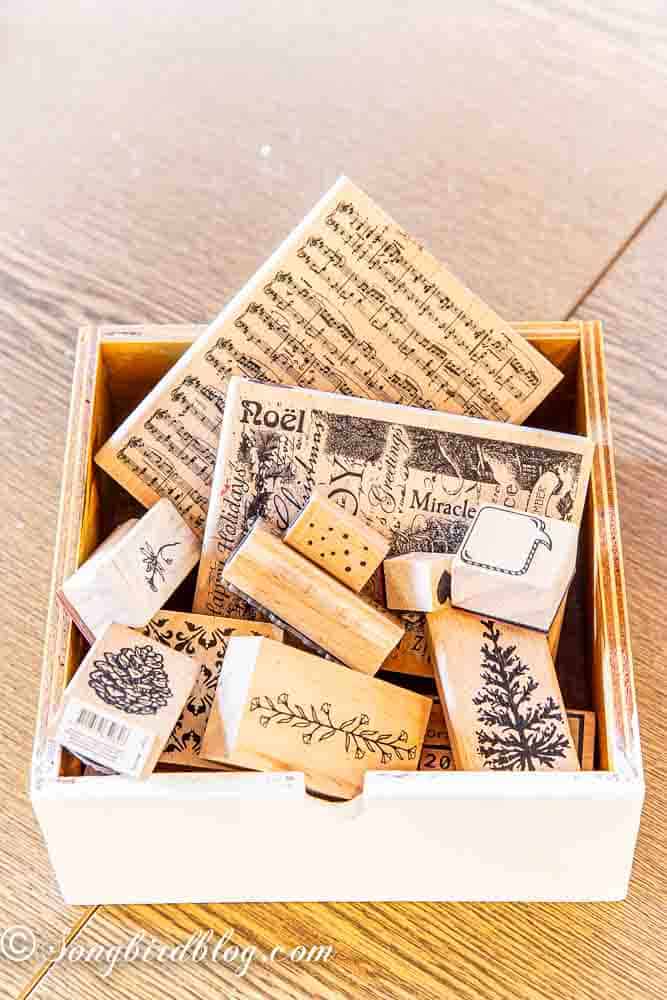
And then… I used to tuck them away. In boxes and in drawers.
And just like that they disappeared into the craft supply witness protection program. Never to come out again.
So I started thinking about rubber stamp organisation in a different way.
What if storage didn’t hide my stamps?
What if it showed them off?
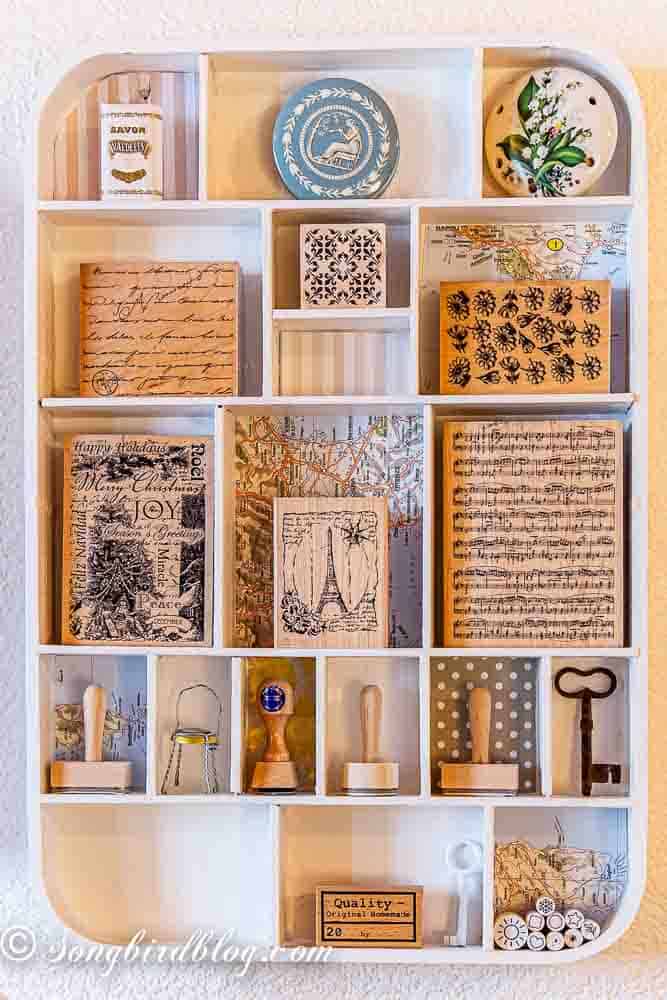
That little idea turned into one of my favorite craft room organization projects ever.
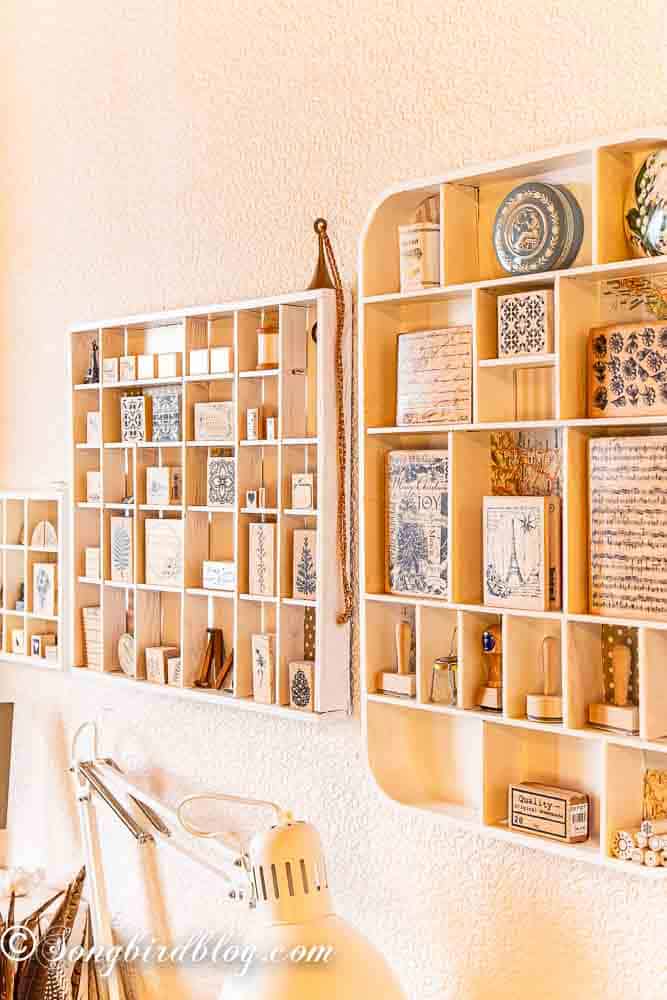
I upcycled old printer’s trays, gave them a little love, and turned them into decorative stamp storage that lives right on my wall.
Pretty. Practical. Space-saving.
And because my craft room is small (like, “every wall matters” small), using vertical space felt like a tiny miracle.

Rubber Stamp Organisation Using Vintage Printer’s Trays
I’ve always loved old printer’s trays. The little compartments. The worn wood. The history baked right in. So when I spotted one at the thrift store that badly needed rescuing, a plan started forming.
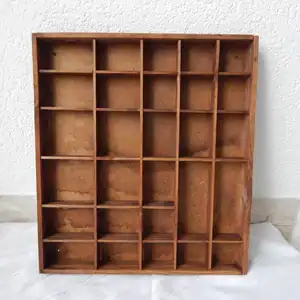
This tray wasn’t perfect, in fact it was in a bad state. There was water damage to the wood, the back was loose and the corners were seriously scruffed but I didn’t mind any of that. I knew I was going to give it a makeover anyway.
So I hammered the back into place. And prepared this sad old tray for it’s new life as wall decor and craft room storage in one.
How to Fix Up an Old Printer’s Tray for Rubber Stamp Storage
There were only a few simple steps involved:
- Repare what is broken and needs fixing.
In my case that meant hammering the back into place. - Give the tray a good clean.
I used the vacuum first. I found that one of those flexible extensions that has a really small mouths was extra useful for getting into all of these tiny corners. Then I used soapy water to get the rest of the grime off. - Sand if necessary, prime with a good primer (use a shellac based primer of your wooden tray has marks, like mine did), and paint. Use a small brush for the painting part and have patience.
- Cut little pieces of decorative paper to size and glue them in place. This is a great way to cover up the less then perfect bits.
- Hang on wall and fill up with all your beautiful stamps.
- Take your favorite stamps out again and start playing with them!
And just like that, you have beautiful and practical wooden stamp storage.
Each compartment holds one wood mounted rubber stamp.
Everything has a place.
Nothing is stacked.
Nothing is hidden.
This kind of rubber stamp storage works because it turns organizing into visual inspiration. When I walk into the room, I see my stamps. I remember them. I use them.
How To Organize Rubber Stamps When You Have Oversized Ones
Of course, not all stamps behave nicely.
Some are big. Some are awkward. Some refuse to fit into neat little squares.
So I improvised, and rummaged around in our garage for a solution.
We had two wooden drawer inserts from the cutlery drawer in our previous house. They were kinda big and didn’t work in our current small kitchen. I cut up one to turn the other one in the perfect storage for my oversized rubber stamps.
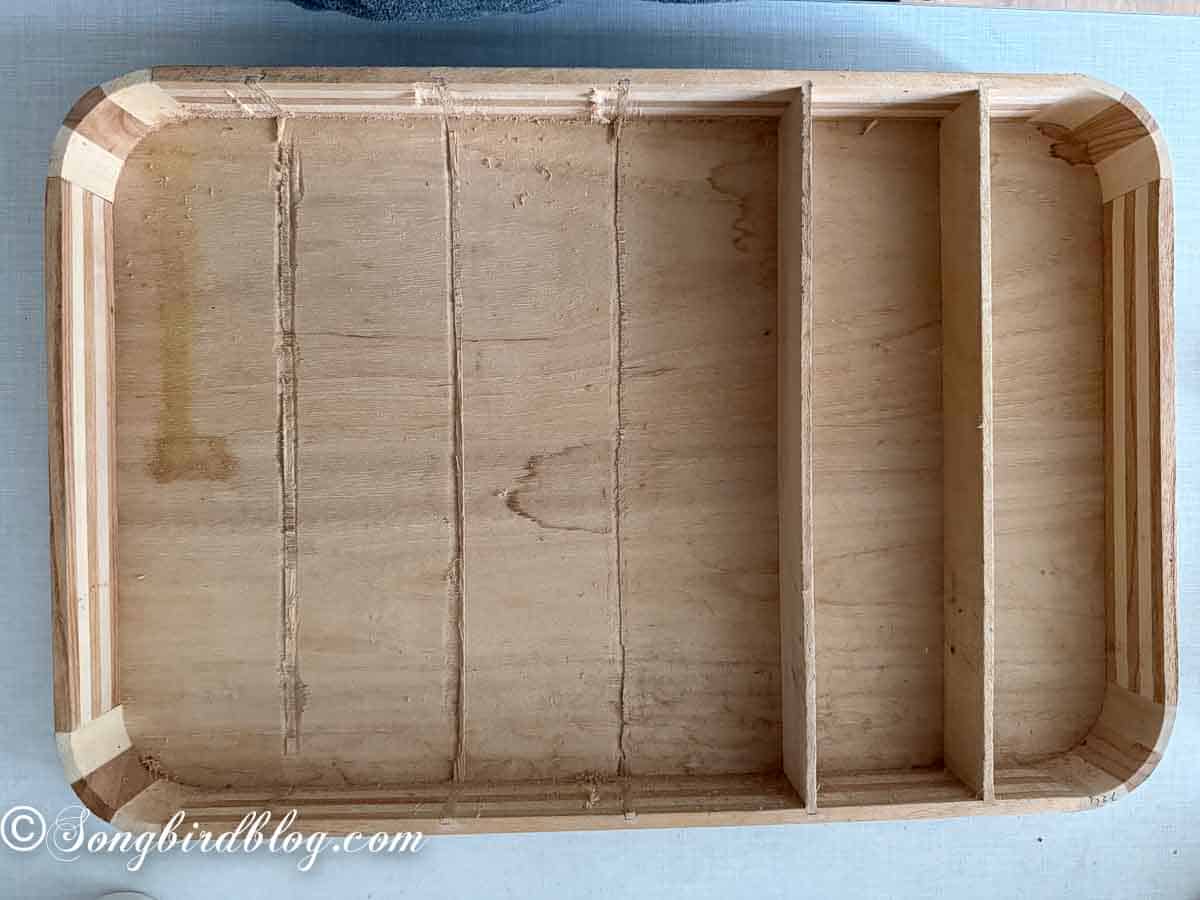
I apologize for the lack of images of this process. I made a whole lot of them and even shot some video of me in action. But my camera failed me and it all got lost in a technical drama.
Anyway here is what I did.
As you can see, the tray originally had 6 slots for cutlery. I used an oscillating multi-tool to cut out three of the wooden slats from each tray. I glued one of the slats into a new position and cut the remaining ones to size. With lots of wood glue I created all the new ‘cubicles’ that fit my large stamps perfectly.
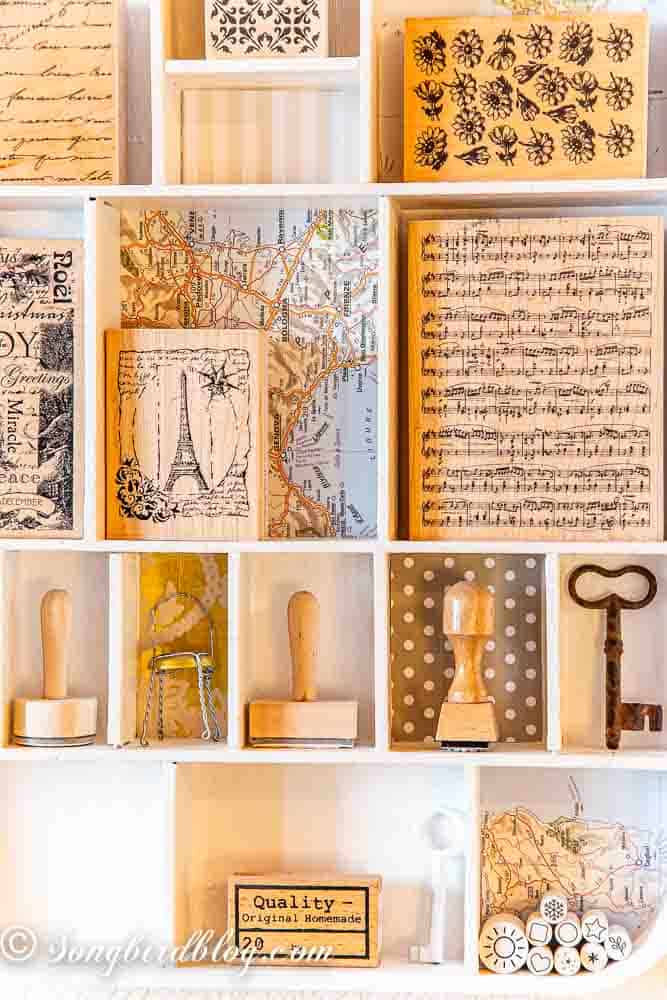
A good coat of white paint and some strategically placed pretty papers hid all of my less than pristine DIY work.
Why Wall Storage Works So Well for Stamp Organization
This kind of stamp organization is especially helpful in small craft rooms where closets and cupboards are limited. Decorative stamp storage lets your supplies pull double duty: storage and decor.
Plus, when stamps are stored upright and separated, they last longer. No pressure. No warping. No forgotten favorites.
I love the view above my work table now.
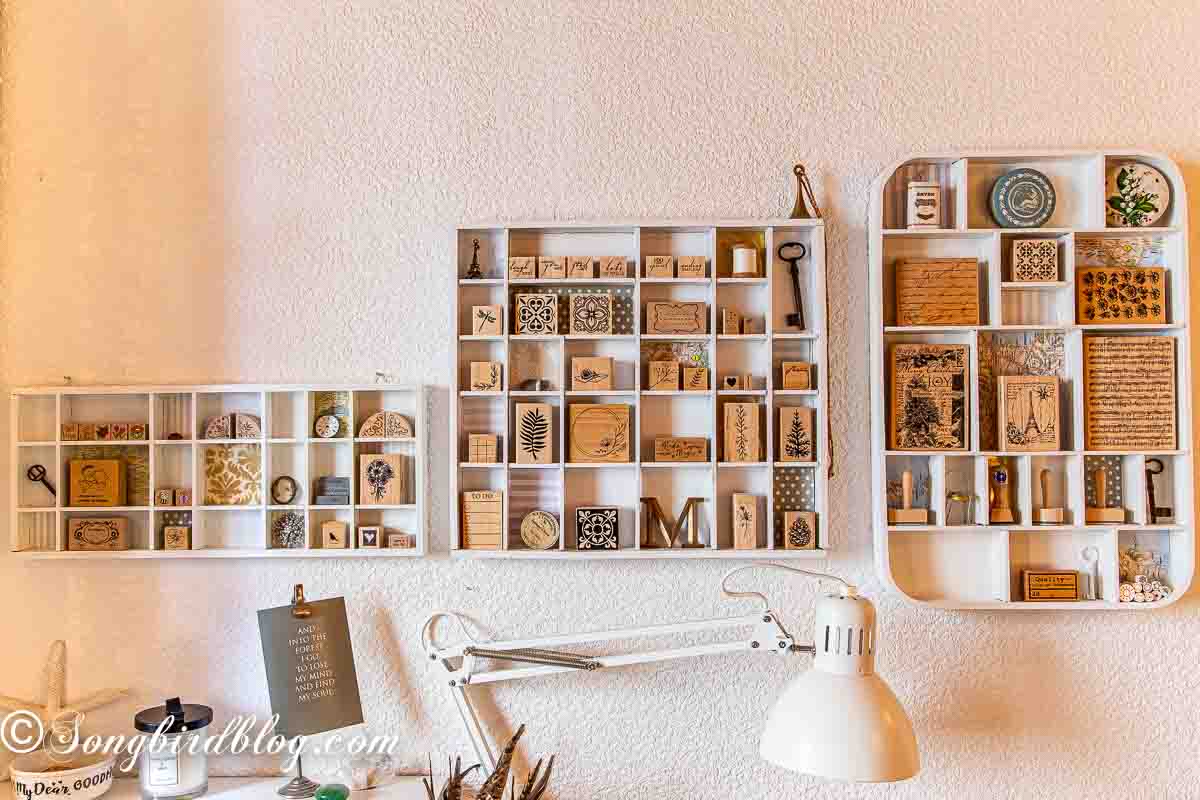
All my pretty stamps in plain sight. Ready to be used and ready to inspire me to create.
Heck I even have a few empty slots left, so I can go buy some new stamps!
So now I’m curious.
Do you like seeing your craft supplies out in the open, or do you prefer everything tucked away?
Have you ever turned something unexpected into storage?
And are rubber stamps one of those things you keep buying… even when you swear you don’t need another one?
If rubber stamp organisation has been on your mind, I hope this gave you a few ideas you can adapt to your own space.
Share this post with a crafty friend who loves stamp organization ideas, and don’t forget to pin it so you can come back to it later.
And now for all of those projects from my fellow thrift store hunter and gatherers..
Check out all those before images and then click over to their posts to see the afters (all links below the image).
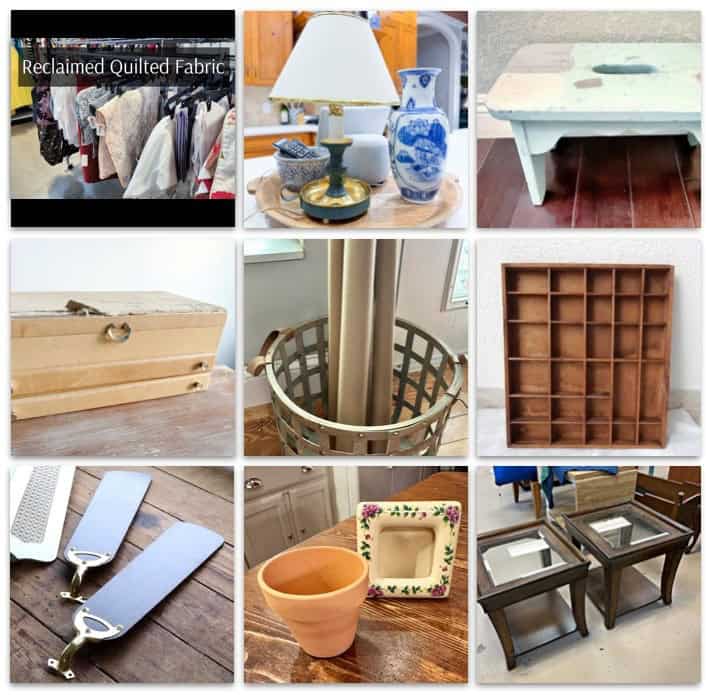
My Repurposed Life
Quilted Casserole Carrier
Shop at Blu
Jewelry Box Makeover
Funky Junk Interiors
Upcycled Ceiling Fan Blades
Our Southern Home
Thrift Store Lamp Refresh
Our Crafty Mom
Paper Roll Hearts
Exquisitely Unremarkable
DIY Pin Cushions
My Uncommon Slice of Suburbia
Stool Dupe
Songbird
You are Here
Redhead Can Decorate
Thrift Store Living Room

What a charming combination, form and function! The stamps look so good on your wall, they could be there purely for decoration. The fact that you actually use them is icing on the cake. ☺️
Kim, this is really beautiful! Now I feel like I need a printer tray in my life 🙂 I have so many stamps from years ago, they are shoved in the back of my very small craft closet. I haven’t been able to get rid of them even though I rarely use them. Maybe I will get lucky and find a tray so I can display them like you did! xo Kristin
SO perfect Marianne! It was like your cubbies were made for rubber stamps! What an epic way to decorate AND organize! And of course, they look perfect for your home. Now I want some!
Wow! Marianne, your stamp collection is indeed very beautiful. Much too pretty to be hidden in drawers.
Your new display is perfect and worth all that work!
pinned!
gail
You have quite a collection, Marianne! You did a great job not only organizing them, but displaying them for eye candy! I wish I had a craft room!
Marianne, this perfect! I’m all about displaying collections right now. Those collections can definitely be supplies. I’m gonna use that wall space. Pinned.