
Handmade Christmas Paper Houses for Your Mantel
Christmas paper houses you can make yourself. Draw your own paper house template (no printer or cutting machine needed) for this glowing white Christmas mantel.
This year there are Christmas paper houses on my mantel, in white. Some years I want a mantel dripping in green and red. And then some years I want everything calm and quiet and glowing. This was one of those everything-white years, and I have never once regretted leaving out the color.
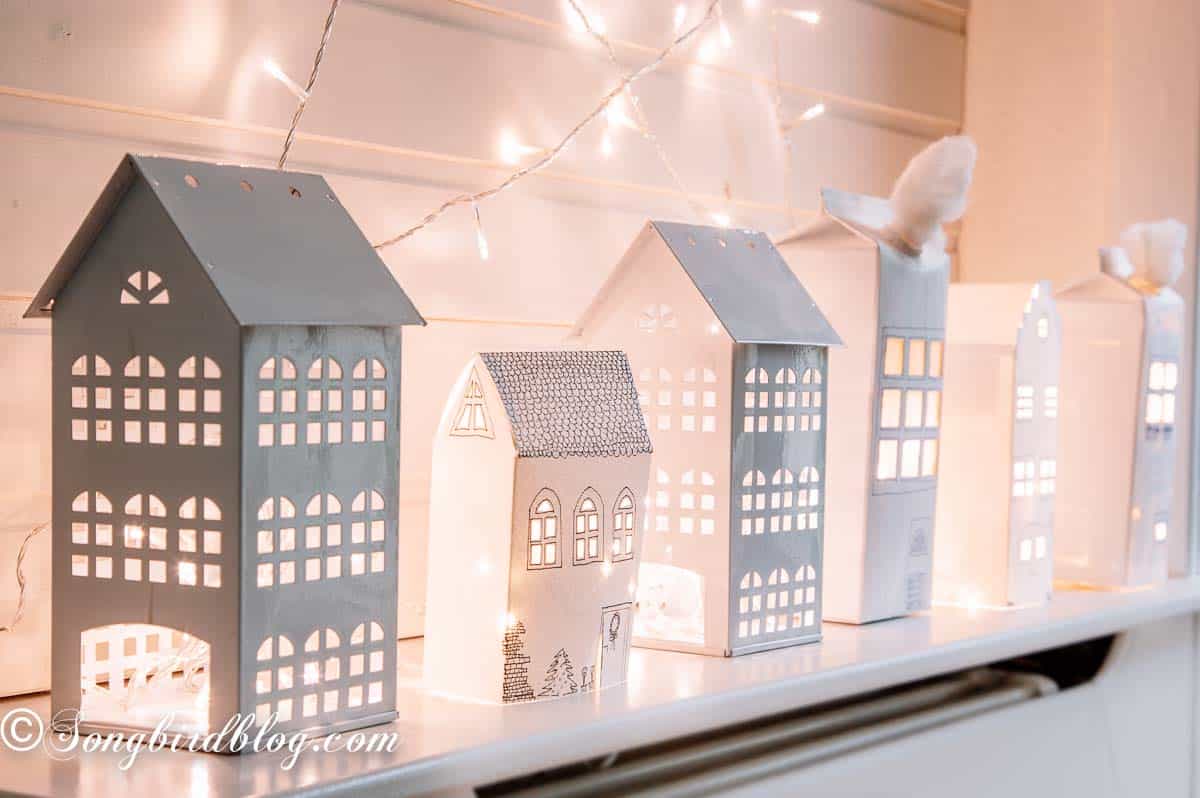
The idea for this year’s mantel started with two little metal houses I already owned. I loved them so much (they are cousins of the old putz houses, those tiny glittered Christmas villages) that I wanted a whole lineup of houses across the mantel. Except I am not the kind of person who goes out and buys a matching collection. Where is the fun in that? So instead I made my own Christmas paper houses, and here is the part I want you to know right up front: I figured out how to make a paper house myself, with a pencil and a ruler. No printer, no cutting machine, no downloaded pattern. Which means every house came out exactly the size and shape I wanted, and yours can too.
The whole scene is simple. A big star made of nails and a string of lights on my faux plank wall, and a row of white paper houses below it. In the daytime it is crisp and bright. At night, with the lights glowing through the little cut-out windows, it is by far the best mantel I have ever had.
If you can draw a rectangle and a triangle, you can draw a house template. I promise. I will walk you through my paper houses DIY, step by step, the same way I would show you at my kitchen table.
What You Need to Draw and Cut Paper Houses
You likely have most of this already:
- Sturdy watercolor paper or card stock
- A pencil
- A ruler
- Scissors
- A craft knife for the window cut-outs (scissors work for bigger windows)
- Vellum or see-through paper (alternatives in tutorial below)
- Craft glue or a glue stick
- Sharpie or Marker
That is the entire list. The whole point of drawing your own template is that you do not need anything special, and you are not stuck with someone else’s idea of the right size.
How to Make a Paper House: Draw Your Own Template.
Ready for the next step up? This is where I had the most fun.
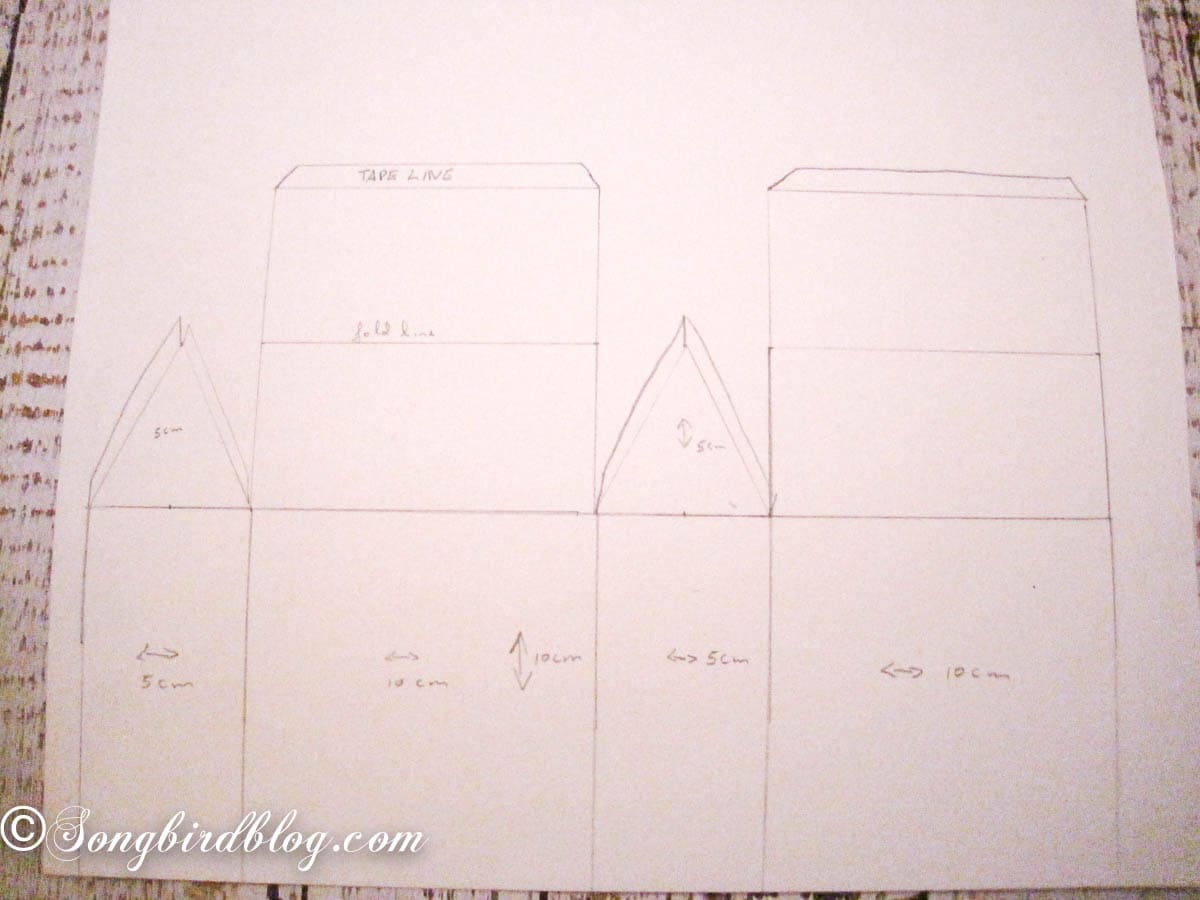
Step 1. Make a Template and Cut Your House
Take a sheet of sturdy watercolor paper and draw a flat house pattern. You draw a long rectangle with your preferred measurements for height and for the front and back and the sides. Add an extra strip in your template for where you glue.
On the front or back part draw your roof line too.
When you cut it out it will look like this:
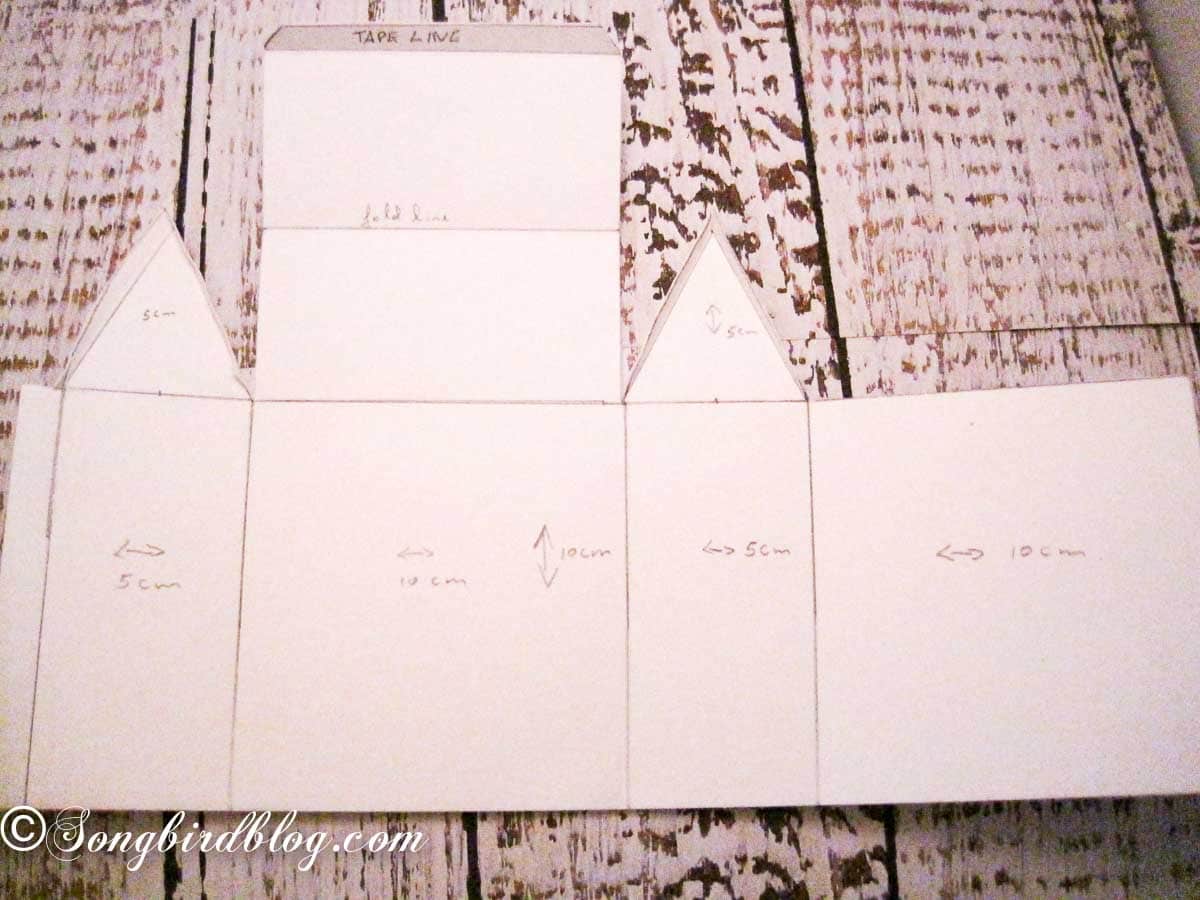
See, how there is an extra strip, the back, a side, the front and another side. I also drew the roof (actually I drew it twice, cut off the extra one, easy mistake to fix).
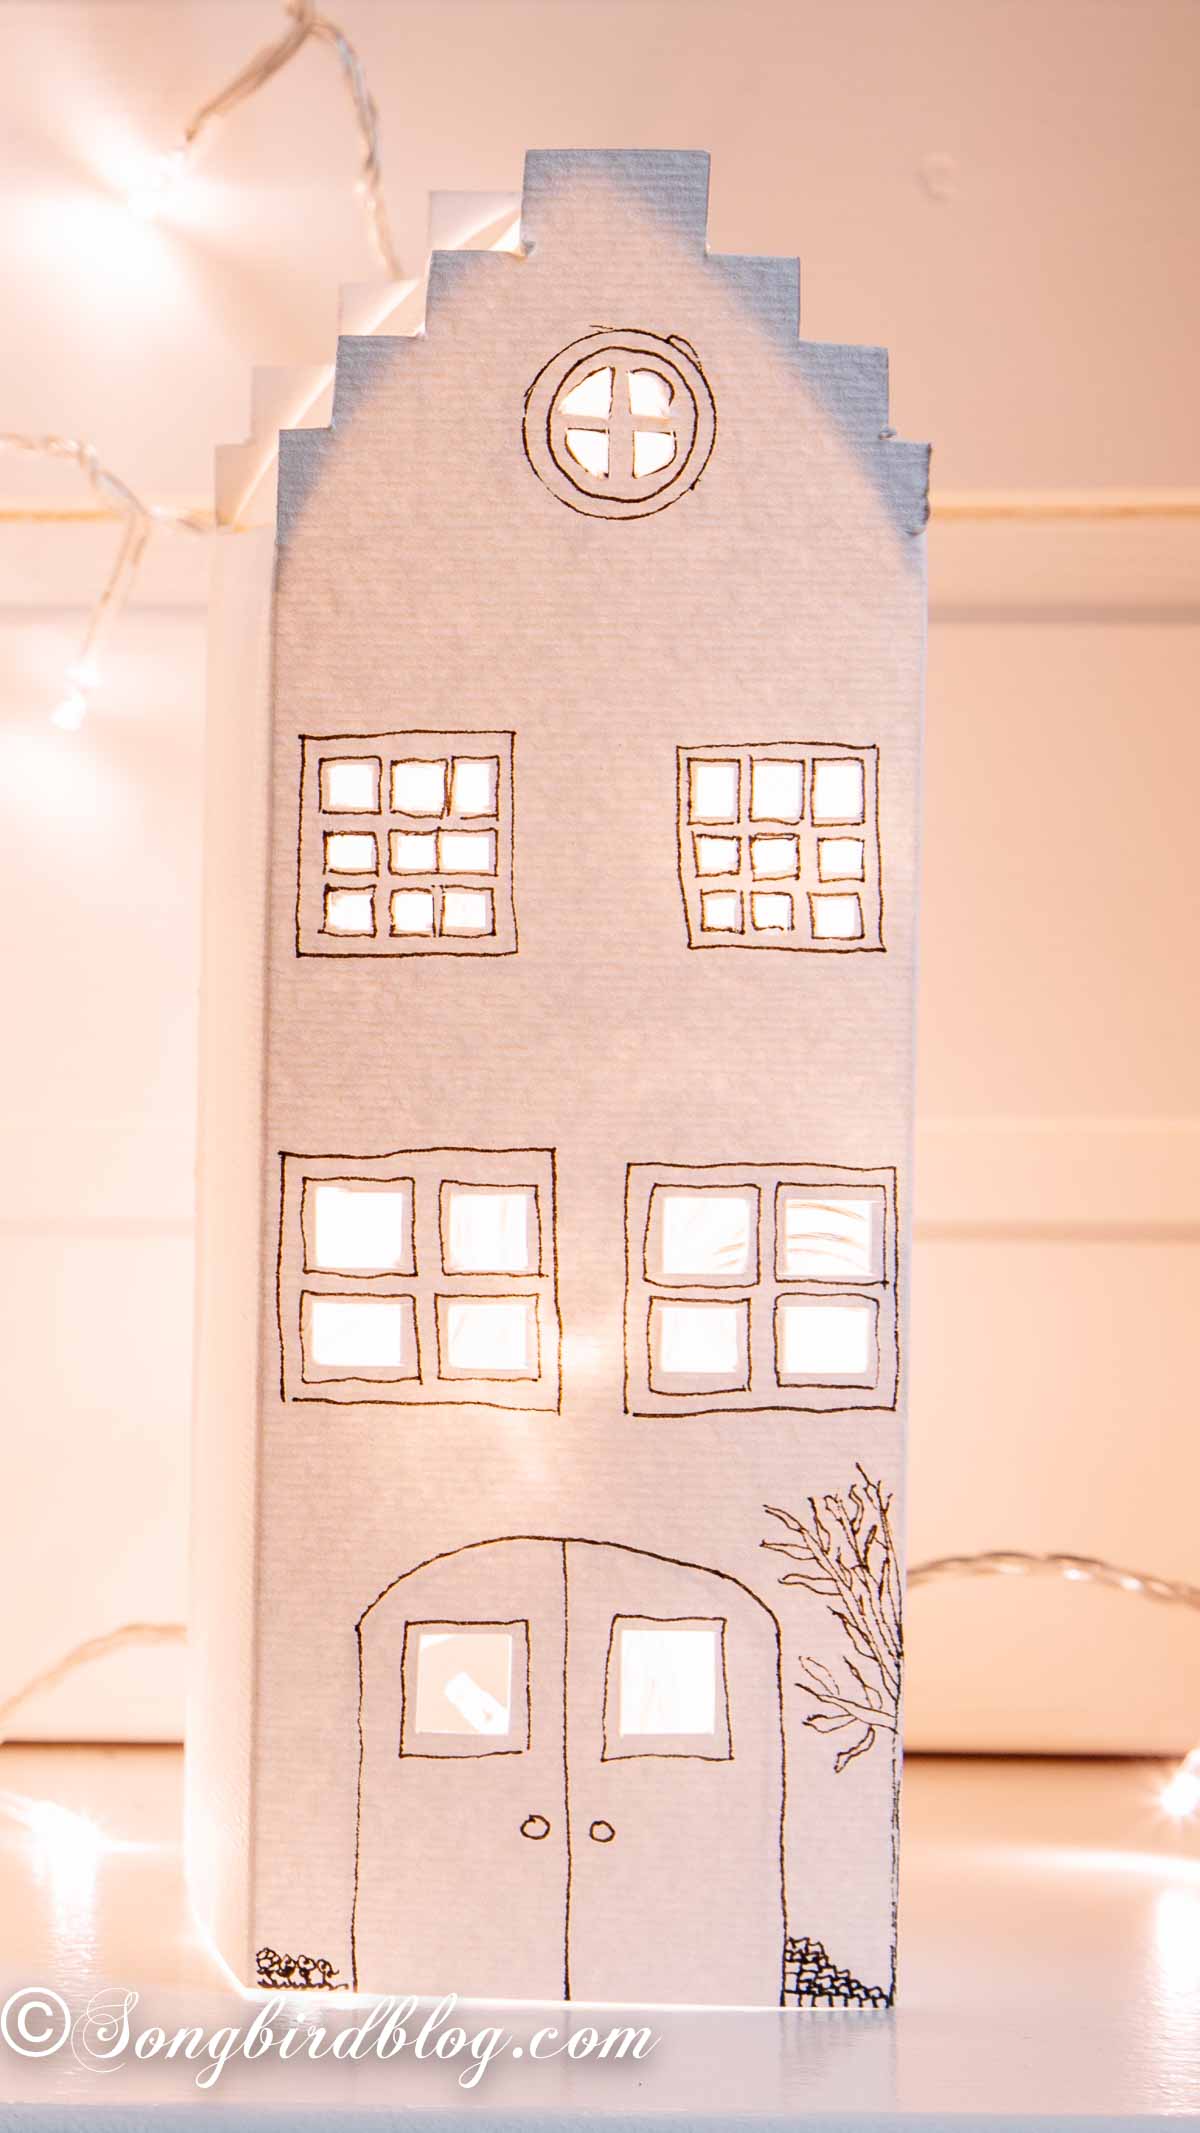
You can make your design exactly as you like. For my second attempt I wanted a Dutch Amsterdam style roofline. That worked too. The cut out template for that looks like this:
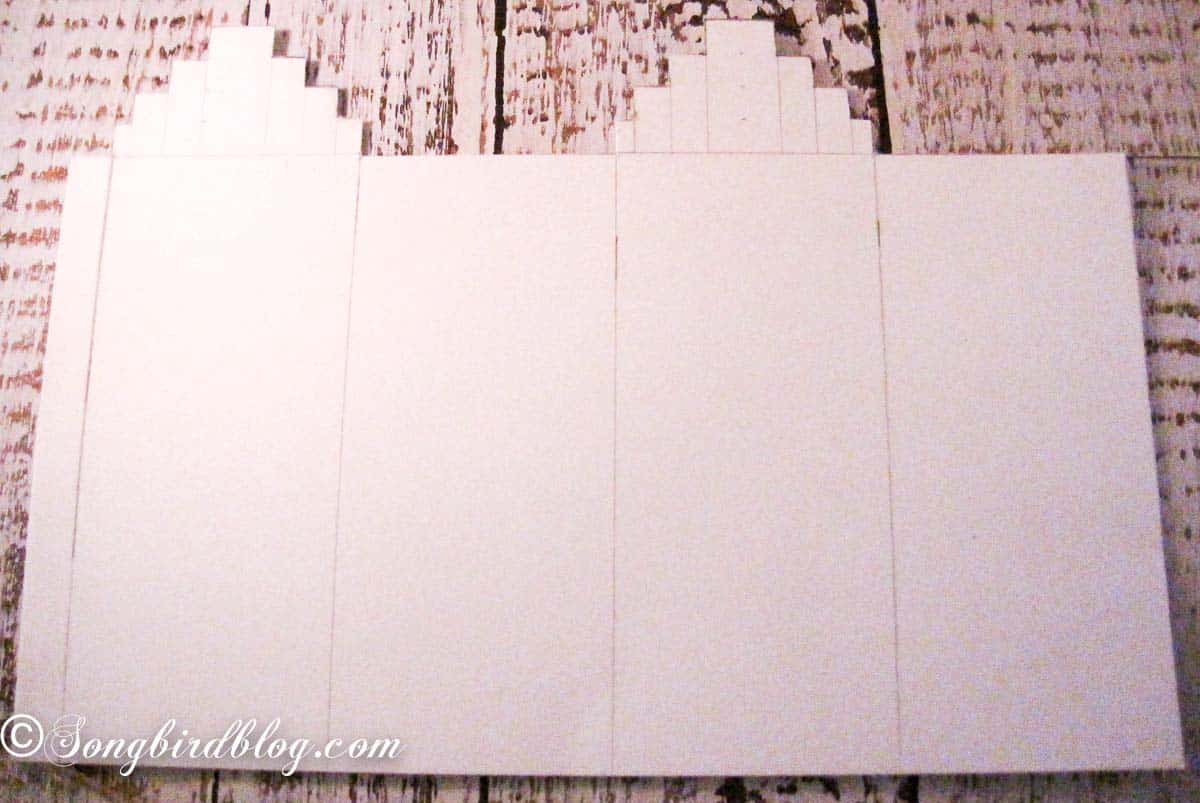
This one needed a detached roof. It is just a rectangular with some extra strips for glueing.
Step 2. Make the Windows
With a craft knife cut out the windows and or doors. Be careful and don’t cut yourself. You can leave them open or glue some vellum or really thin, see-through paper (like white sandwich bags, or the inner bag from your cereal) behind them.
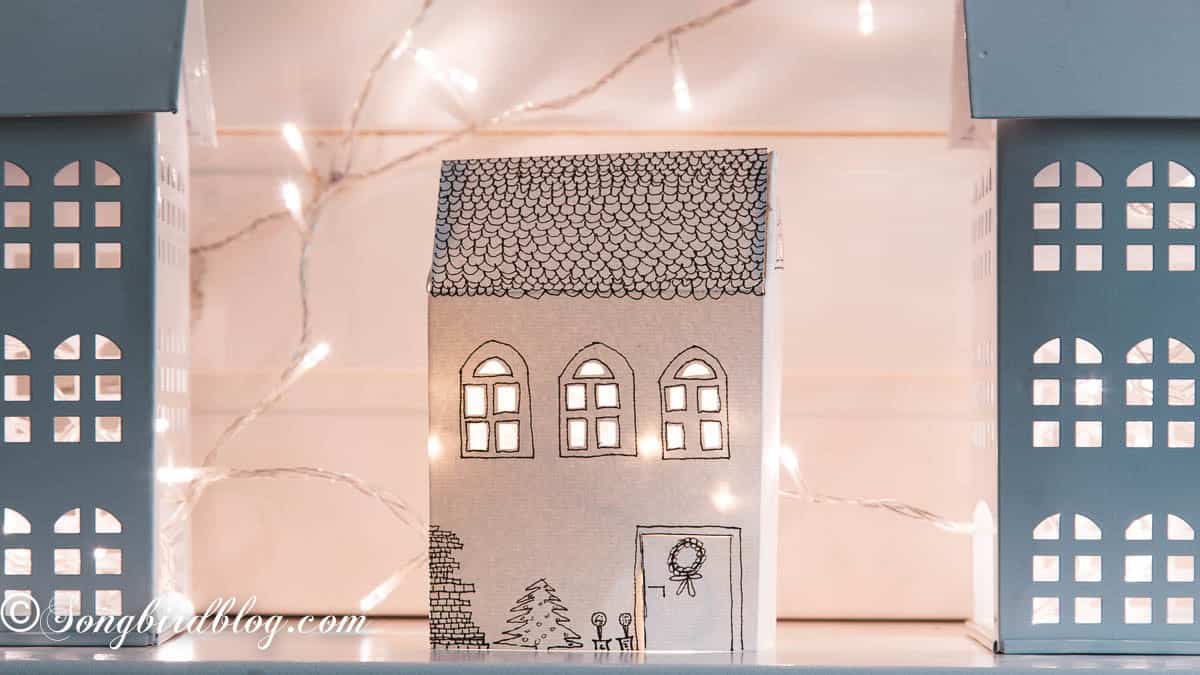
Step 3. Draw on Details
Now is the step to draw on any decorations you like like flowers, trees, window boxes, door handles etc. It is much easier to draw those now before shaping the house. I drew a pattern on the roof and I really liked the effect it gave.
Step 4. Glue Your House Together
Fold carefully and with crisp lines (use a ruler) along the fold lines and glue your house together with glue on the extra strips.
This whole process was so much easier than I had feared when I first drafted my idea. Just try it you’ll soon get the hang of it.
Want to skip the drawing entirely for a few of your paper houses? I actually have a shortcut. Here is the even easier version of a paper house: use a milk carton.
How to Make the Easy Milk Carton Houses
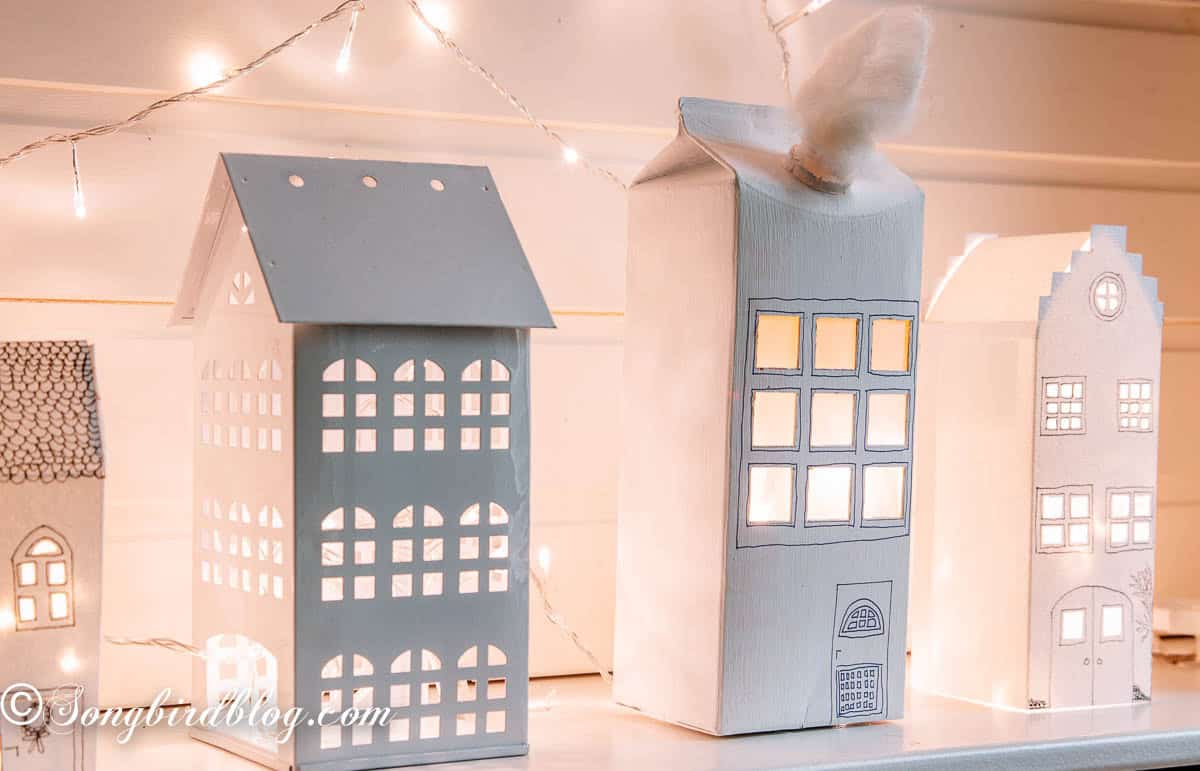
Take the shortcut, I always say. For a really easy version of a paper house you can use milk or juice cartons.
Take an empty milk carton, wash it out well, and let it dry completely. If your carton has a silver lining all the better, it will make your house really shine from within.
Paint the whole thing in your favorite color with craft paint. One or two coats, whatever it takes to cover the print. Let dry.
Cut open the bottom for access to the inside and so you can put lights inside.
Make the windows and draw the embellishments like written above. This is harder to do than with a flat paper template so keep the design simple. Alternatively you can cut open one of the corners of the carton to lay it flat and cut windows and draw embellishments easier. But then you have to makeshift an inside bandage (an extra strip glued on to one side, so you can glue the other side to it).
My milk carton had a drinking sprout at the top. I made use of that by turning it into a chimney. I simply added some cotton wool for smoke.
I will not pretend milk carton houses are fancy. They are the kindergarten version of a paper house, and I meant that as a compliment. Carton houses are the most forgiving paper craft house there is. They took me 15 minutes, and from across the room you would never guess what they started life as.
Making My Paper Houses Christmas Mantel
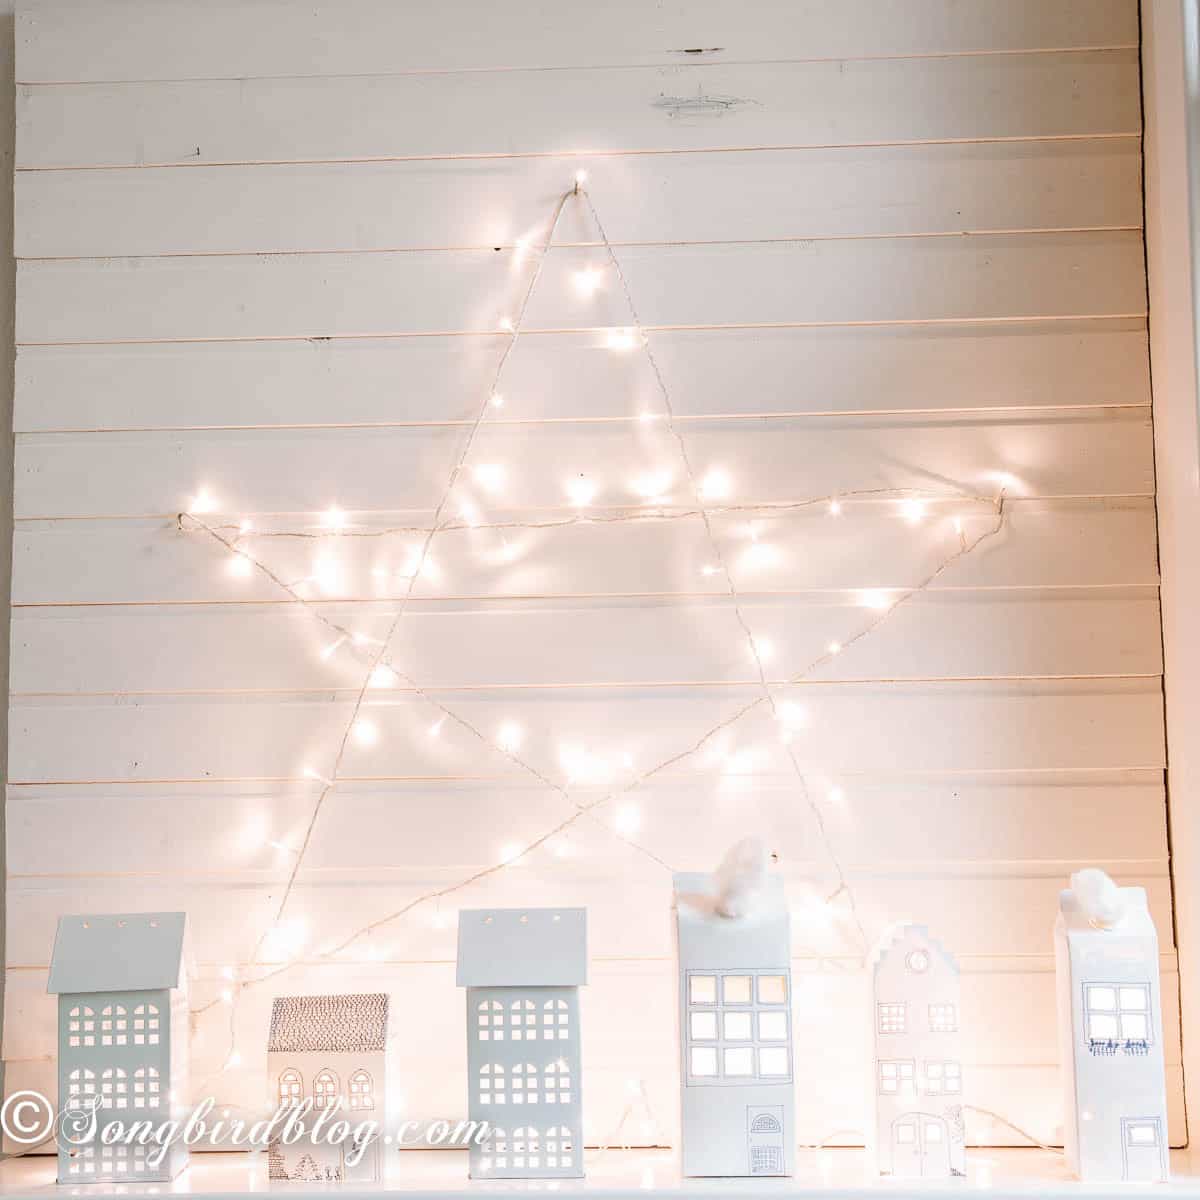
The backdrop for my handmade putz houses is a big star, and it is the quickest part of the whole project.
I hammered nails into my faux plank wall in the shape of a star, then wound a string of lights from nail to nail to trace the outline. That is it.
If you do not have a plank wall, any wall works. And if nails are not an option, Command hooks would do the same job.
Styling the Mantel
I lined the houses up along the mantel with the two metal ones mixed in among the paper ones, and stepped back to look.
That is my best styling advice, truly. Step back, squint a little, and move things until the paper village feels right. Odd numbers of houses help, just like a classic putz houses display. A little variation in height helps more.
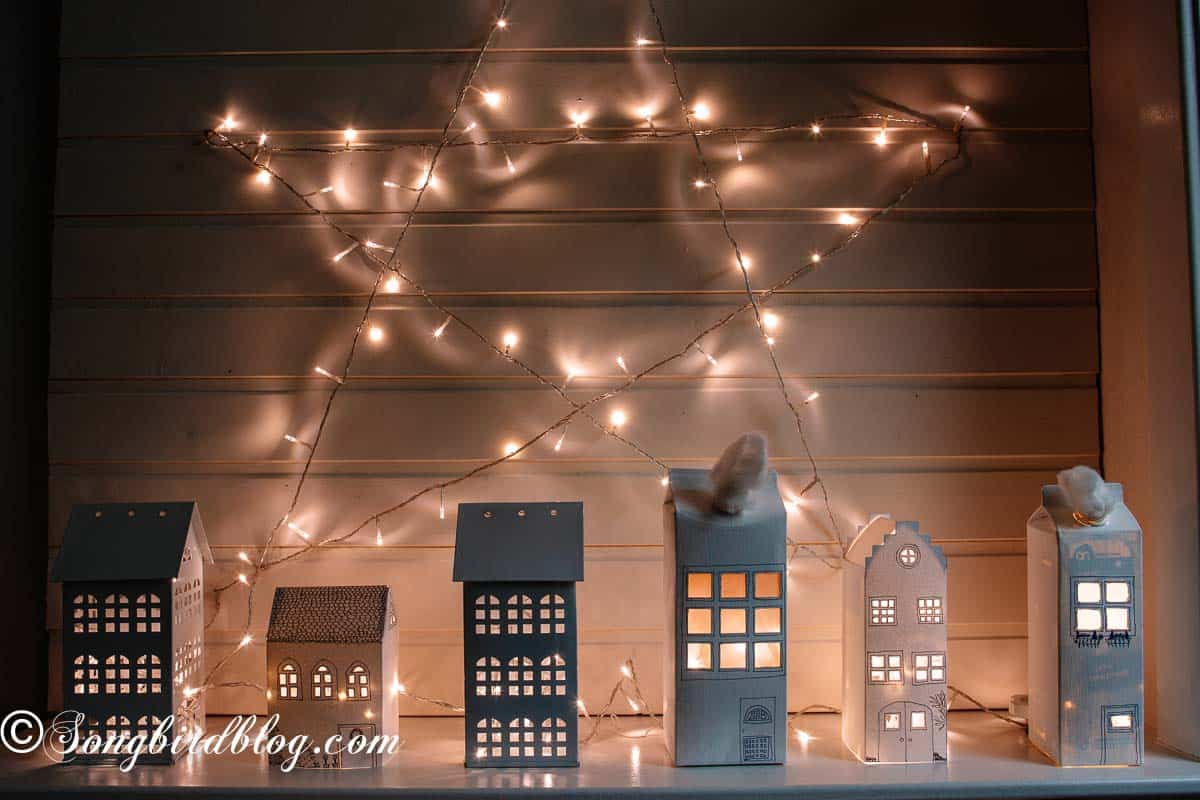
The daytime look is crisp and white, like a Christmas paper village waiting for dark. The night look is the real payoff, with the star glowing above and light spilling out of every little window. I tried my best to capture it in the photos, and they come close, but you will just have to trust me that in person it is better.
Your Turn
So what do you think? Could you go without color on your Christmas mantel, or do you need your greens and reds? And have you ever made anything from a milk carton you were proud of? Tell me in the comments, I read every single one.

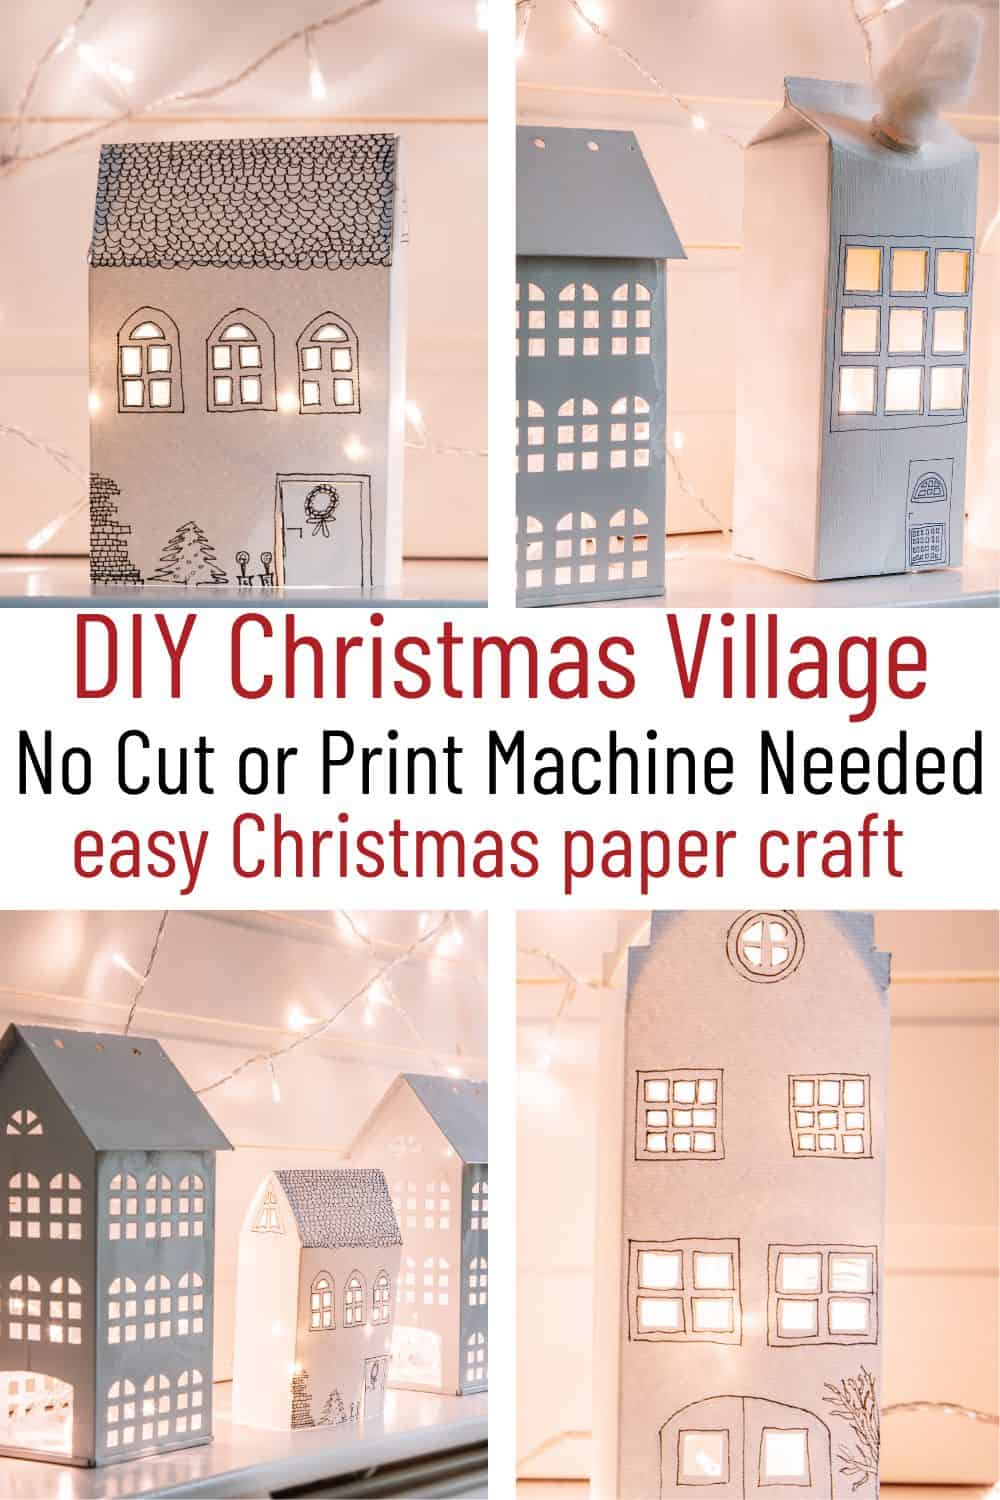
If this little white village made you smile, pin it now and make it later. Your December mantel will thank you.
I L O V E it!!!!!!!!!! I would seriously like to duplicate something like this for myself. I’d love it if you’d share your detailed instructions with me.
Thank you.
Give me a few days until my series has ended and I will give you a complete tutorial, promised. I’ll have to make another house so I can photograph the steps. I was making it up as I went along so didn’t have time yet to document the steps.
So pretty Marianne! I want to make some paper houses now. I’ll be watching for your tutorial.
yes tutorial, please
Oh my goodness YES! Tutorial please! These are absolutely darling! Going to start collecting cartons up… I think they’d make an adorable nightlight cover in a dark little corner for any time of year! Beautiful project, Marianne!
I love your houses. They look perfectly peaceful and so crisp and wintery. The all white decor would look wonderful all through winter. I can’t believe that two of the designs were once milk cartons. Amazing. Very well done.
Awesomeness happening!! You MADE them? Wow. Very nice. Best wishes, Linda
I think this is really a pretty mantel, Marianne!
thanks so much – I adore this idea. are you planning on storing them and, if so, how?
thanks, jill
These are gorgeous, Marianne. I’ll second the request for a tutorial.
Those are so sweet! Na, there can never be too much white Marianne, especially in these cold months….that’s precisely what I like about your style!
Delightful! Love all!!
These are quite lovely. I made an entire village out of paper mache houses, but they are too big for my mantle. I look forward to your directions for making these.
Your houses are beautiful! I love the whimsical drawing around the cutouts on some of them. Looking forward to your tutorial.
I am so thrilled to have stumbled upon your blog. I immediately subscribed via email. I’d love a Little House tutorial – they are adorable.
Wishing everyone the happiest of holidays!
Can I get instructions for your “Little Houses”? I love ’em!!!!
First time on your blog and I love the houses! Where do I look for the tutorial on your blog?
Can I get instructions or a pattern for the cut out house, Love the “Little Houses”?