
A Beautiful Way to Repurpose Crystal Bowls for Your Home
Discover how to repurpose crystal bowls into functional and pretty cake domes for your home.
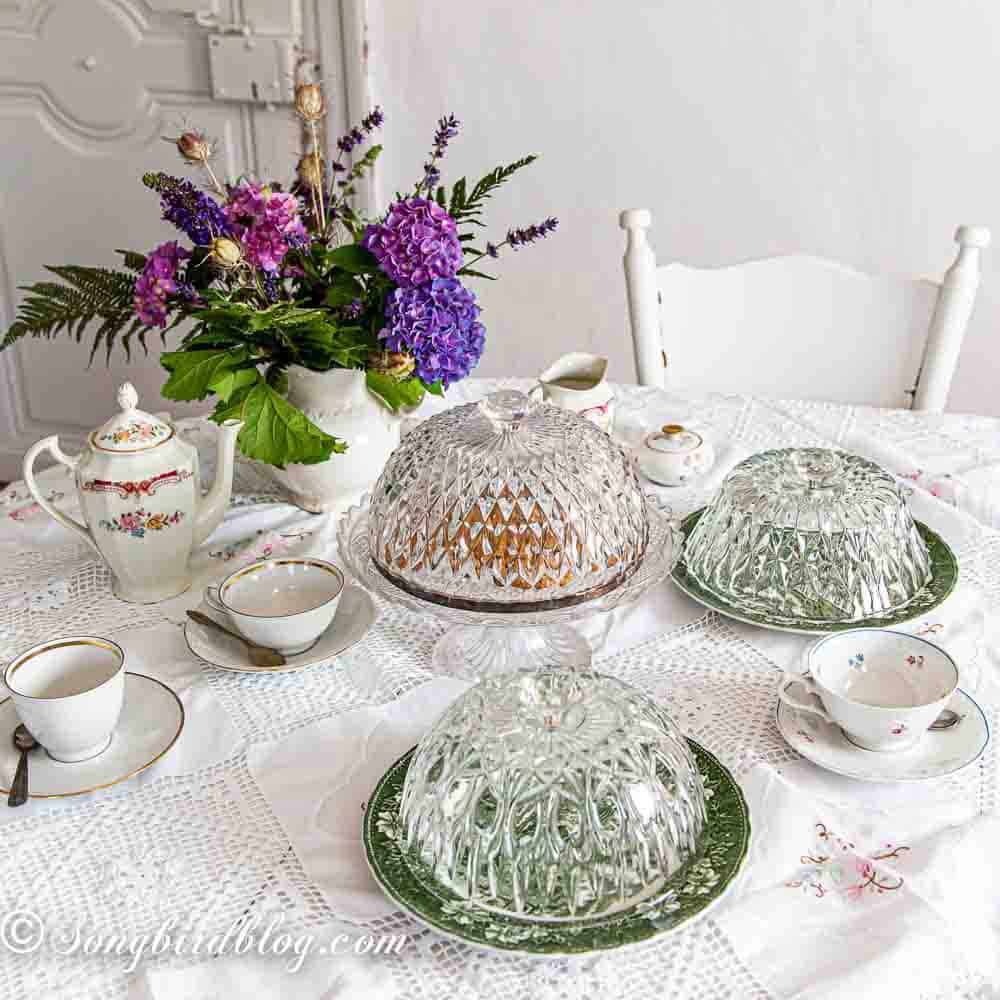
I was rummaging through my favorite thrift store last week (again) when I spotted them.
A whole shelf of crystal bowls.
Shiny. Heavy. And just begging for a second chance.
I’ve always had a soft spot for crystal glassware. There’s something about the way it catches the light and feels so fancy in your hands. But let’s be honest, when was the last time you actually used a crystal bowl for… well, anything?
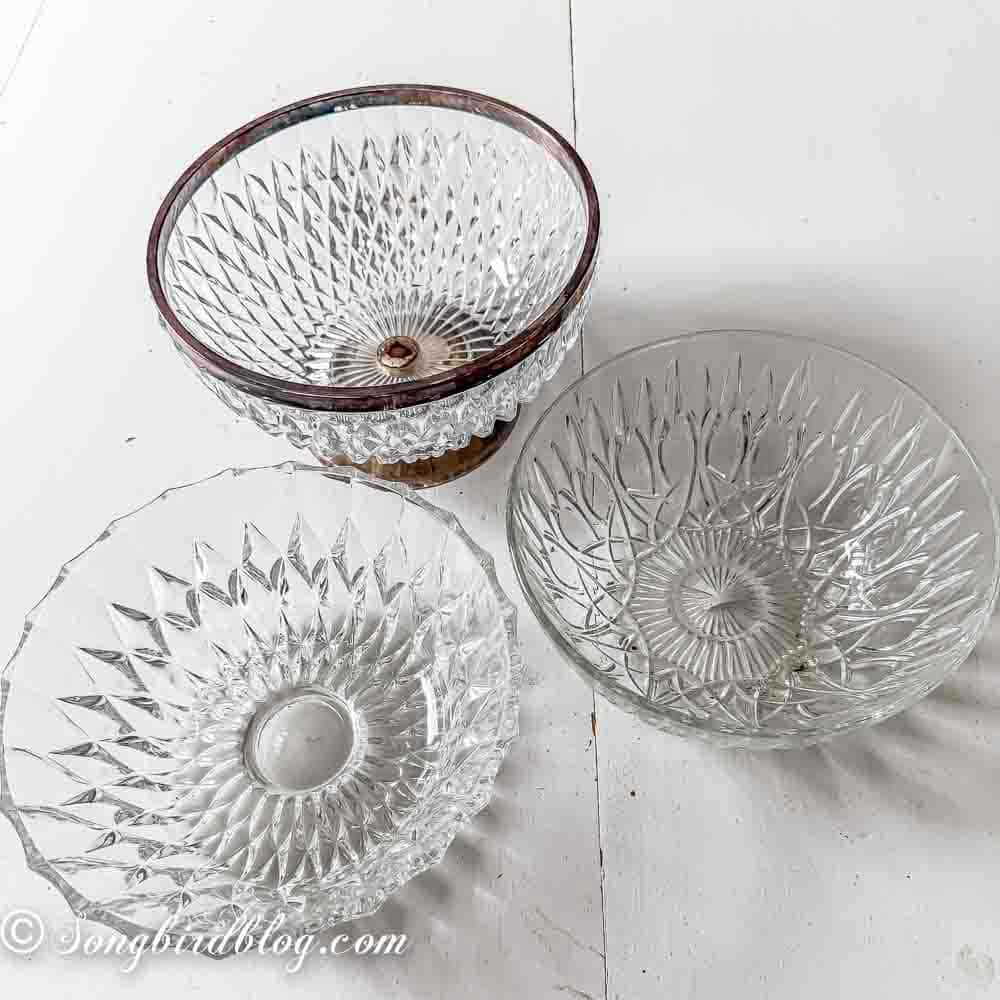
Well I guess nobody else has either, because there were a lot of these bowls and the price was so good.
So I grabbed a few. And then I couldn’t resist just one more. Because if there’s one thing I know, it’s that when it comes to thrift store finds, (and a potentially risky makeover) one is never enough.
Come on, don’t you agree these have a lot of potential?
I’ve always believed that the best projects start with an unexpected find, a little rummaging through the craft stash and a lot of imagination.
The rummaging part involved the only other (thrifted) item you will need for this project.
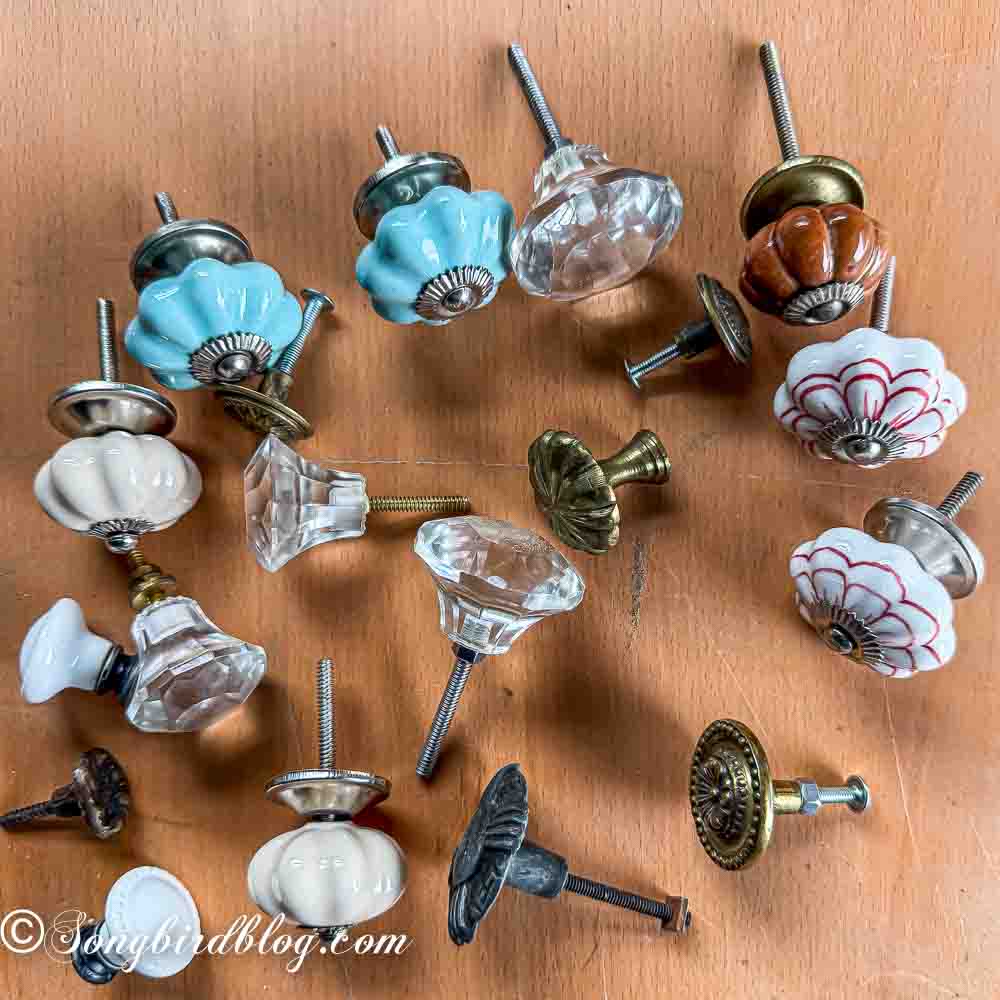
It is all about the knobs. I have a habit of collecting drawer pulls. You know how it is, you see a pretty knob, and you think, “I’ll use this someday.” Well, someday finally arrived. I pulled out all my stashed-away treasures: vintage brass, porcelain, and glass knobs. I am sure you have a few of these laying around too.
The crafty part of this project is where the magic happens. It is about merging the knobs with the bowls. It involves drilling into glass, which might sound intimidating, but it’s easier than you think.
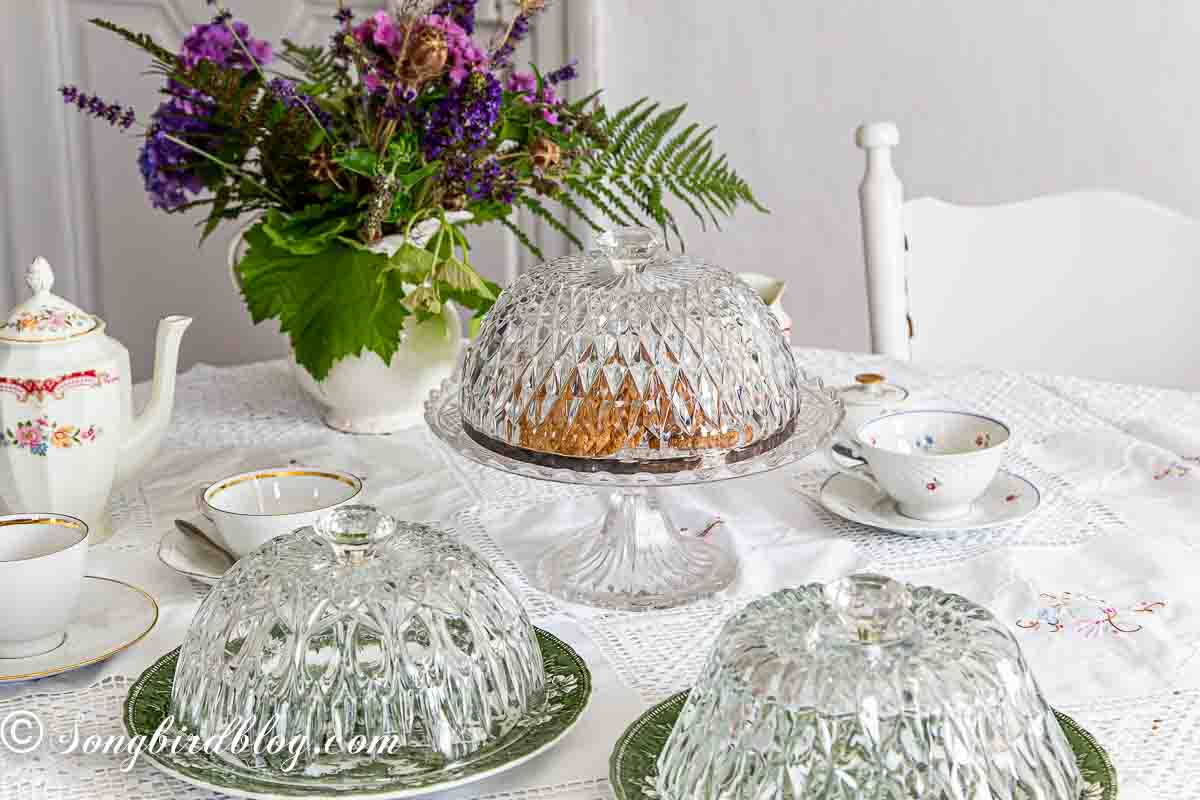
Today, I’m going to show you how to repurpose crystal bowls into glass domes that are perfect to use on a cake stand. It turned out to be an easy and fun upcycle craft that I know I will enjoy for many tea parties to come.
Speaking of upcycle projects. Today’s vintage tool decor project is my entry for the monthly Wednesday Thrift Store Decor Tour. At this second Wednesday of the month a little online crafting get-together is happening again, where my friends in blogging and thrifting, share their latest makeover projects. You can find all the amazing thrift store projects for this month at the bottom of this post.
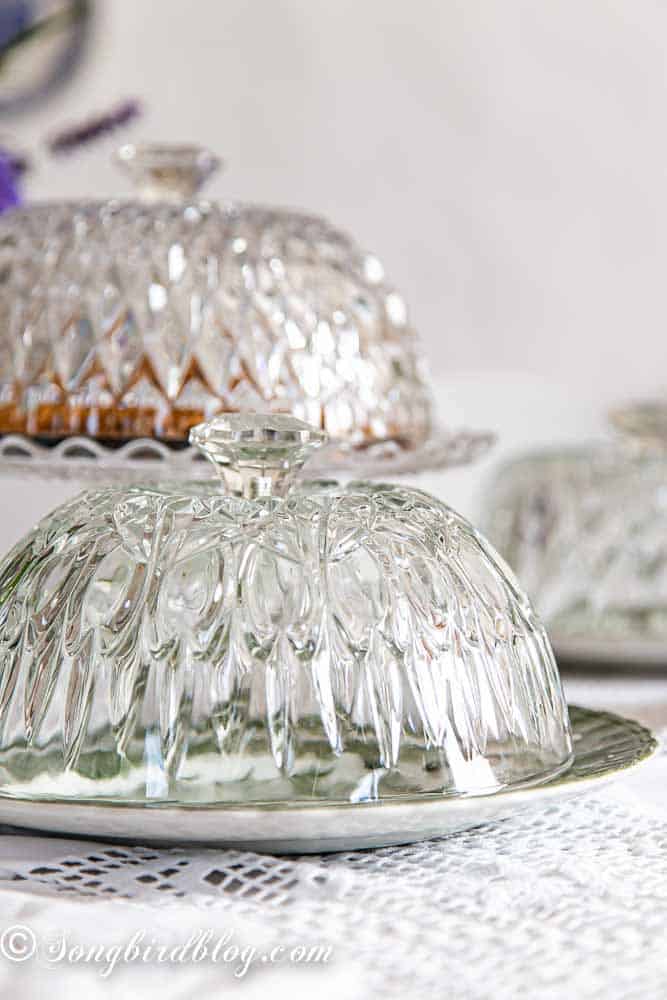
How to Turn Crystal Bowls Into Cake Domes
This project is so simple, you’ll wonder why you didn’t think of it sooner.
First: gather your supplies. You will need:
- Crystal Bowls
- Drawer Pulls
- A bucket or bowl large enough to hold your crystal bowl with enough water to cover the top.
- A towel or dish cloth
- A drill and glass drill bits (they are also called diamond drill bits)
- Something to cut a screw thread with (bolt cutters, saw or angle grinder).
For my first glass dome, I lucked out. One of the crystal bowls had a foot.
Turns out this foot could simply be screwed off, leaving me with a hole in the bottom that was ready for attaching a knob.
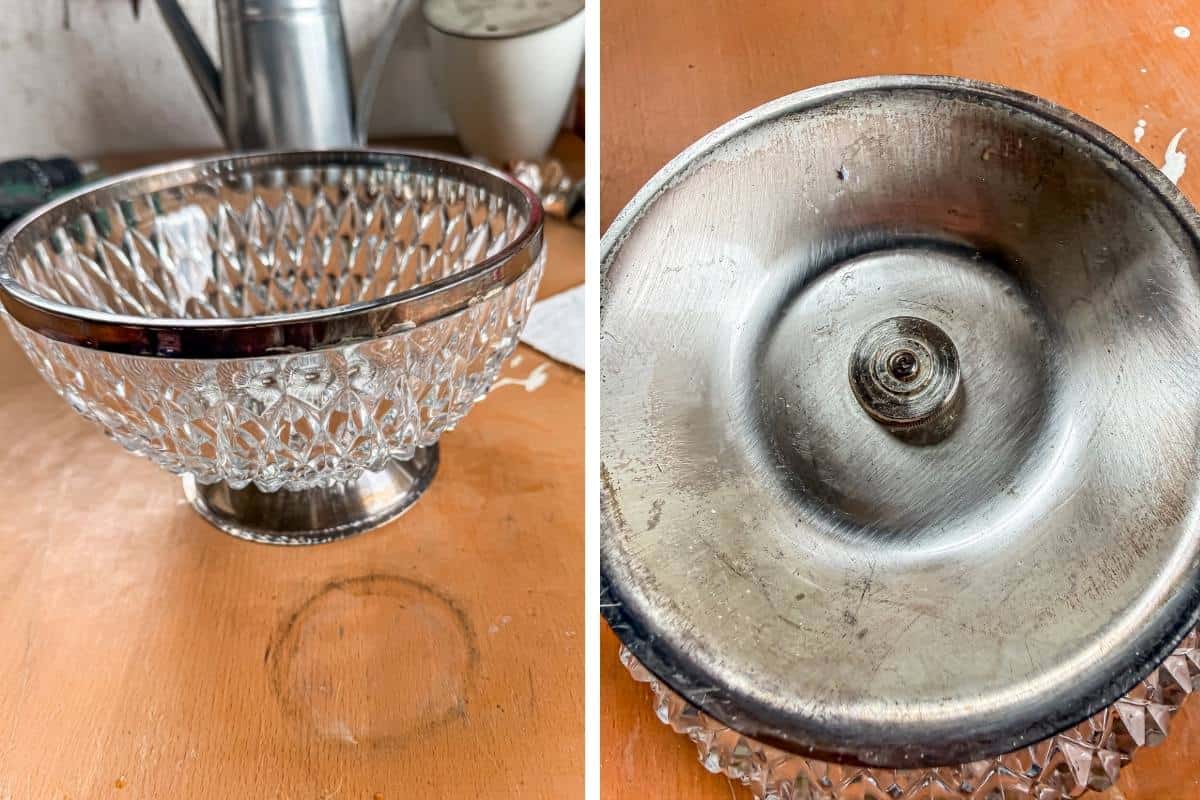
I am assuming you might not be so lucky (and neither was I with the other two bowls). So let me show you how to drill a hole into a crystal bowl.
Step 1: How to Drill a Hole in a Crystal Bowl (Safely)
You have to set up a drilling station to drill into glass safely.
First, place your bowl inside a bucket or bowl of water. This keeps the drill cool and prevents overheating. It also is safer in case the glass cracks or shatters. Make sure the water level is high enough so your bowl is complete submerged.
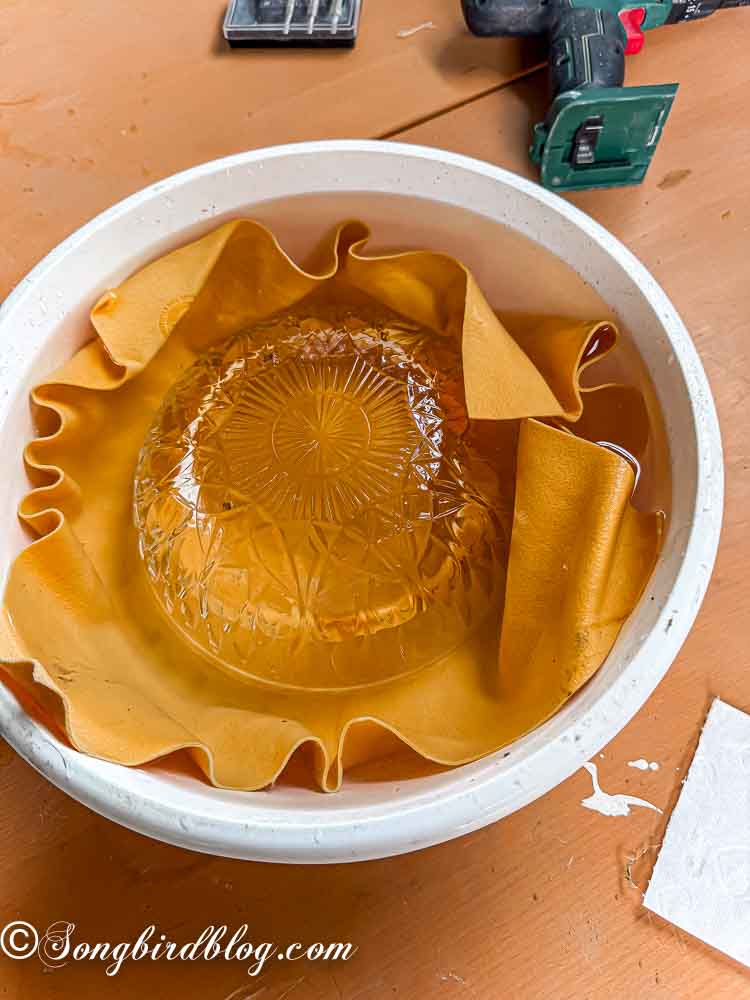
To keep the bowl more steady and stop if from vibrating to much I added a towel underneath.
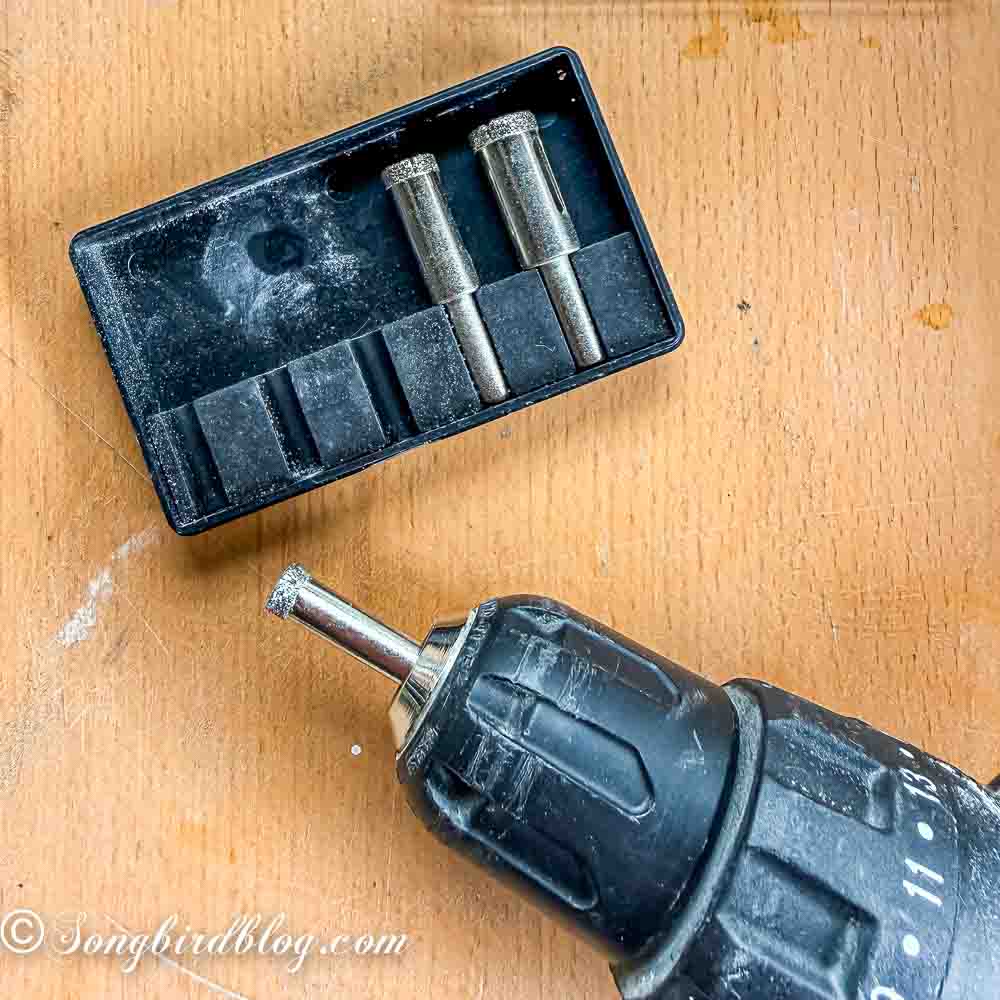
Use a glass drill bit to make a hole in the center of the bottom. Slow and steady wins the race here. Don’t put too much pressure on it, remember let the drill do the work for you.
Step 2: Gather Your Drawer Pulls
Next, choose a drawer pull that speaks to your style.
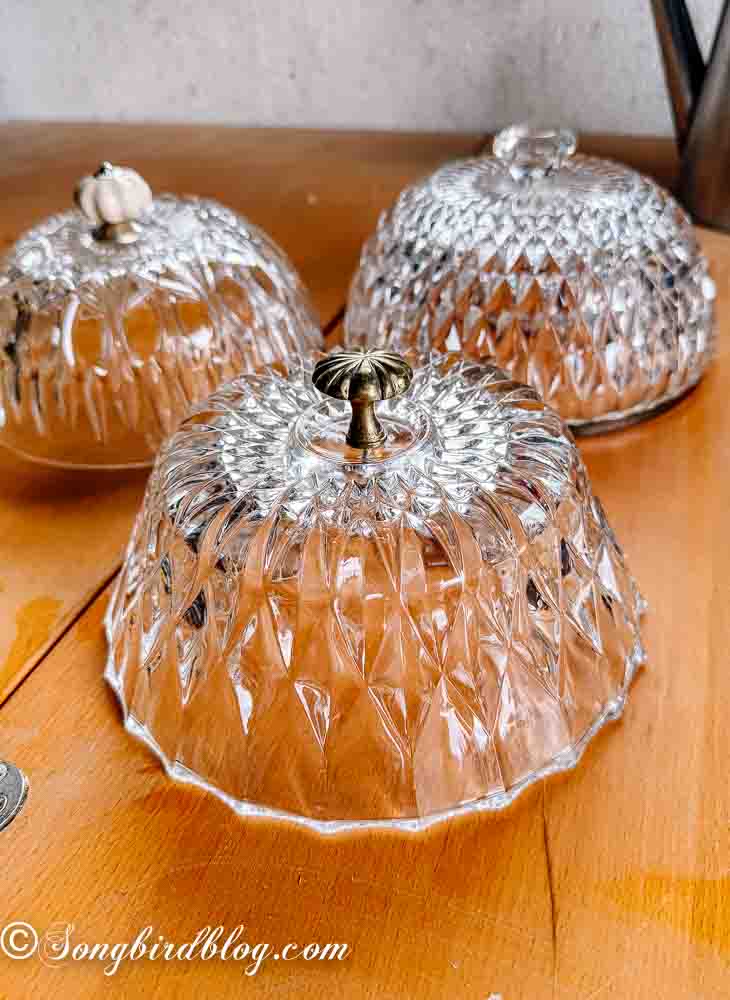
I raided my stash and tested three kinds: vintage brass, porcelain, and glass. My husband voted for the porcelain (bless his heart). I ignored him completely and went with the glass knobs. Because, well, sparkle.
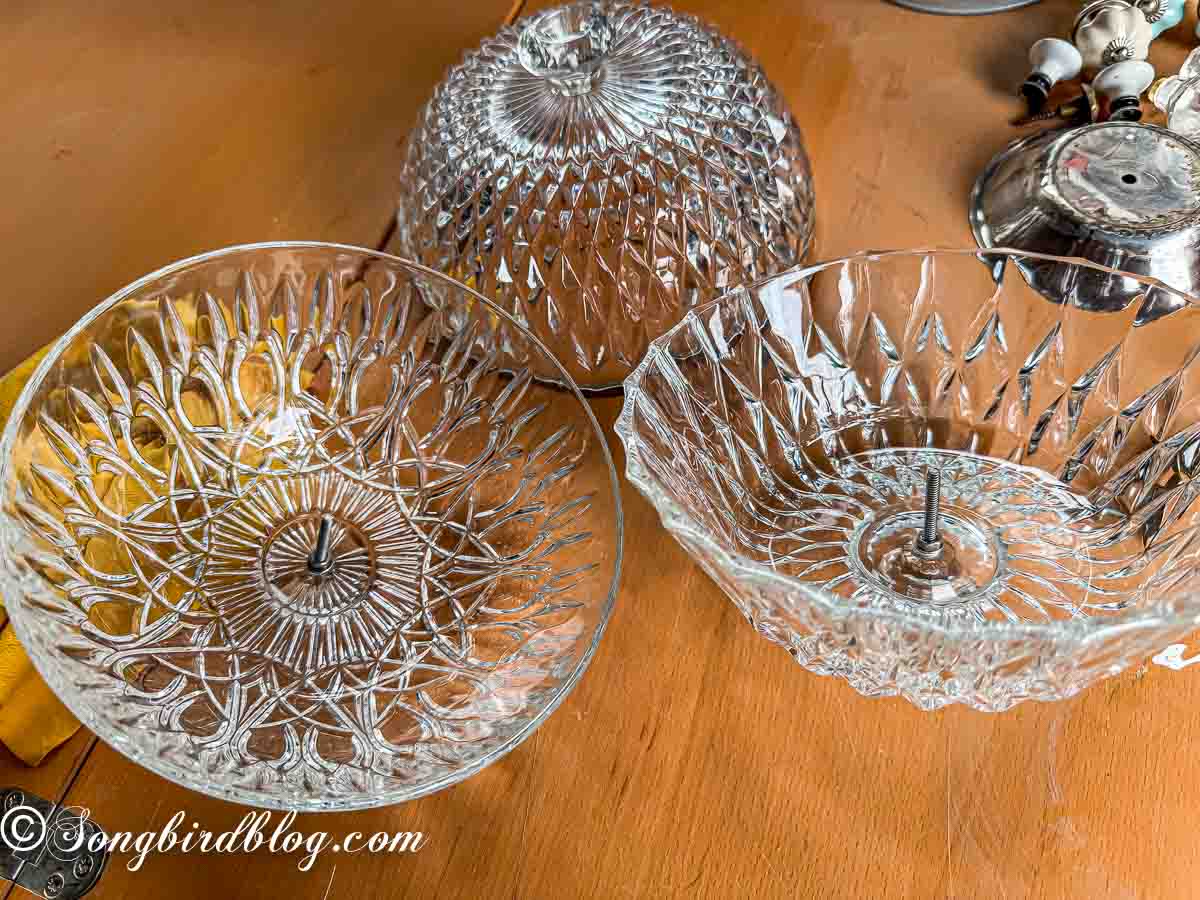
Give them a test run. And mark where you’ll have to cut the screw thread in the next step.
Step 3: Cut the Mounting Screw
Cut the mounting screw down to size with bolt cutters or a multi-tool.
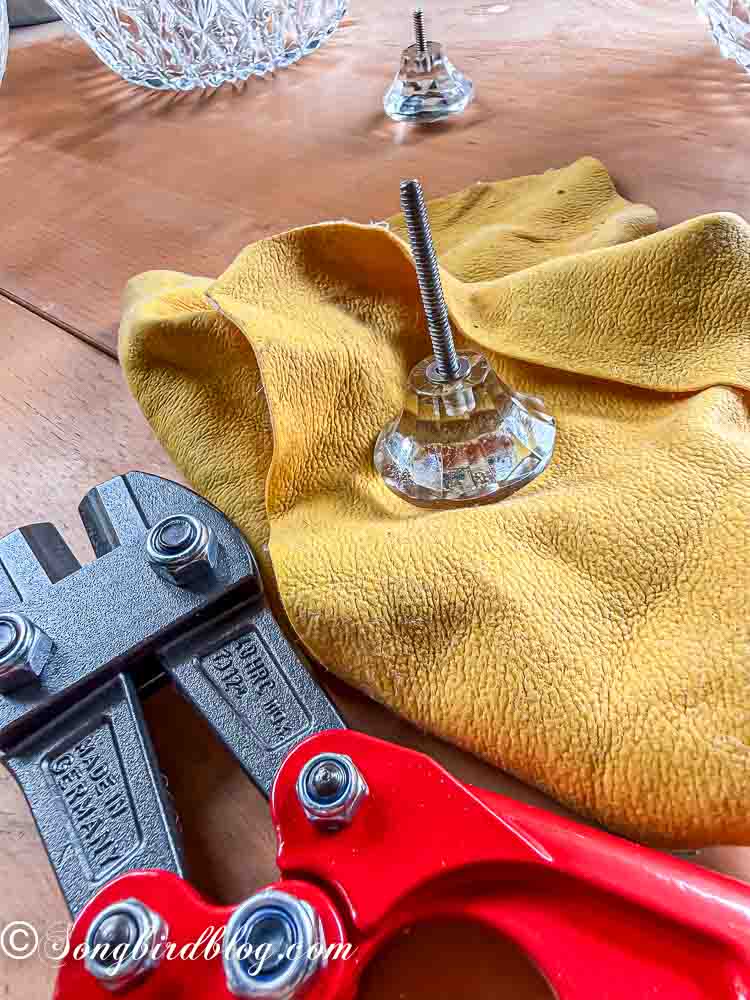
Then, attach the knob to the top of your bowl.
Just like that, you’ve got a glass dome.
I used bolt cutters. It worked like a charm.
Only it made it difficult to screw on the nuts. But with a little metal file action I got the ends of my screws back in action again.
Step 4: Decorate With Your Crystal Domes
This is the fun part.
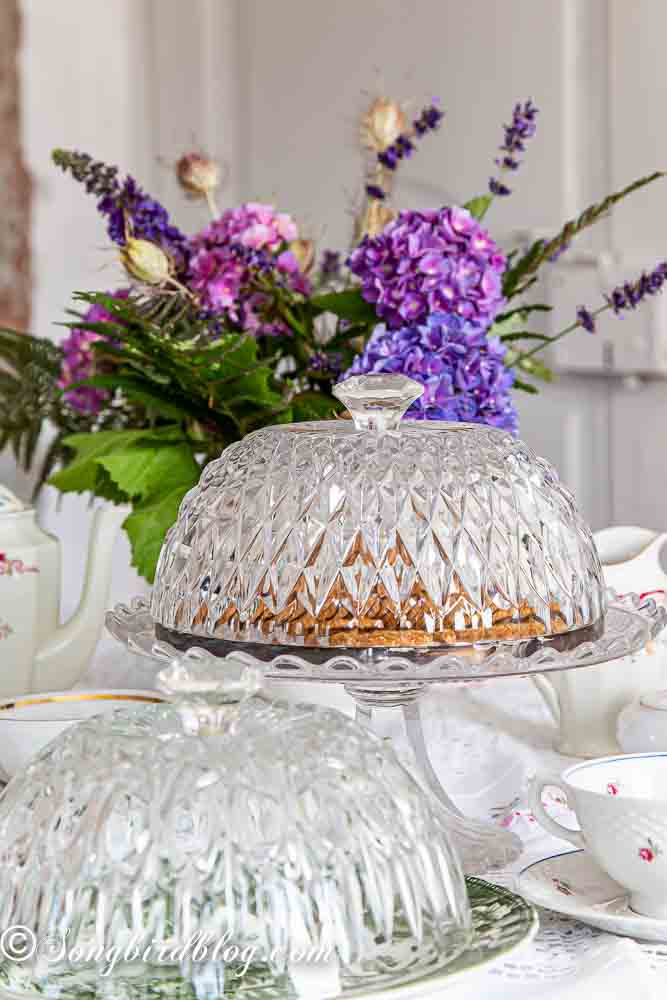
Look for bottoms to go with your glass domes. I still have my mother’s crystal cake stand, so that was an easy match.
I tried out several options for the other two domes. I ended up going for some simple vintage plates. I love this look too.
Step 5: Have a Tea Party
Tada! All done!
Time to have a tea party. I love the look of my shiny and sparkly glass domes. They look great on a table all dressed up for a tea party.
But I can also see myself using these on a side table as part of a little decorative display. Anywhere where they will catch a ray of sunshine, these crystal domes will just look pretty and festive.
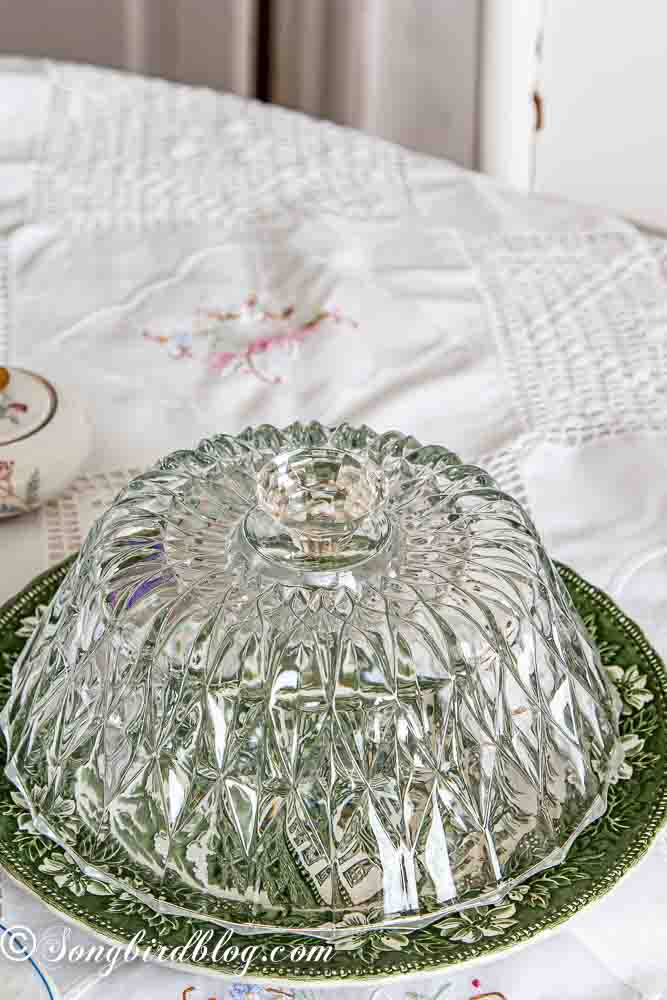
Vintage Crystal Bowls and Old Drawer Pulls: The Perfect Match
I love how these domes add a touch of elegance to any table. They’re functional and beautiful at the same time. And because crystal bowls are so easy to find in thrift stores, this is a project anyone can try.
Your Turn!
Now, I want to hear from you.
Do you ever walk into a thrift store and feel like you’ve struck gold? What’s the best upcycle project you’ve ever tackled?
Tell me in the comments, I’d love to see what you come up with!
And if you’re as smitten with this idea as I am, don’t forget to save it for later.
Pin now, make it later.

So, what do you think of my little vintage tool decor? Let me know in the comments. I love to hear from you!
And then go and check out the amazing creativity of the other Thrift Store Decor Projects on this tour.
Thrift Store Decor Tour….
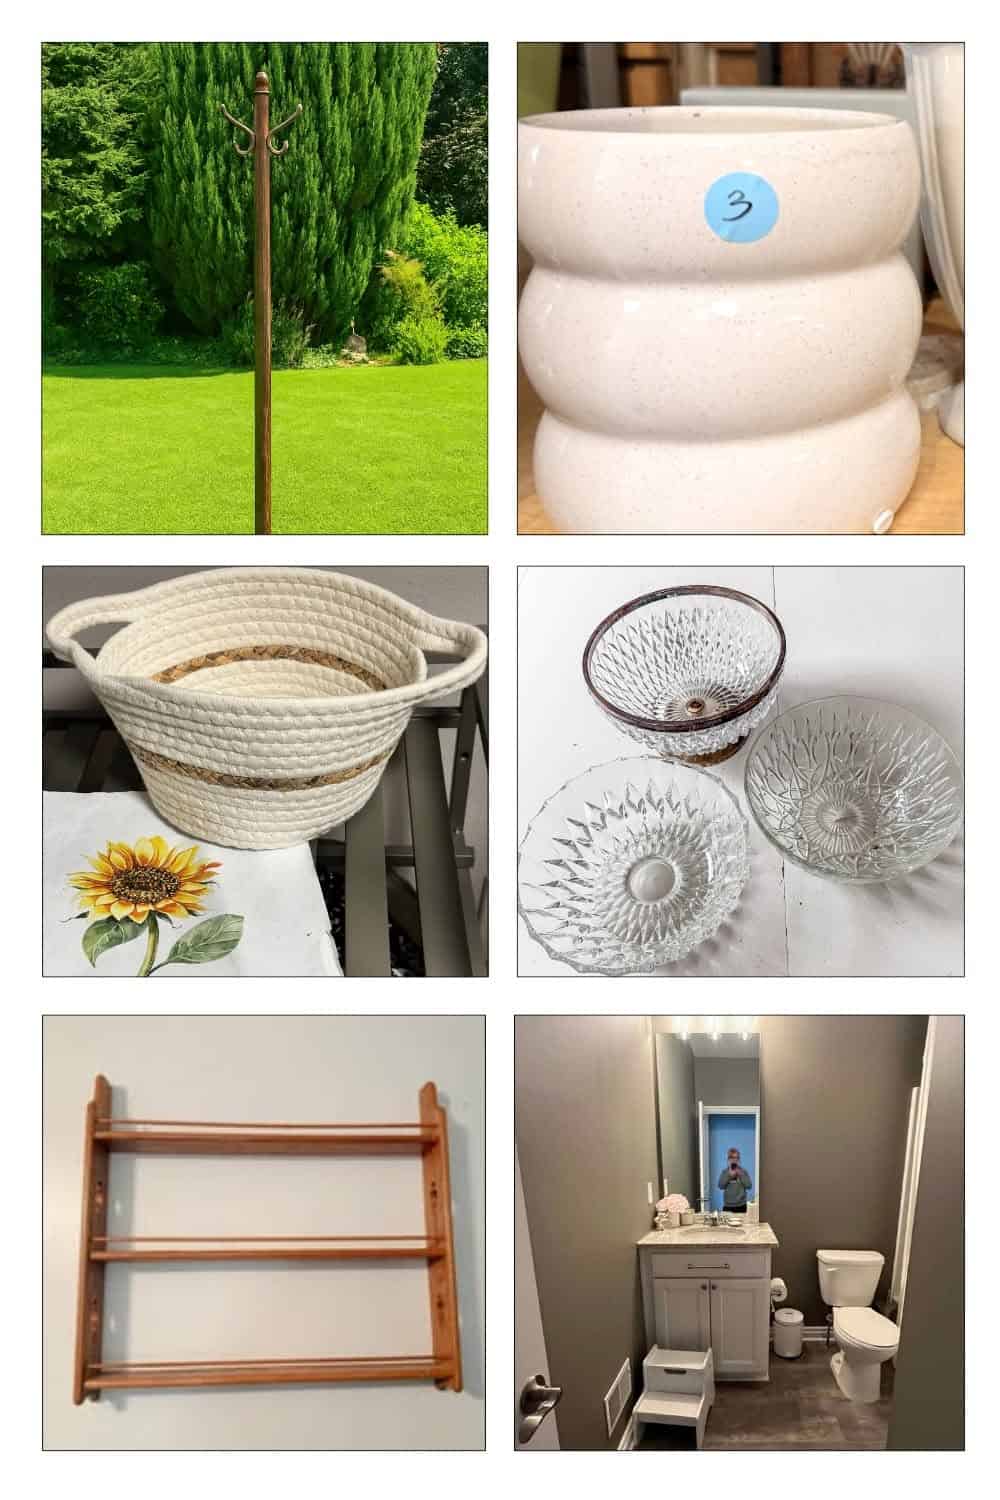
See how Funky Junk Interiors’ forgotten coat rack got a 2nd life as a charming DIY hanging plant stand. Perfect for an outdoor patio!
Kristin transformed a $3 glass vase into a high-end vintage crock with a simple napkin decoupage technique.
Learn how to update a Dollar Tree rope basket with Mod Podge and a sunflower printable to craft a budget-friendly gift basket from Our Crafty Mom.
Songbird is showing us how easy it is to make elegant glass domes from thrift store crystal bowls!
See how you can update a wood stain finish to match your favorite wood tone on an Oak Plate Rack from Shop at Blu.
Redhead Can Decorate is showing us how black paint can make a stunning impact in a small space!
CU AND HAPPY DIY DECORATING!

Wow!! It’s my bet that if you returned all those bowls upside down with knobs on them, that thrift store shelf would be empty! What a brilliant idea! Your glass domes make a table setting look SO much more upscale too! Thanks for the drilling glass tips, this is something I haven’t tried! These are beautiful!
Ha, that would be something. But I think I will hang on to these. I see some decorative options with these for in my future (when my house is ready to be decorated! Sigh, can’t wait! Thank you for being a loyal blog friend and commenter.
Marianne, I’m a sucker for crystal too! Usually the bowls end up under a plant but your idea is great. Pinned.
Actually it is a great idea to use them for plants! Might do that when I stumble upon a next batch that happens to stick to my fingers. Thank you for your comment!
WOW, I couldn’t love this project more! I still have so many of my mom’s and grandmother’s special pieces shoved away in the garage somewhere, as it was so overwhelming at the time. And now, I know exactly what to do with them! Thank you for the inspiration, and your table is absolutely stunning!
I am so happy this has inspired you to bring out some of your heirlooms. I loved that I was able to pair it with my mom’s crystal plate stand too. Thank you for your sweet comment!
I had no idea you can drill into glass! This changes everything Marianne ha ha! Your’s turned out absolutely beautiful!!! Happy to see you back with us XO
Happy to be back. And yes you can basically drill into anything as long as you use the proper drill bit. Thank for stopping by!
OH MY GOSH!!!! You are a genius! Seriously… a craft genius! I can hardly wait to get that diamond drill bit in from Amazon! Guess I’ll be taking a trip to my local thrift store as well. Love them all. pinned ++