
How to Make a Paper Star Wreath (From a Thrifted Music Book)
Learn how to make a paper star wreath from thrifted music book pages, with folded five point stars, a free cardboard base, and step-by-step instructions. No wreath form needed.
Some people can’t walk past a shoe sale. I can’t walk past a stack of sheet music. If there’s old music paper anywhere near a thrift store shelf, it comes home with me. I just can’t resist it. There is always something waiting to be made out of those pretty old pages.
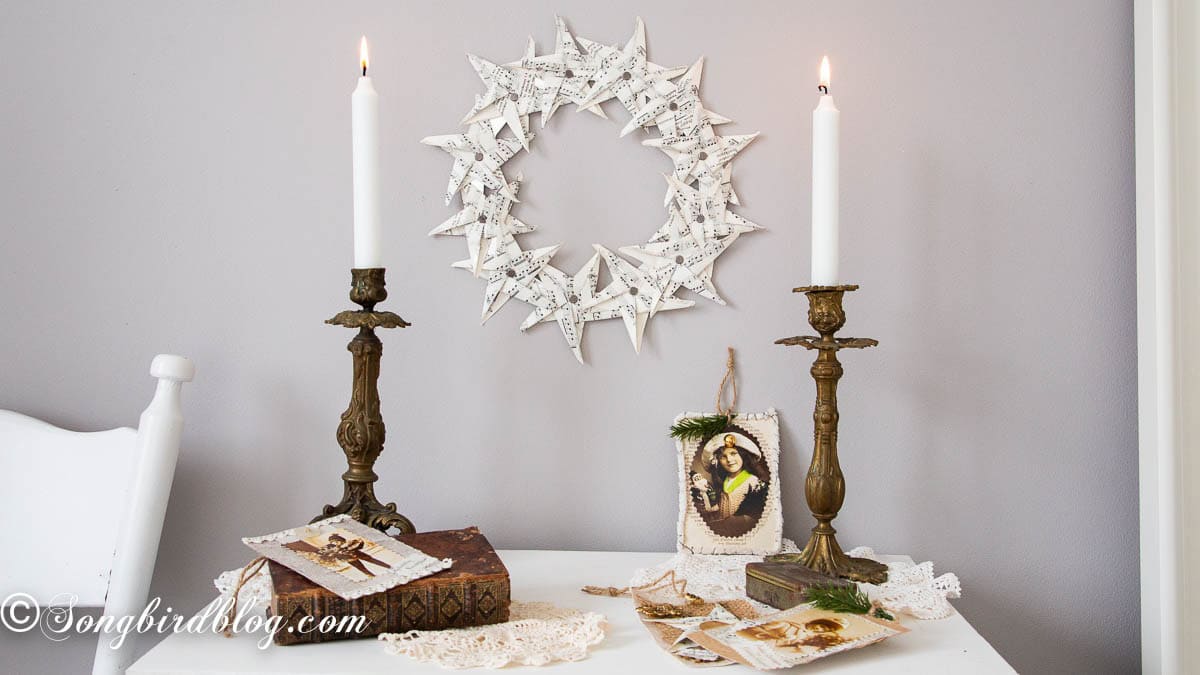
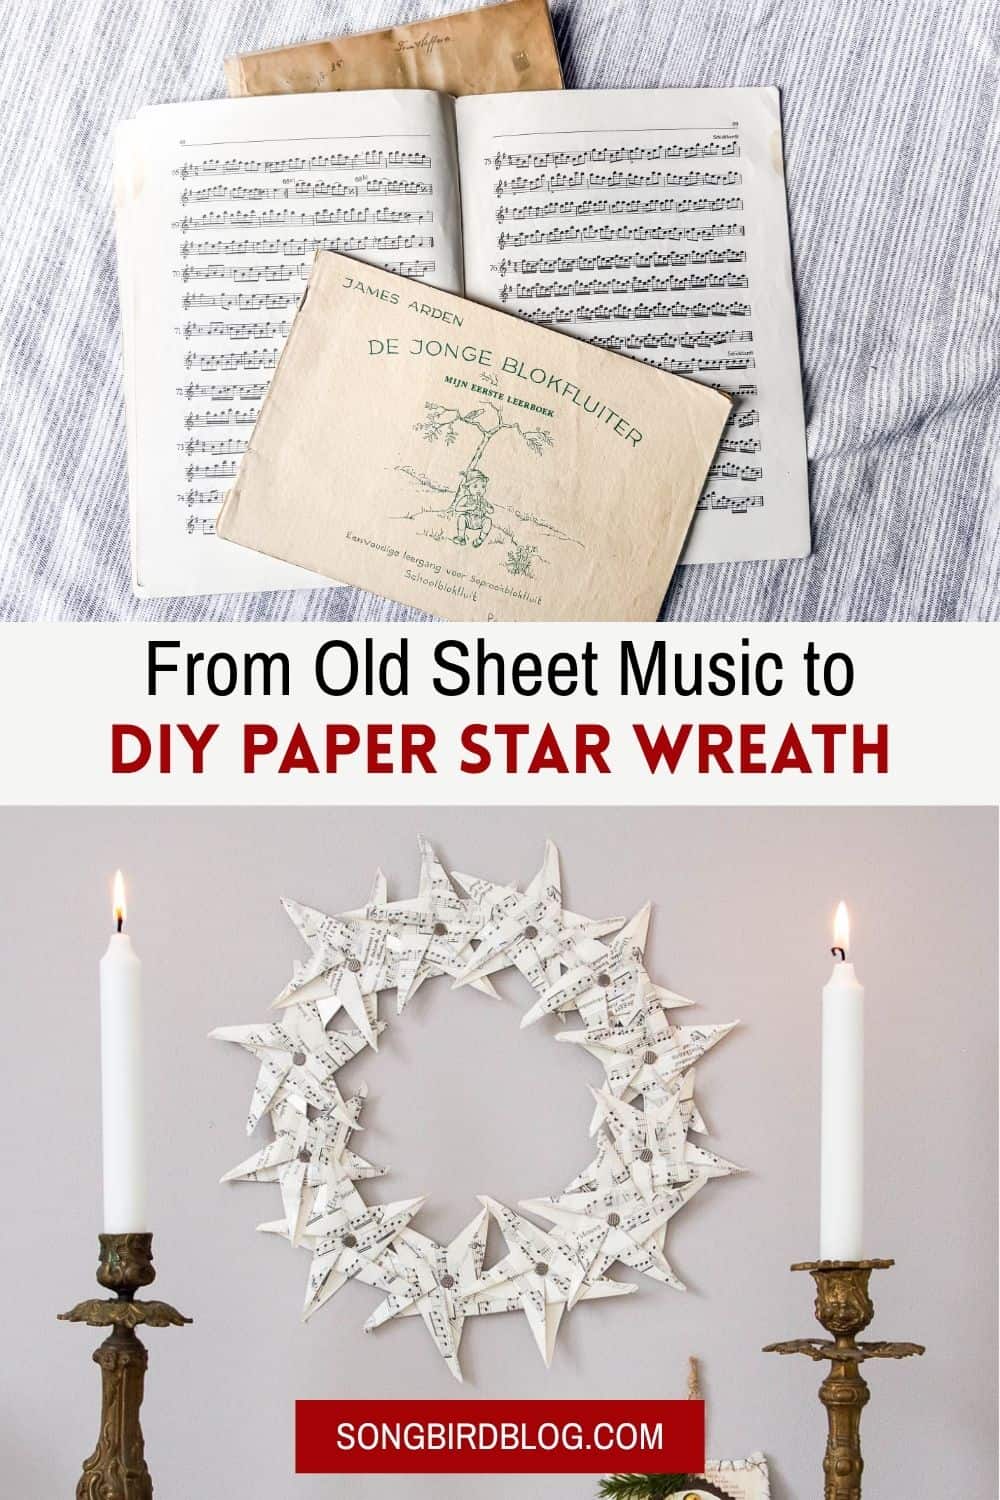
This time it was a small pile of recorder music books, the kind school children use to learn their first scratchy tunes.

They had clearly been loved to pieces (or hated and thrown across rooms…). Corners soft, covers bent, pencil marks from small hands. Nothing rare, nothing special, and that’s exactly why I didn’t hesitate for a second before cutting them up. Paper like this isn’t for keeping behind glass. It’s for making things.
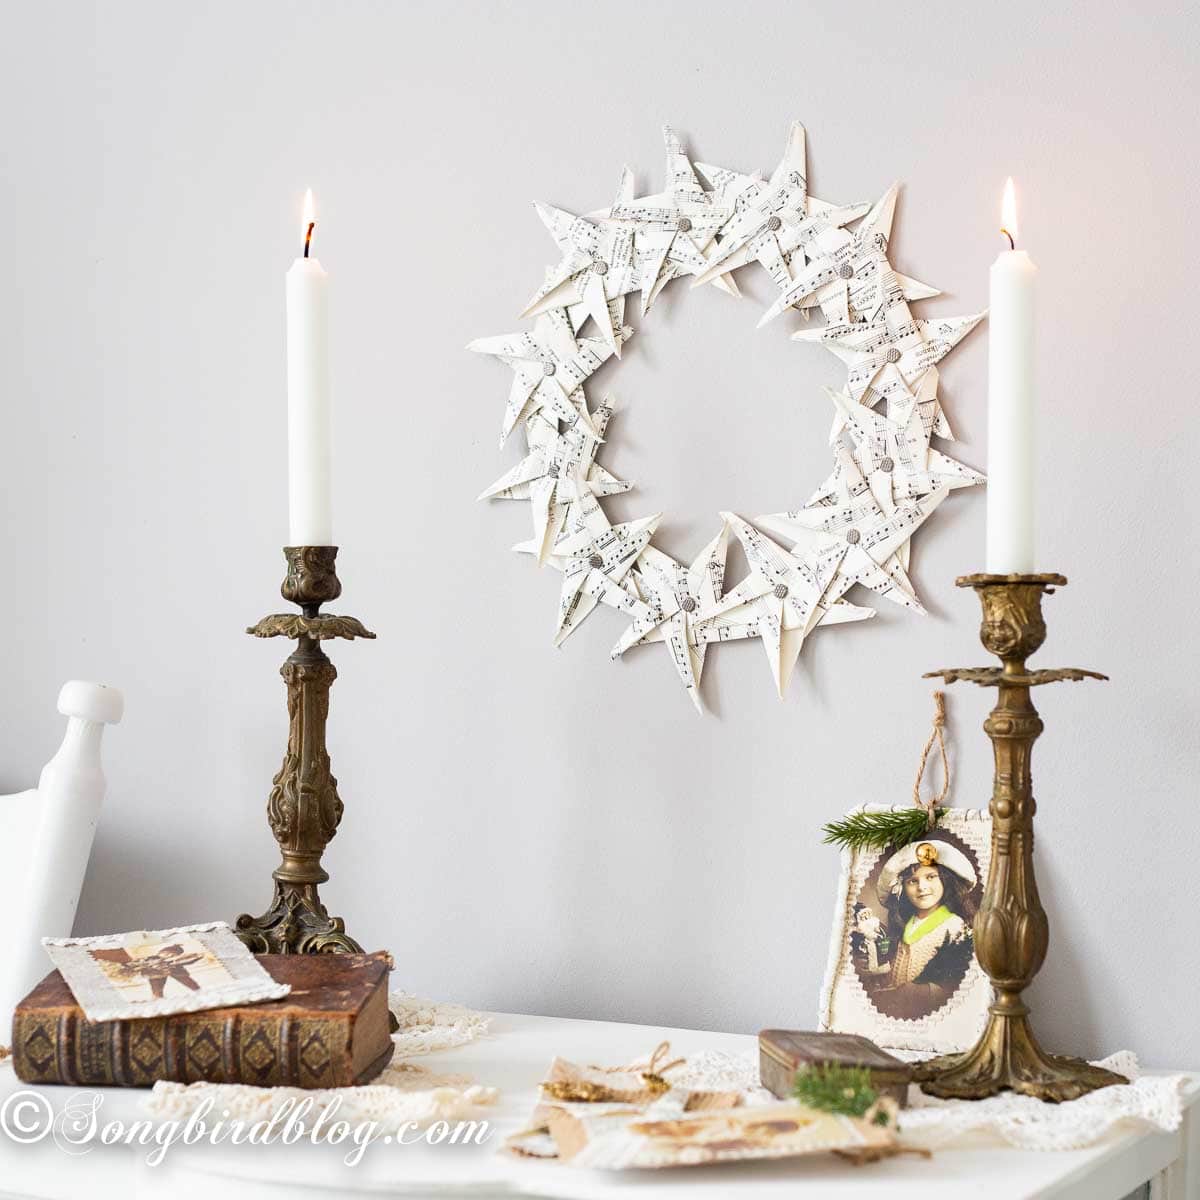
And I knew exactly what I was going to make. Years ago I folded a whole constellation of five point paper stars and let them dangle from my staircase banister at Christmas. I’ve been wanting to revisit those stars forever. The music pages were going to become stars, and the stars were going to become a wreath.
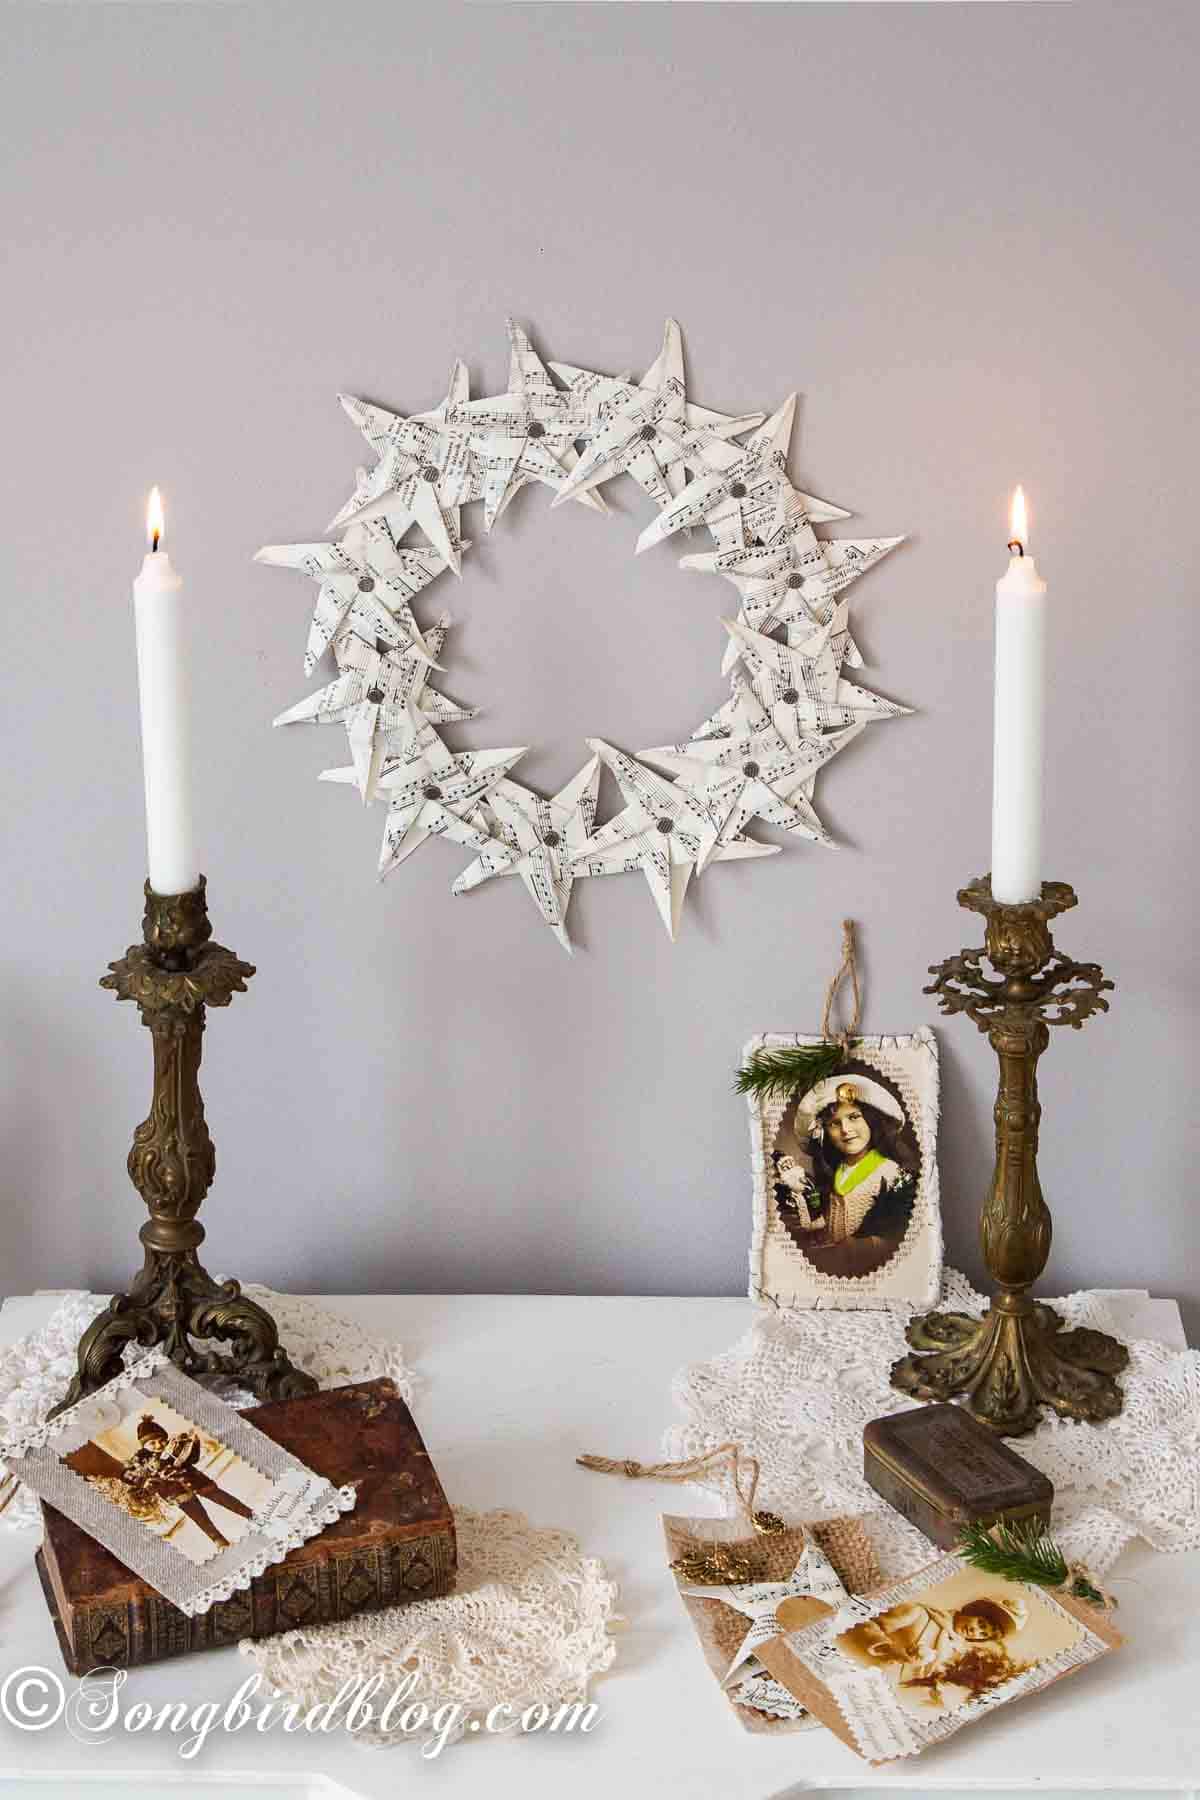
The whole thing cost me almost nothing. A piece of cardboard from the recycling bin did the heavy lifting, and a bit of leftover wrapping paper made it shine from behind. If you can fold a star, you can make this wreath. And if you can’t fold a star yet, don’t worry, I’ll send you exactly where you need to go.
This post is also part of a thrift store collaboration with a group of lovely bloggers. Stick around to the bottom, where I’ll link up all their thrift store projects. You will not believe what some of them dragged home.
What You Need for a Paper Star Wreath
The lovely thing about this project is the short supply list.
- Thrifted music book pages (or any paper that folds easily)
- A piece of cardboard
- A dinner plate and a lunch plate for tracing
- Silver wrapping paper or aluminum foil
- Craft glue
- Split Pins
- Glitter glue
That’s it. No trip to the craft store. No wreath form. The cardboard does a perfectly good job of pretending to be one.
How to Fold a Five Point Paper Star
The stars are folded from a pentagon, I have written a full step-by-step tutorial (with images and video ) in my How to Fold a Paper Star post. That’s where I show you how to make the pentagon and how to fold the star, one slow step at a time. Go take a peek, then come right back. I’ll wait.
One episode of my latest English detective series later and I had a whole pile of stars, folding them goes faster than you’d think.
How to Make the Paper Star Wreath
Now that we have our stars folded let’s get on with turning them into a wreath.
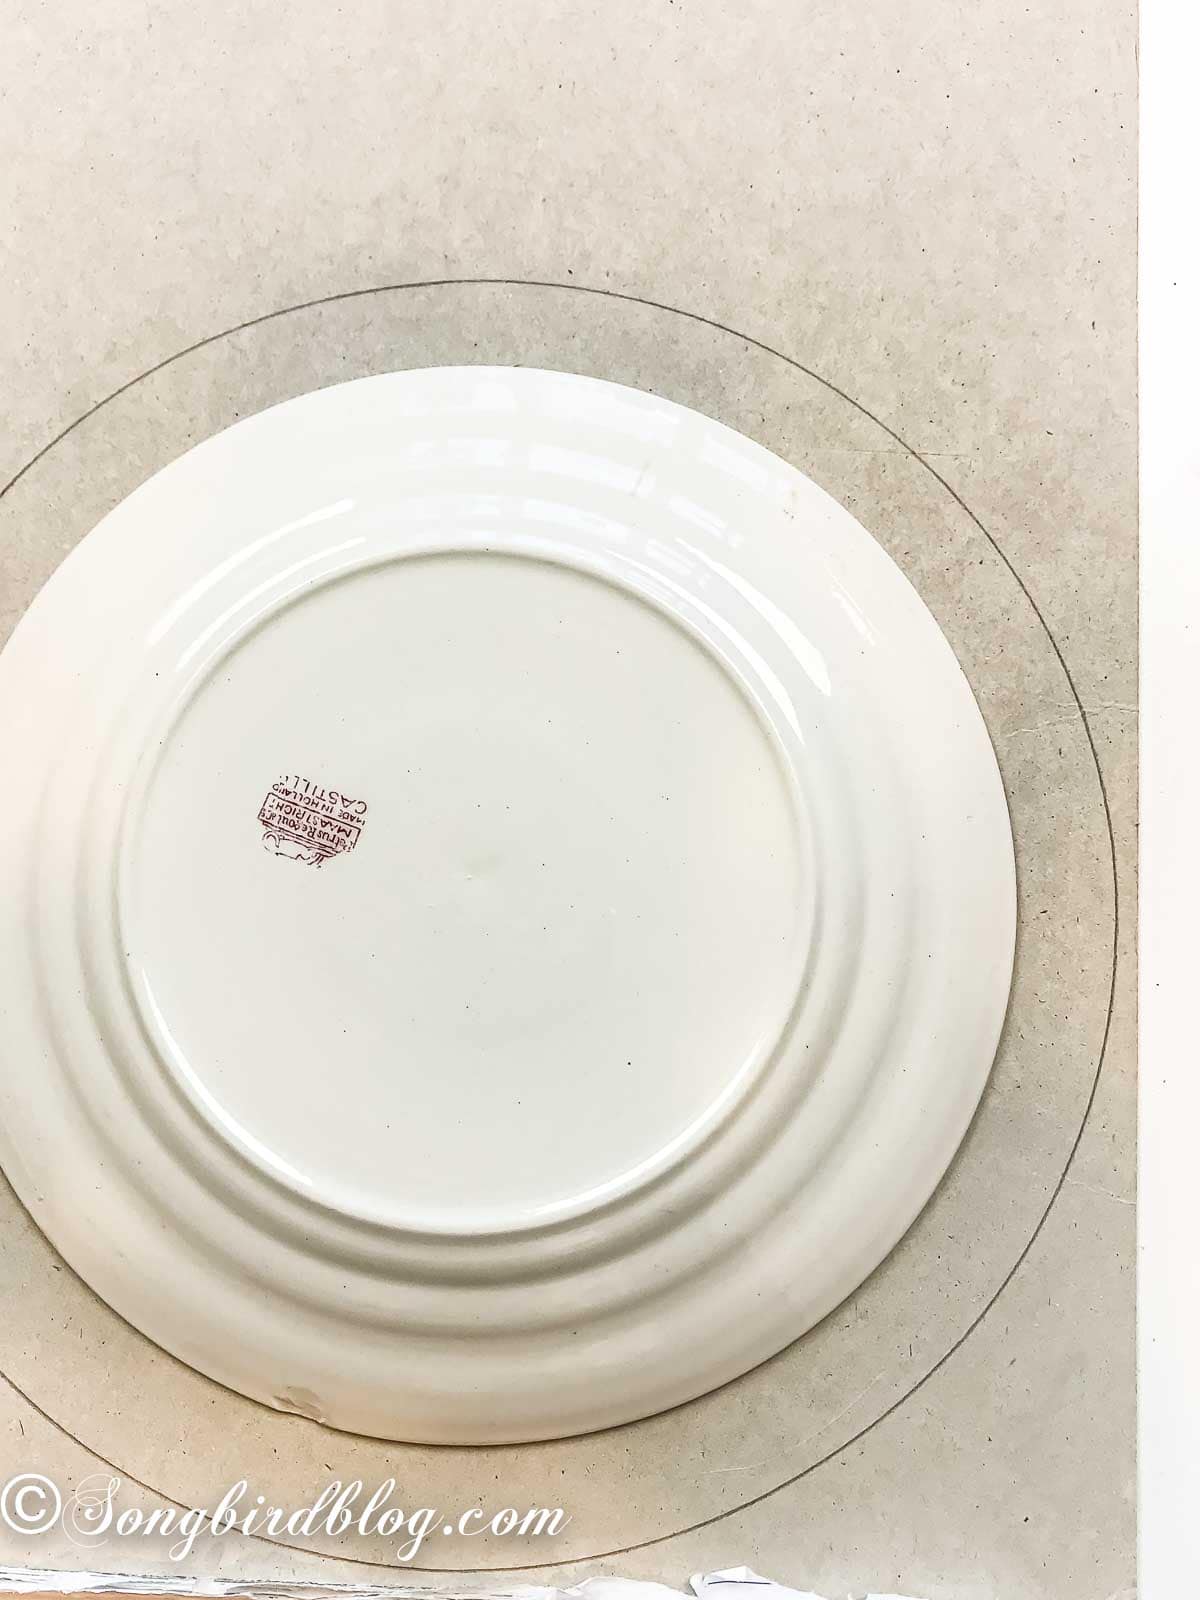
Start with the base. Trace the dinner plate onto the cardboard, then trace the lunch plate in the middle and cut it out. You now have a wreath form that cost you nothing.
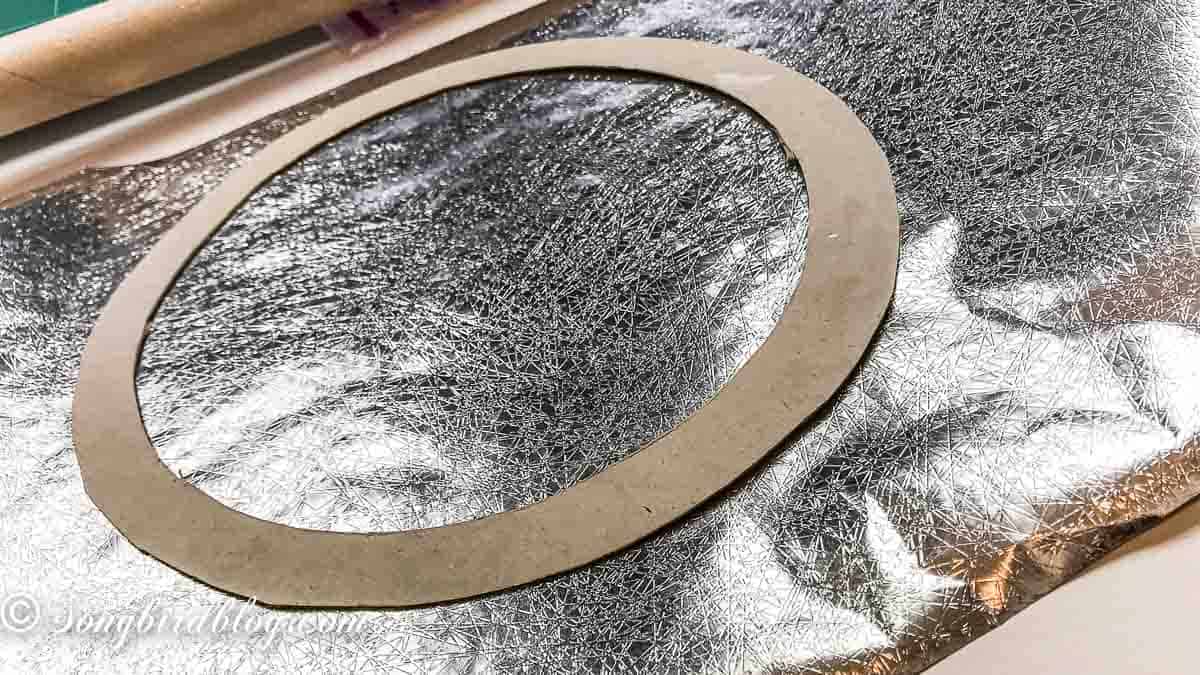
Cover the cardboard with the silver wrapping paper (aluminum foil works too). If the cardboad peeks out behind the stars, the silver wrapping makes it looks much better than the raw thing (if you are using colored paper for your stars, use a wrapping paper to match).
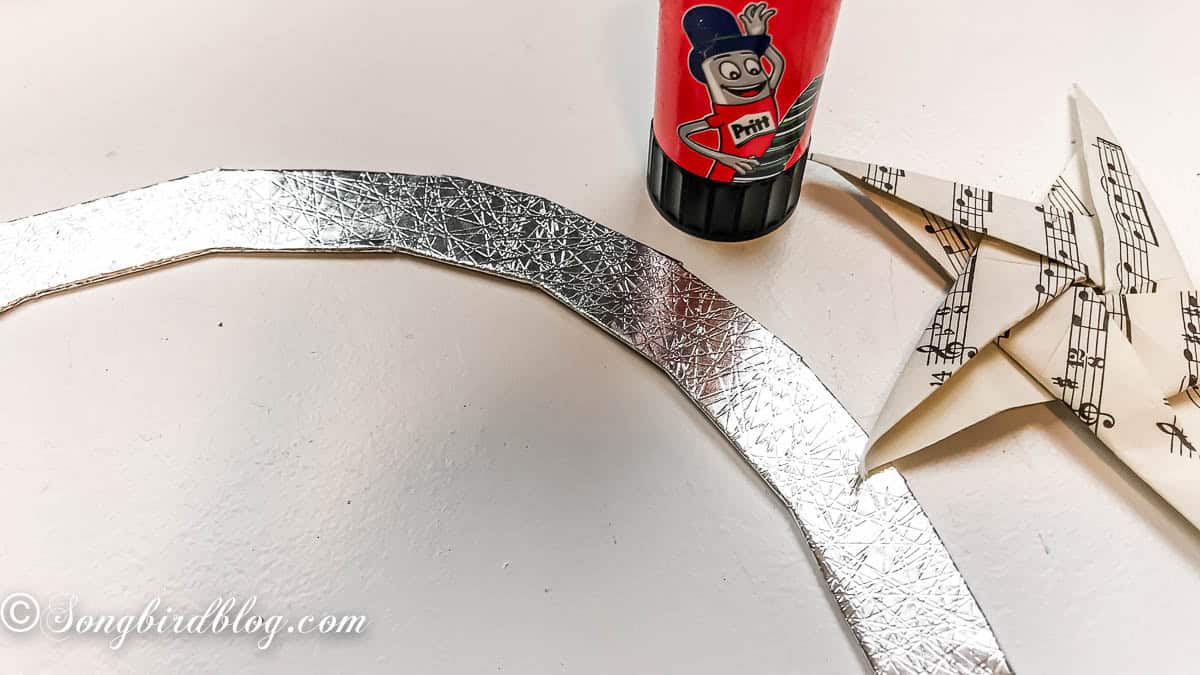
Now glue on your stars. I made mine all in the same size, but if you like a less orderly look you can make them in different sizes, that will look pretty too. Glue the stars onto the base with a slight overlap, working your way around the ring until the cardboard disappears.
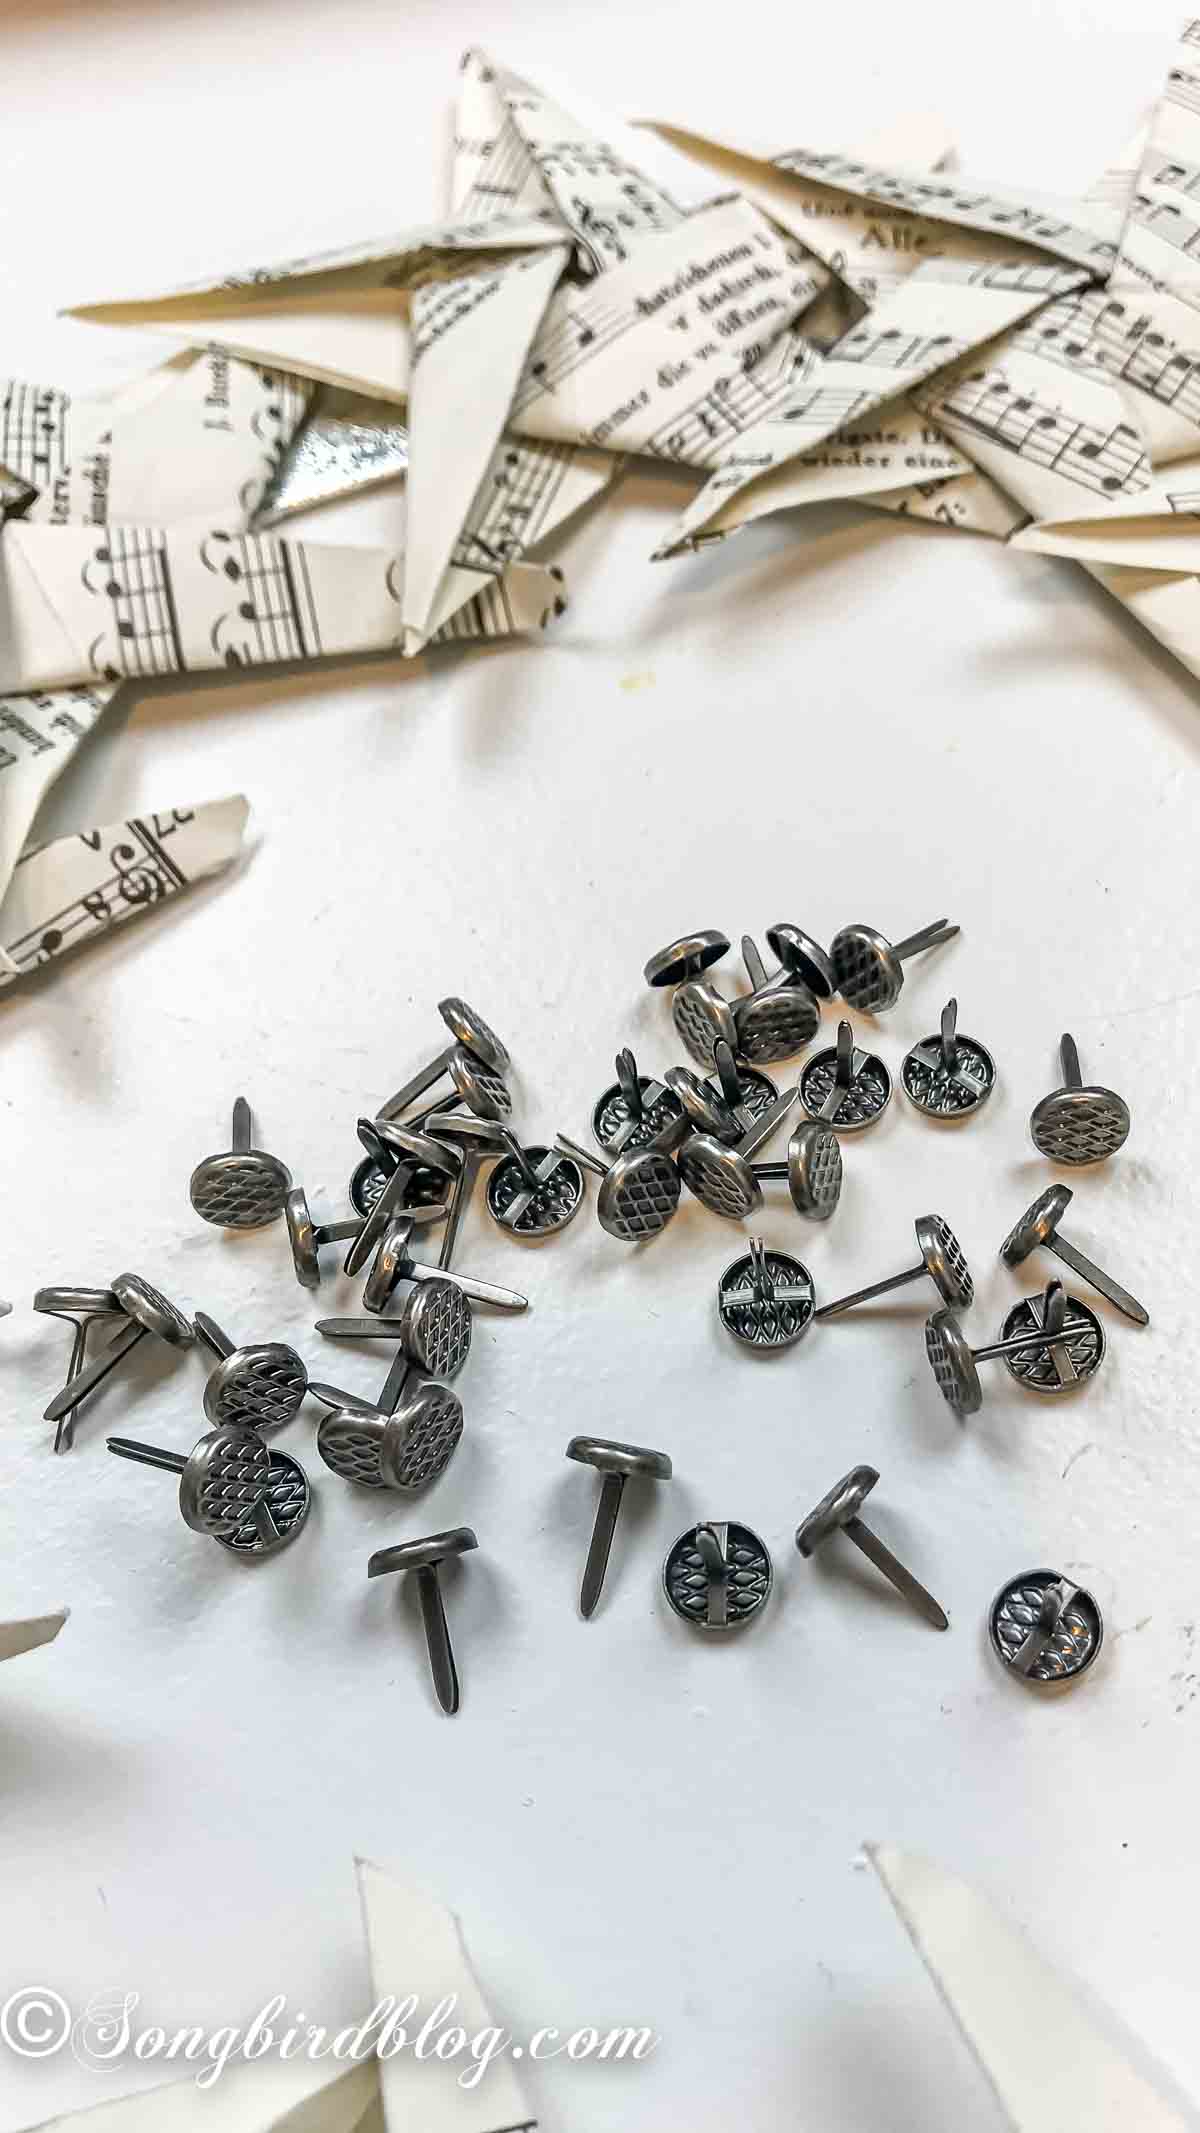
Punch the center of each star and secure them with the split pin. This gives extra security to your stars and prevents them from falling off. If you trust your craft glue you can add a little embellishment instead (beads or pearls or little metallic star stickers would look good).

Then run a little glitter glue along the inside edges of the stars. I used a small craft brush for this This is the step where the wreath goes from homemade to handmade, if you know what I mean.
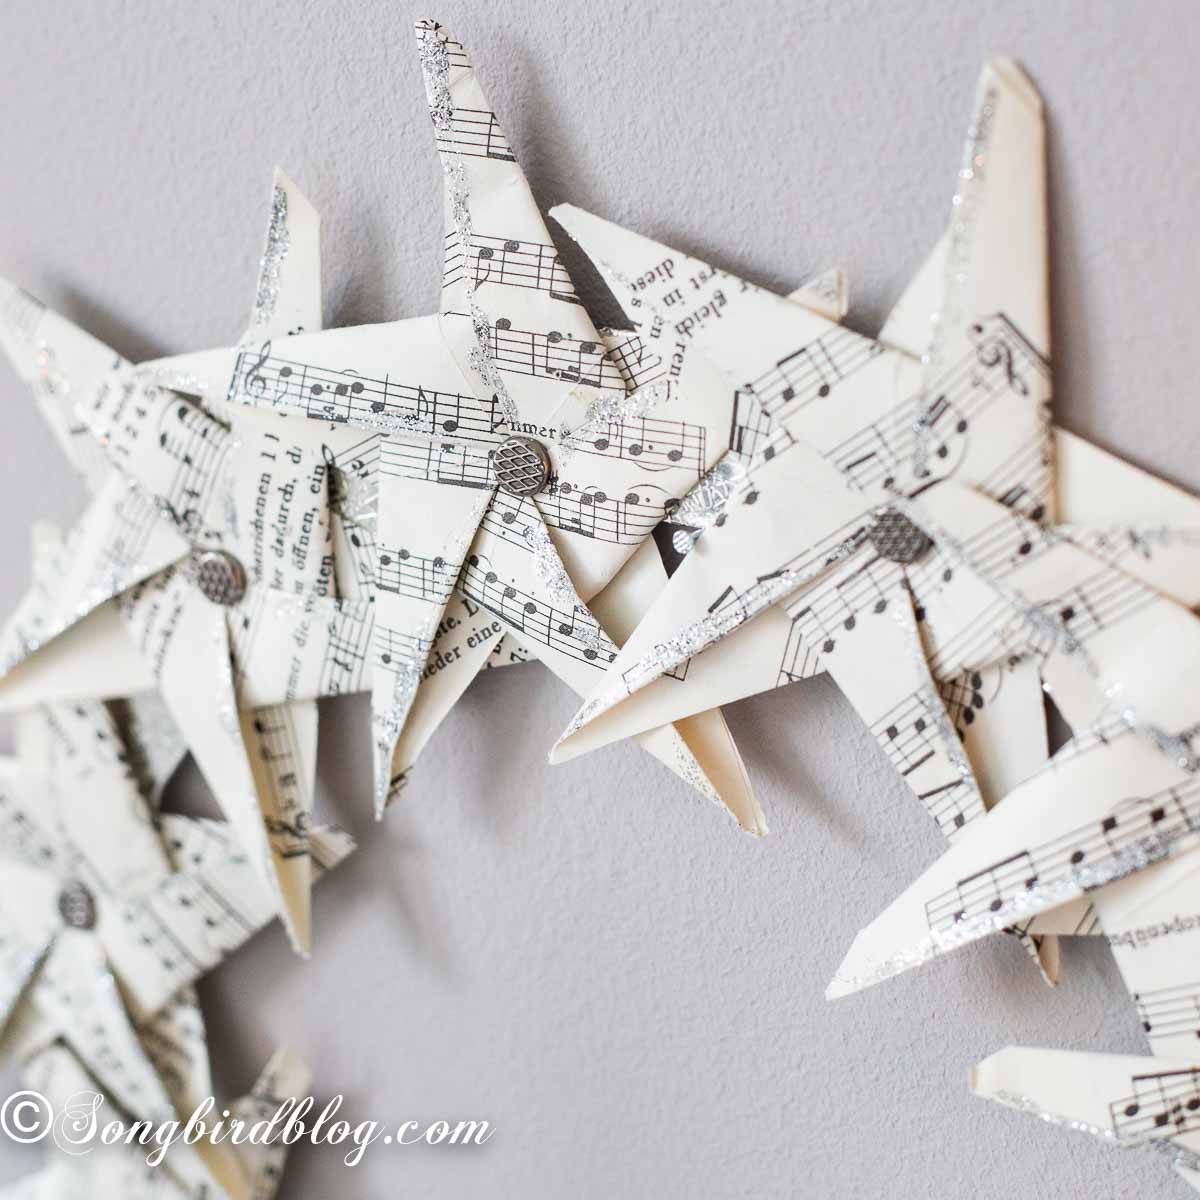
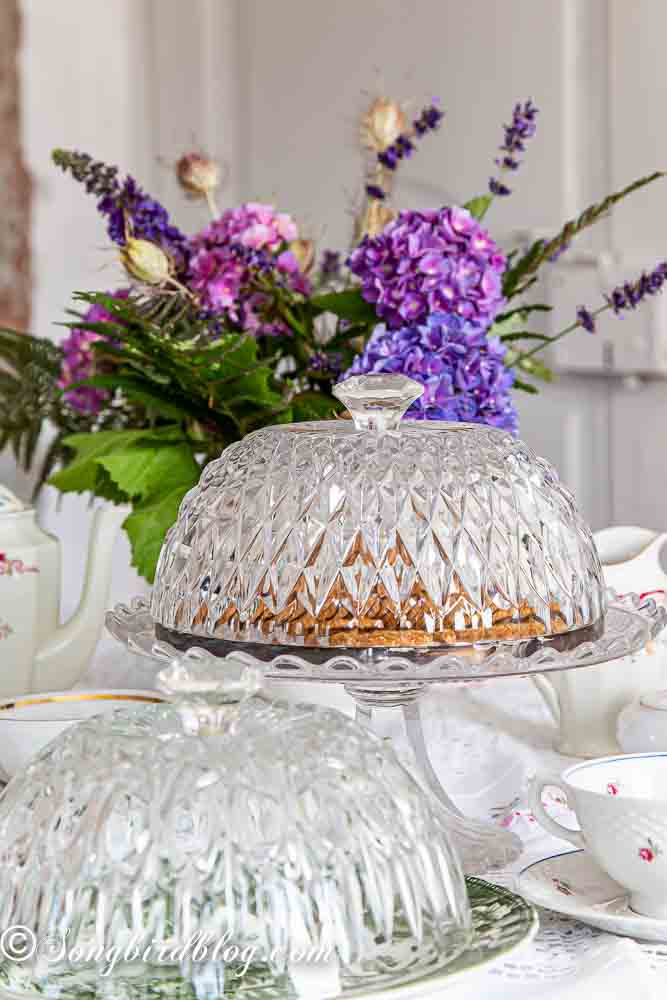
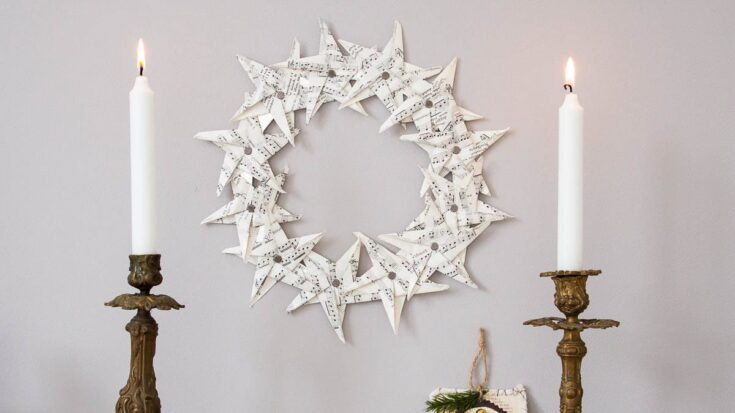
Once you hang it, the effect of the glitter is subtle, but it is just enough there. Especially when the glitter picks up a light source around the wreath. Like my candles.
How Many Paper Stars Do You Need?
It depends on the size of your base and your stars, so don’t obsess over a number before you start. Fold a few, lay them out on the ring, and see how far they reach. I folded stars until the cardboard was covered, with a little overlap here and there. Counting backwards from my finished wreath, there were twelve.
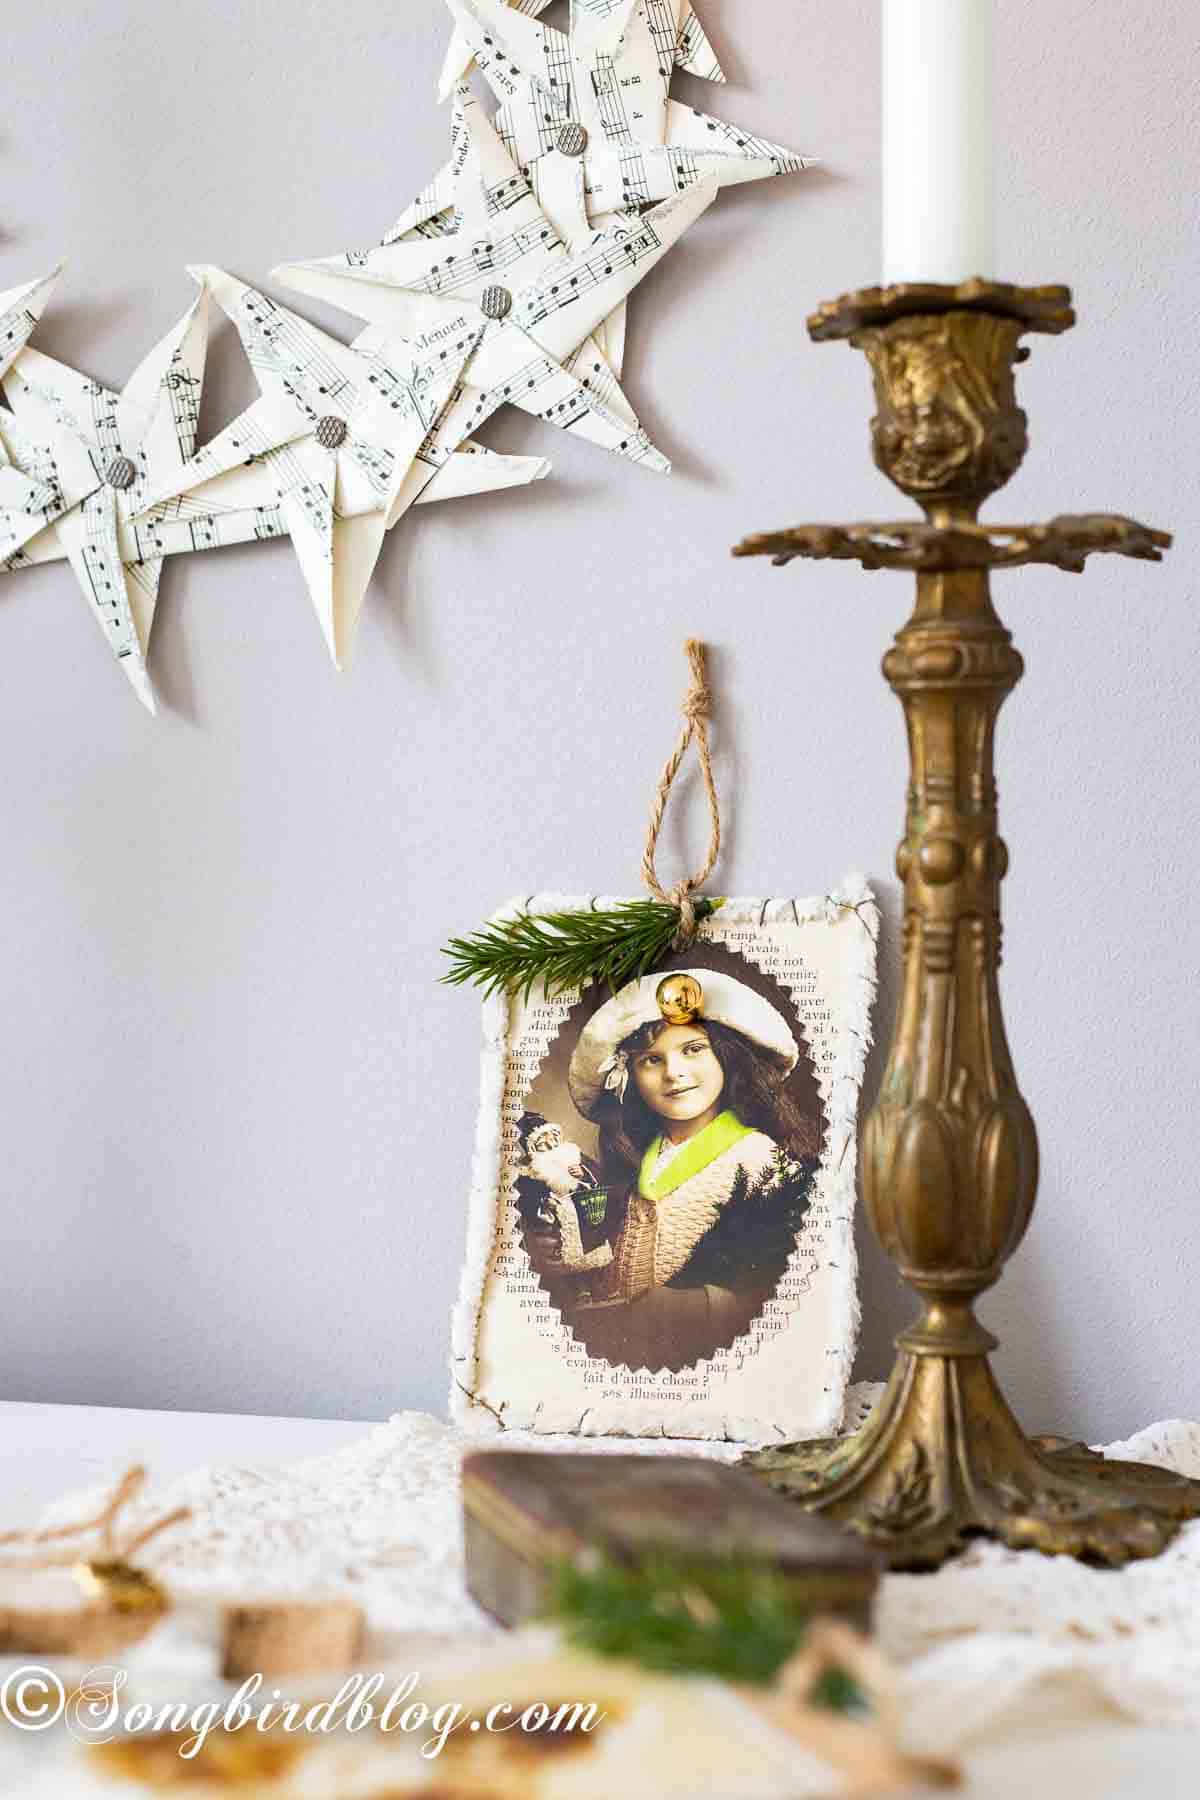
If you run short, it takes one more episode of television to fix. If you have some left over use them in your next crafting spree. I used one of my old stars when I made my vintage-style Christmas ornaments (you might have spotted them in the images, I thought they looked nice in this vignette and they are not screaming Christmas)
Where to Hang a Paper Star Wreath
Because it is made of paper, this is an indoor wreath. Mine lives on the wall above a little vintage-style vignette, and it looks right at home there. The music paper makes it pretty enough to hang any time of year, on a door, above a mantel, or leaning against a stack of books on a shelf. The stars themselves are happy anywhere. Years ago I strung them on thread and let them dangle from the banister like tiny star ornaments.
If paper crafts are your thing, I have a whole collection of cool things to make with paper waiting for you. And if you like more DIY wreath ideas, I’ve got that too.
More DIY Thrift Store Upcycle Projects You’ll Enjoy


DIY Paper Star Wreath Tutorial
How To Make a Paper Star Wreath
Learn how to make a paper star wreath from thrifted music book pages, with folded five point stars, a free cardboard base, and step-by-step instructions. No wreath form needed.
Materials
- Thrifted music book pages (or any paper that folds easily)
- A piece of cardboard
- A dinner plate and a lunch plate for tracing
- Silver wrapping paper or aluminum foil
Tools
- Craft Glue
- Split Pins
- Glitter Glue
Instructions
- Prepare you folded paper stars in advance. Find the tutorial for folding origami stars here.
- Use two sizes of dishes to cut a ring out of cardboard
- Cover the cardboard ring with background paper that matches the paper stars (I used silver wrapping paper)
- Glue the paper stars onto the backing ring with craft glue
- Add split pins to the center of the stars
- Glue a thin line of glitter glue to the outside edges of the stars
- Add a hanging hook or glue twine to back for hanging
- Enjoy and decorate with your wreath
Notes
View many more details and pictures on Songbird at:
https://songbirdblog.com/how-to-make-a-paper-star-wreath/
Now I’d love to hear from you. What is the best thing you’ve ever brought home from a thrift store? Something you’ve actually used, not the thing still waiting in the garage. Tell me in the comments, and pin this wreath for the next time you are lucky enough to stumble unto some old music paper.

Thrift Store Projects from My Friends
Remember how I said you wouldn’t believe what my friends dragged home from the thrift store? Well take a look. Every single thing is somebody’s castoff that was turned into an amazing project. Go say hi to my friends on their blogs and tell them I sent you.

My Uncommon Slice of Suburbia turned a simple wine box into a thriving herb garden.
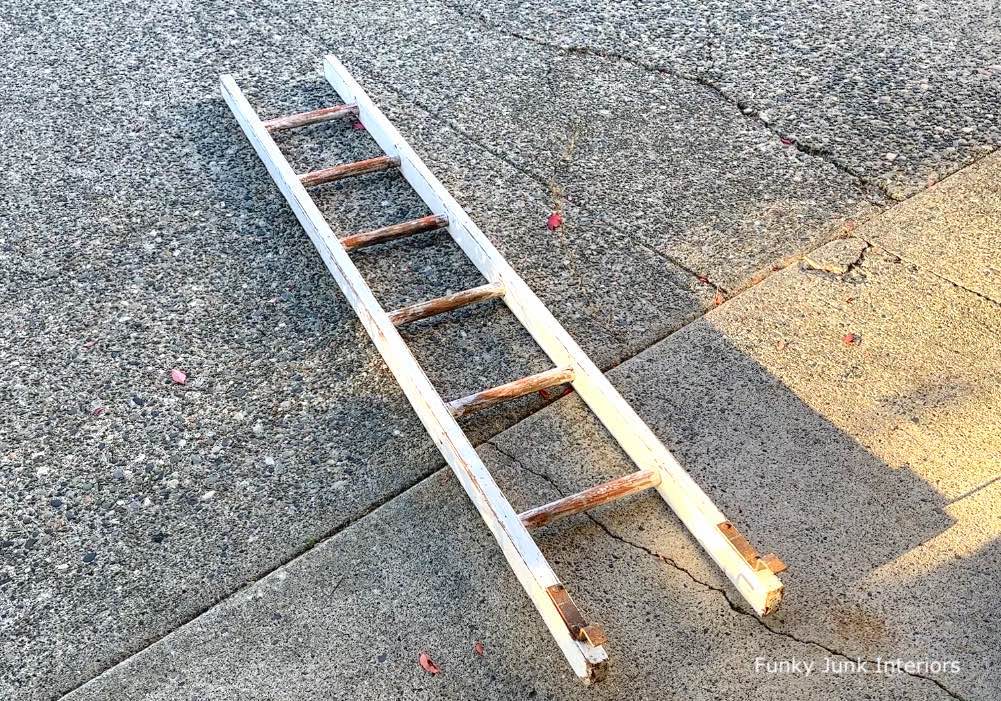
Learn how to transform an old wooden ladder into a rustic coat rack by Funky Junk Interiors.
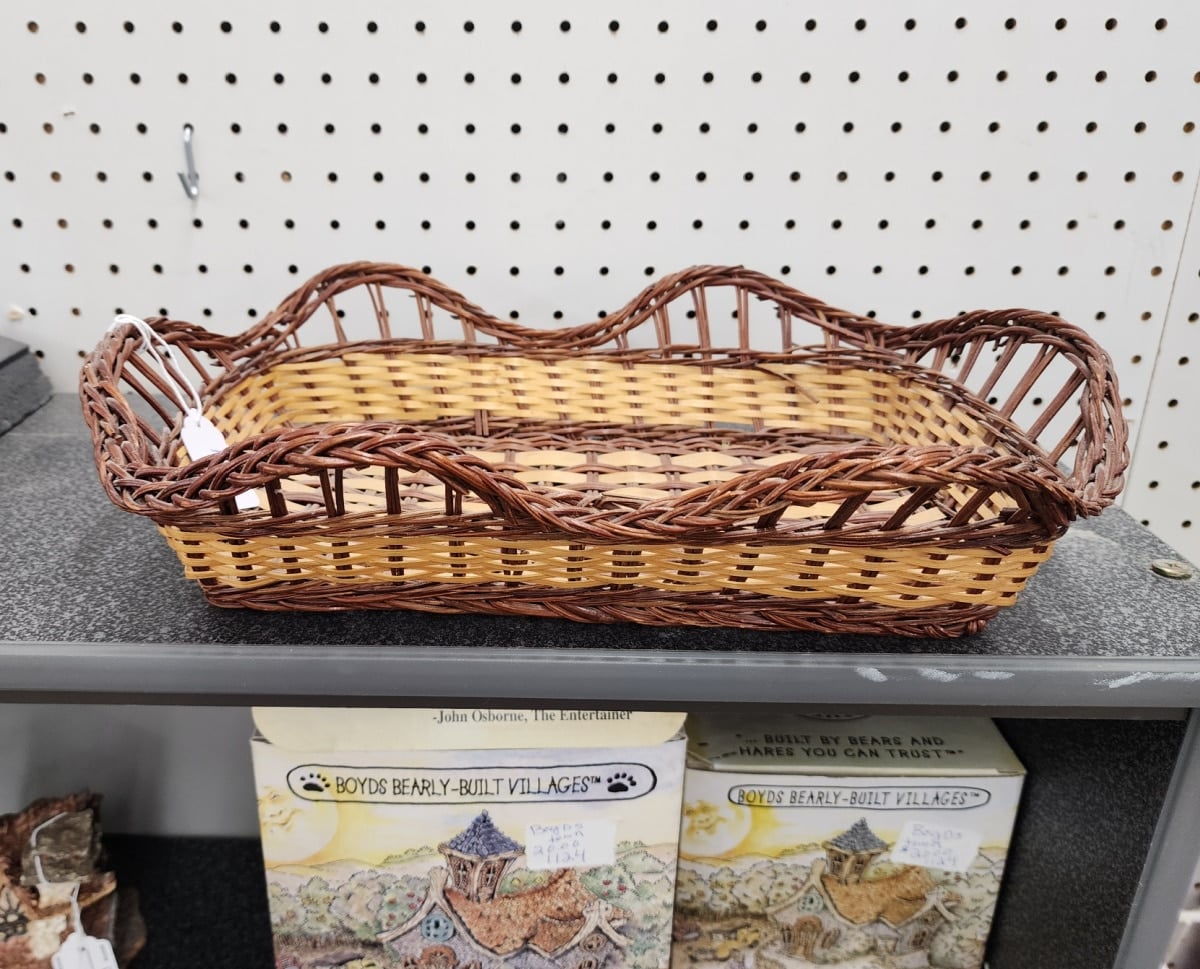
Gail turned a $2 thrifted basket into an easy fall centerpiece using candles, mini pumpkins, pinecones, and colorful autumn foliage.

Michelle from Our Crafty Mom crafted a gorgeous lace pumpkin wreath from thrifted lace and a dollar store wreath form.
