
Simple Fall Craft: DIY Brown Paper Pumpkin
Looking for a simple fall craft idea? You can make his DIY brown paper pumpkin with some simple craft supplies from your stash. Step-by-step instructions below.
It’s a fact.
My craft stash is officially out of control.
Every time I open that closet or one of the many boxes stuff falls out.
There are so many “I will use this one time soon” leftover bits and pieces that it is impossible to find anything that I am actually looking for.
And I was looking for that special role of thick rustic twine, I know I have, but instead…
I found three roles of vintage brown craft paper (don’t you agree vintage paper sounds so much better as simply old and wrinkled?) and a single styrofoam ball.
The craft paper was leftover packaging and the styrofoam ball came in one of those ‘one dollar surprise bags’ at the thrift store.
And instantly I forgot what I was supposed to be doing with that twine and instead started a little crafting spree for my fall decorating.
And just like that, inspiration struck. Can you relate? Do you ever stare at a pile of supplies and think, “What in the world am I going to do with this?”
Well, today, I turned those leftovers into the cutest brown paper pumpkin. It’s simple. It’s cozy. And it’s the perfect little touch for my first fall corner. Want to see how I made this cute pumpkin? Come on, let’s get crafting. I give you all the details on how I made my cute pumpkin below and I even throw in some additional tips at the bottom of my tutorial. So keep scrolling!
Speaking of making something out of nothing. Today’s brown paper pumpkin is my entry for the monthly Wednesday Thrift Store Decor Tour. Each month a group of talented ladies who are the queen bees of upcycling and thrift store makeovers, have a little online crafting get-together where they share their latest makeover projects. You can find all their amazing thrift store projects for this month at the bottom of this post.
But let’s get to making our paper pumpkin of the day.
Simple Fall Craft: Brown Paper Pumpkin
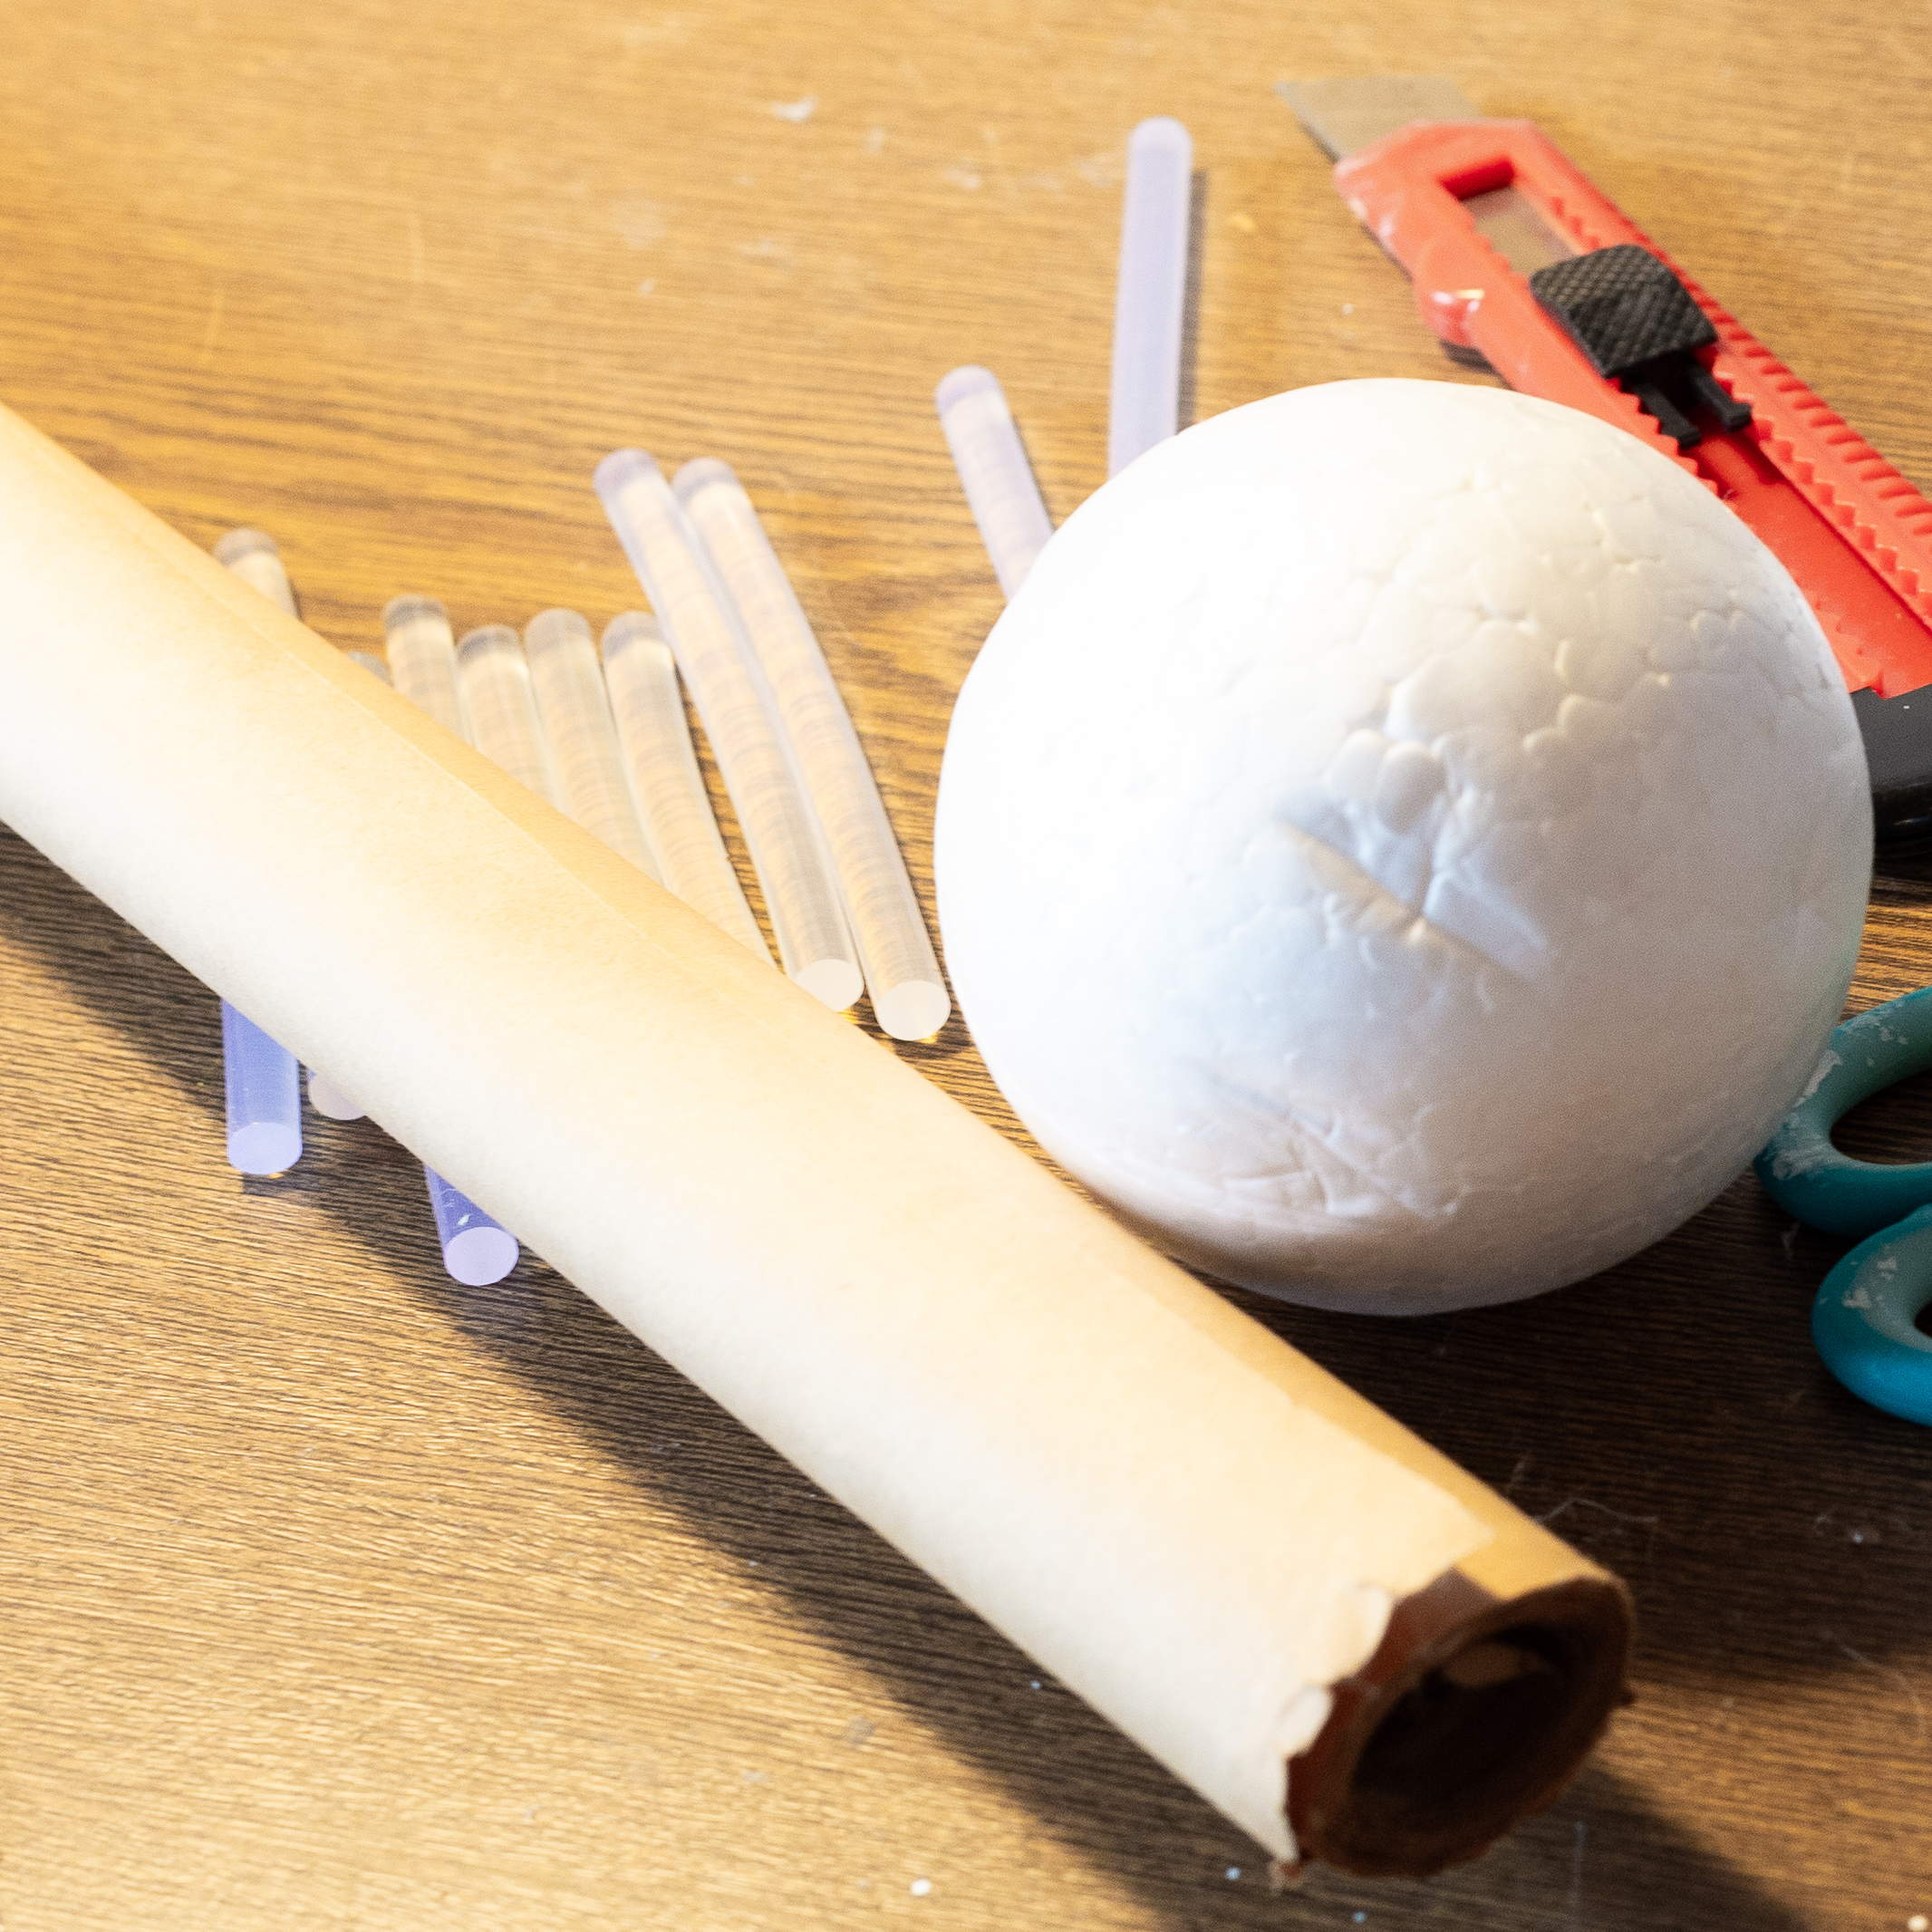
Supplies For Making a DIY Paper Pumpkin:
Rolls of brown craft paper.
Styrofoam ball
Craft knife and scissors
Hot glue gun and glue sticks
Fine tipped paintbrush and dark brown paint.
How to Make a Brown Paper Pumpkin
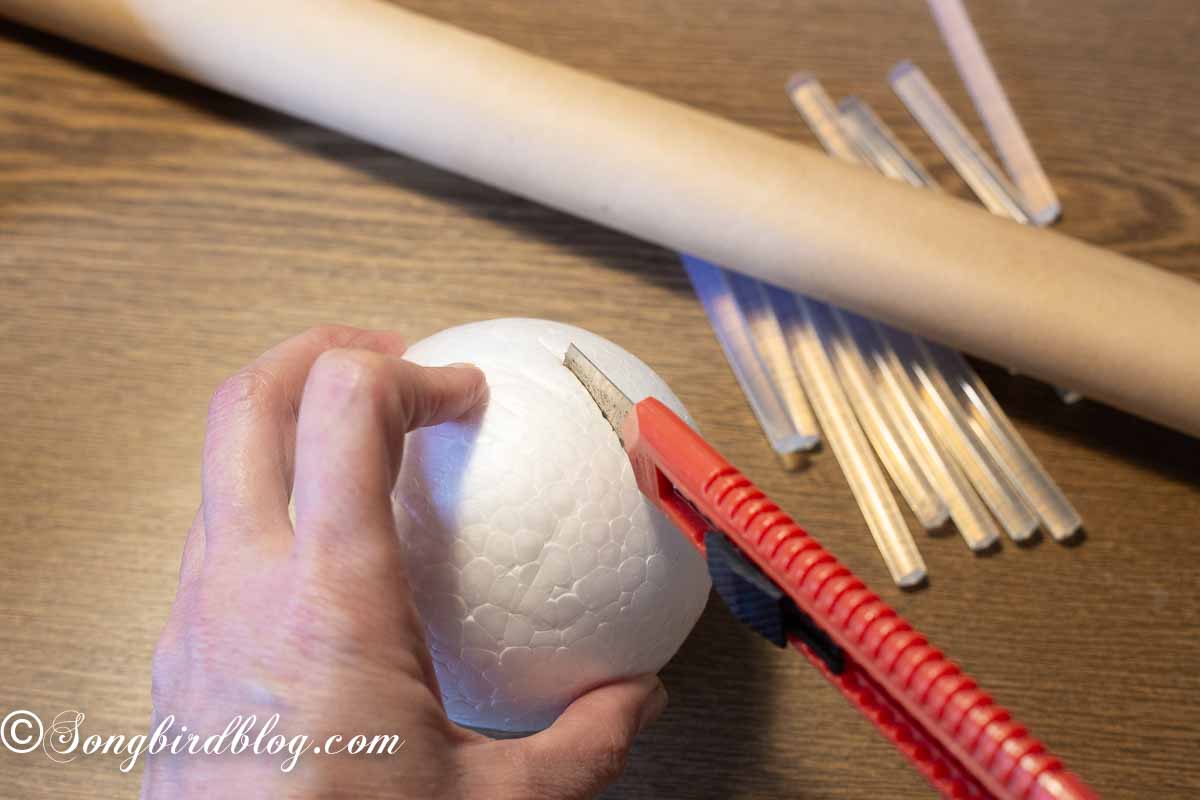
Step 1: Prepare the Base
You can’t have a homemade paper pumpkin without a proper base. With an exacto knife, carefully cut off the bottom third part of the styrofoam ball so it can sit flat on the table. No wobbling allowed.
Step 2: Prepare Your Brown Paper Strips
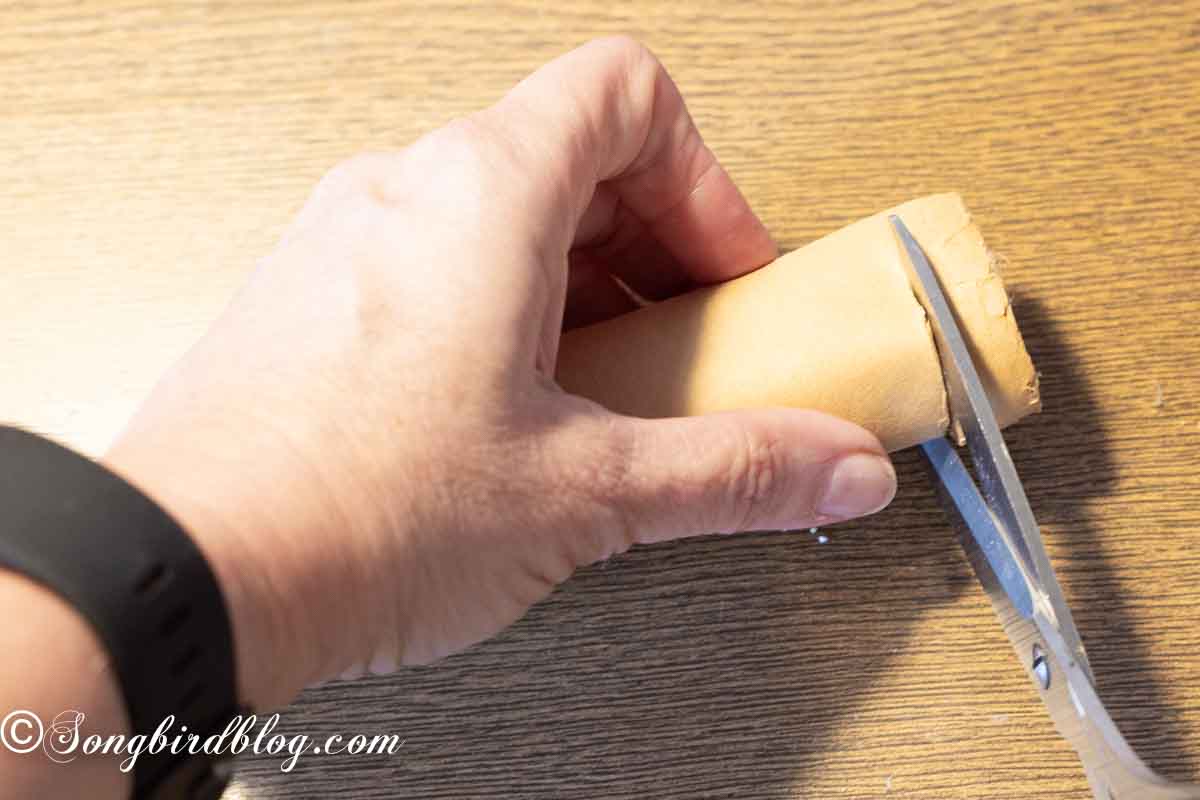
Next, I grabbed my scissors and cut the roll of craft paper into little strips, about half an inch wide. Cutting these strips will be the only and major part of our paper pumpkin craft.
More DIY Fall Pumpkin Craft Ideas For You


Step 3: Form Your Strips and Glue
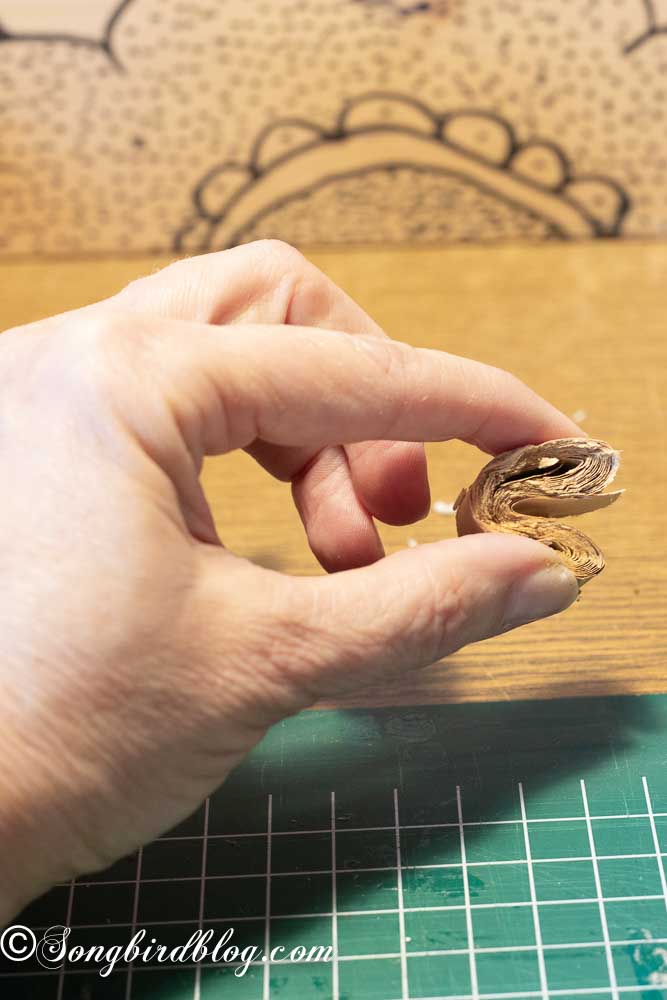
Pinch each strip into a heart shape and glue them onto the styrofoam ball with hot glue. Make sure you vary the direction of the hearts so they cover the ball as tightly as possible.
Step 4: Add Finishing Touches
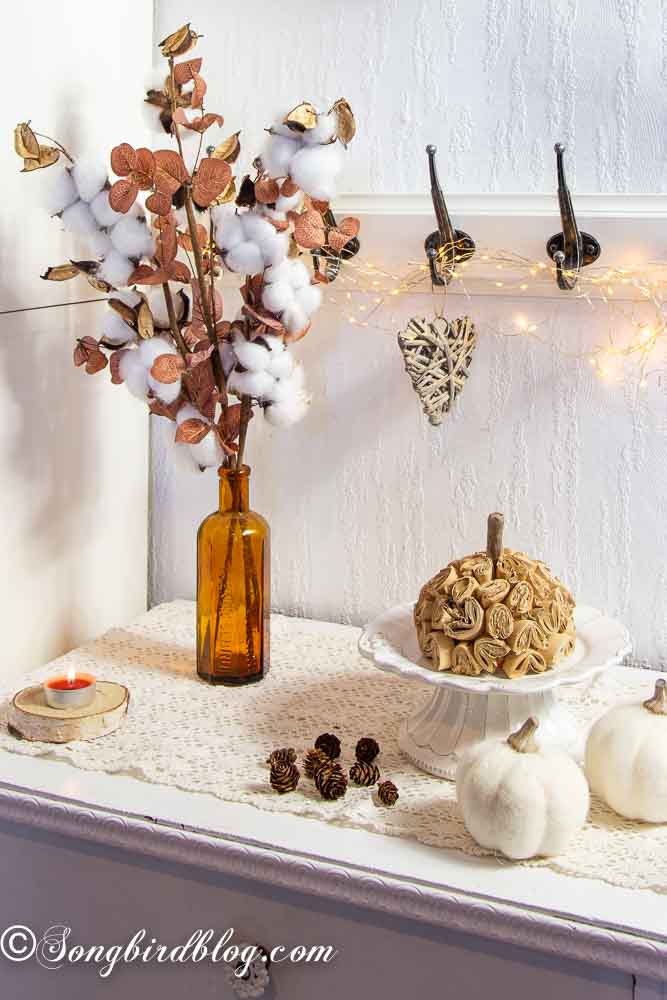
Once the ball was fully covered, I added a simple stick on top for the pumpkin stem. It was looking cute, but something was missing. A few spots of white styrofoam were peeking through. So, I dipped a tiny brush in some brown craft paint and carefully colored over those spots.
Step 5: Decorate With Your Homemade Paper Pumpkin
And just like that, my brown paper pumpkin was complete. I placed it in my first little fall corner, and it was love at first sight.
And that’s it.
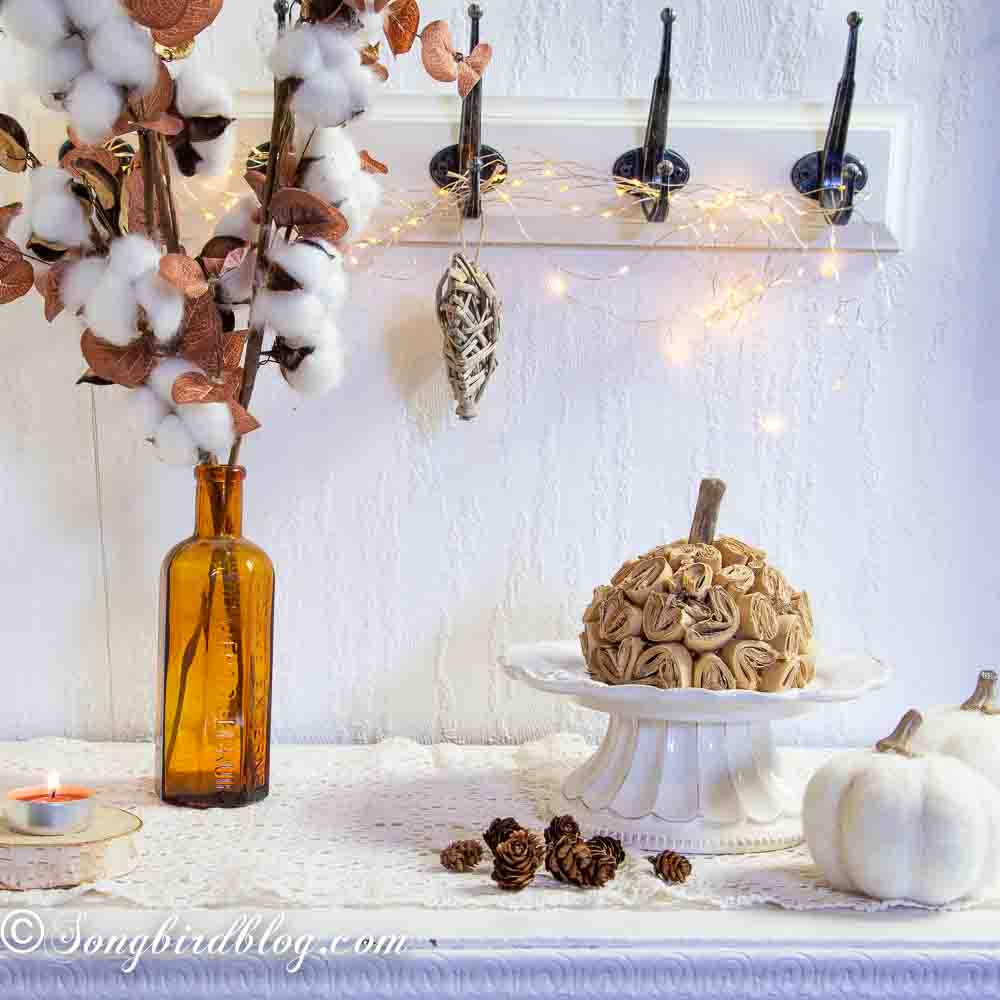
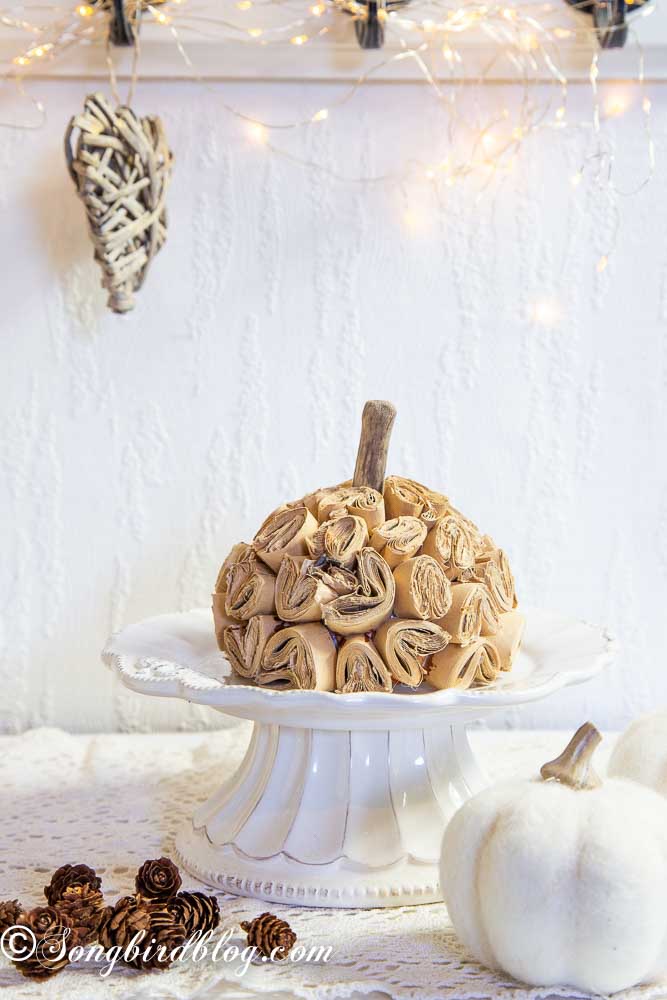
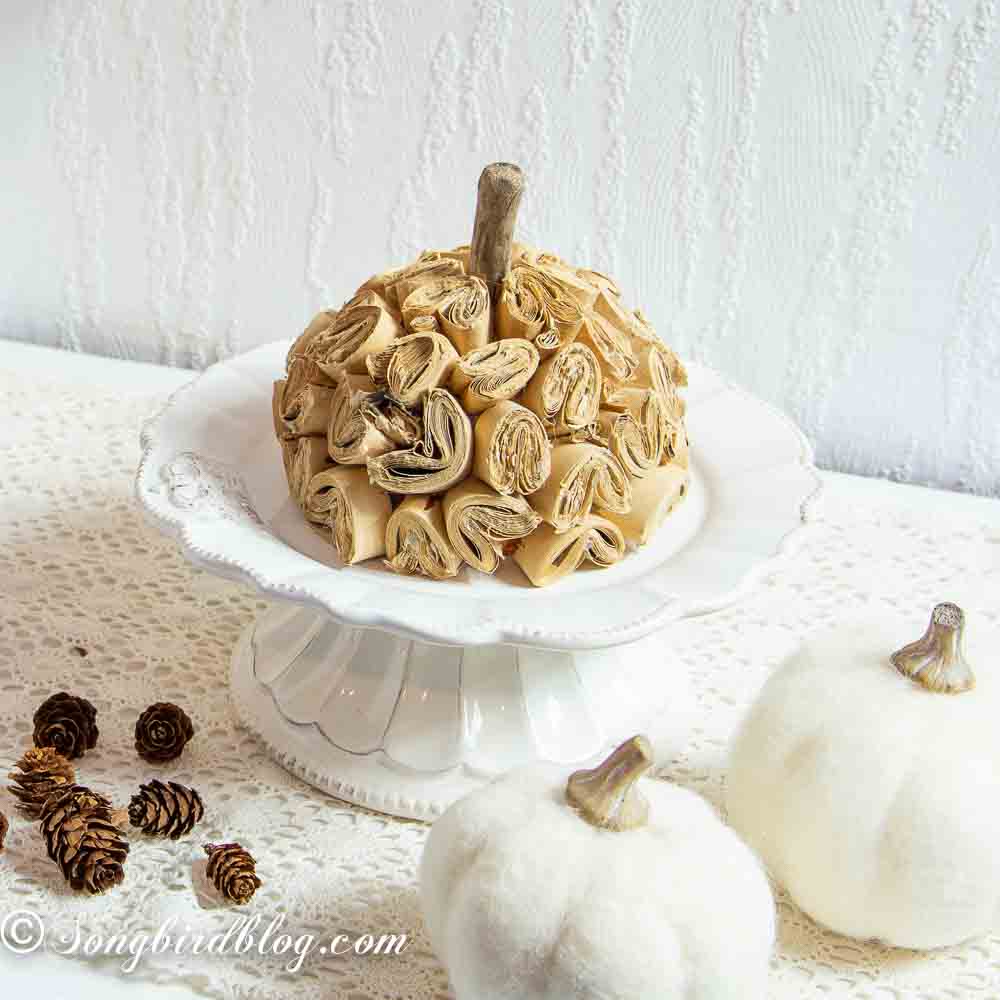
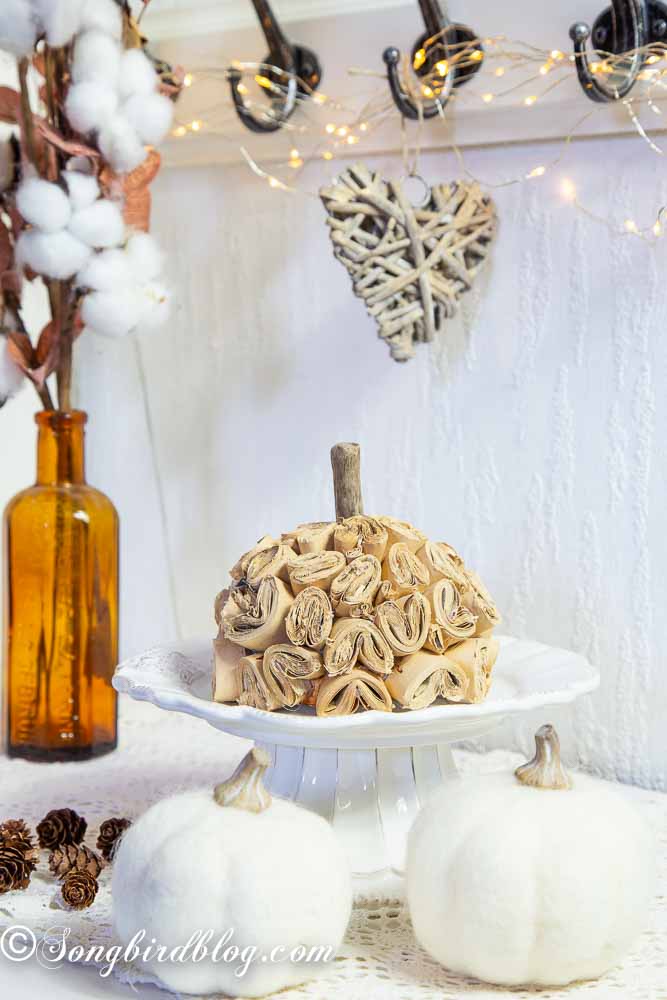
Here is the finished brown paper pumpkin.
It took me about 30 minutes from start to finish.
More DIY Fall Decorating Ideas For You


Additional Tips for Making Your Own Paper Pumpkin
If you’re making this DIY fall decor, here are a few things to keep in mind.
First, make sure your styrofoam ball is stable. If it wobbles, your pumpkin won’t sit right.
Second, don’t rush the gluing process. Let each heart-shaped strip set before adding the next.
And finally, if you don’t have brown craft paint, a marker works just as well for touching up those white spots.
Now, tell me. Do you have a craft stash that’s overflowing? What’s the last thing you made with leftovers? And most importantly, where are you going to put your brown paper pumpkin?

If you like this brown paper pumpkin than don’t forget to pin this post to your fall craft board on Pinterest!
And here are all the intriguing before images of the other thrift store decor projects of the group.
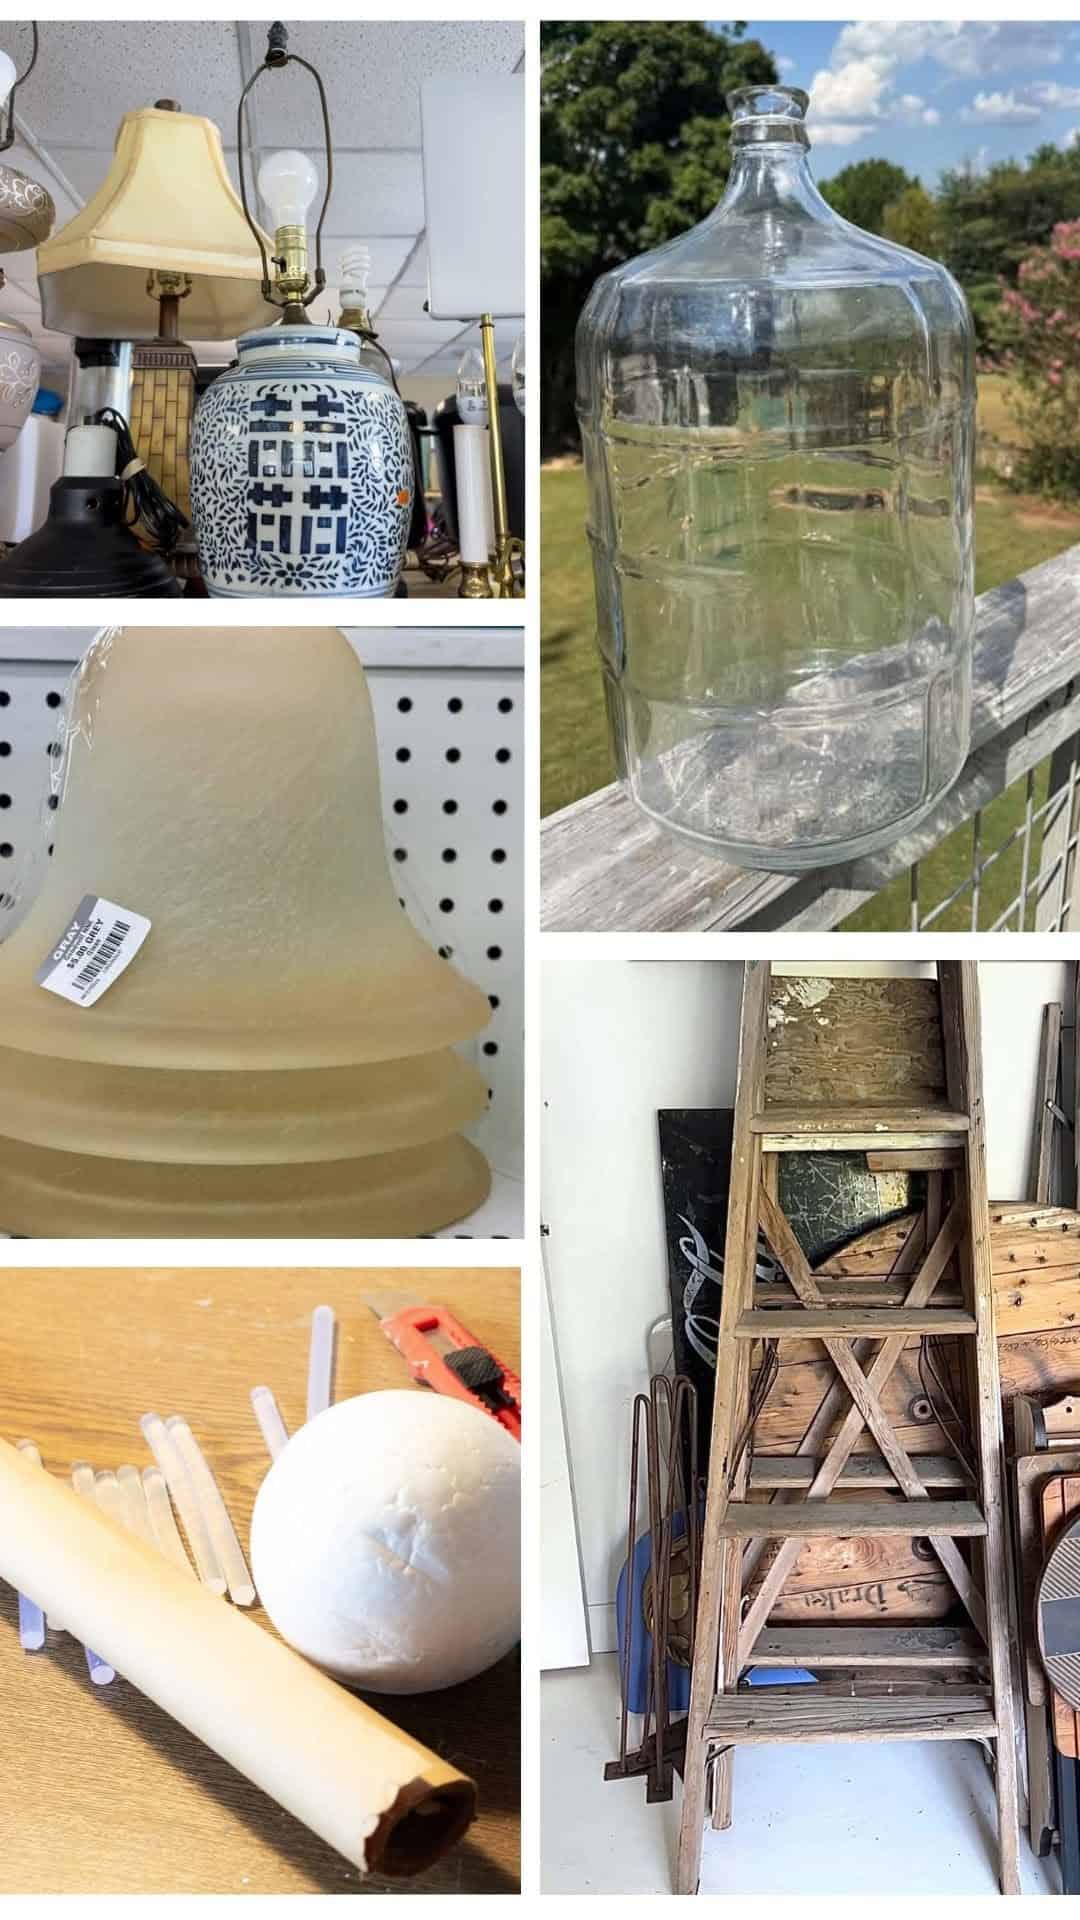
See how to refresh a thrifted classic ginger jar lamp by Our Southern Home.
Repurpose a vintage glass water jug into something practical for any room with Shop at Blu.
Turn thrifted light shades into the cutest Halloween ghost lights with this easy DIY tutorial by Our Crafty Mom.
Create a lovely brown paper pumpkin from a leftover roll of brown craft paper with this DIY tutorial by Marianne Songbird.
Transform an outdoor space with a charming DIY arbor crafted from ladders by Funky Junk Interiors.
Marianne, I love a sweet little neutral pumpkin to welcome the fall season. It’s still almost 100 degrees here in Alabama so I am struggling more than normal with “easing” into fall. I really love the fabulous texture of this pumpkin, too. Pinned.
We have had a crazy hot summer for these parts, but fall weather has come and it got me in the mood just in time.
That’s so adorable! I never would have thought to use a roll of craft paper that way!
Thank you! I am quite pleased with how it turned out myself.
Holey smokes! Your rolled paper pumpkin is perfection! The texture, colours, rustic nature of it create the most perfect fall specimen. Who knew rolled paper could look this cool? This is such a clever repurpose and couldn’t be more timely with fall on its way!
Thank you! This was a fun and quick little project. And I know that little pumpkin will come out many years to come.
Well Marianne, I’m now featuring this cutie on New Upcycle Ideas 848 because it’s just that good! I’m sure this rustic paper pumpkin is taking the net by storm by now! It’s brilliant.